<firstimage="https://www.makeuseof.com/wp-content/uploads/2010/09/webcam.jpg">
If you have a website or a blog and you're constantly struggling for new topics to write about, or you're just getting bored and looking for something new, then it's time to start automating some of your posts.
Depending on what topic your blog covers, there is a lot of potential when it comes to autoblogging. When I refer to autoblogging, I don't mean just adding external RSS feeds to your blog. I'm talking about cool stuff - like having your mobile phone automatically update your blog periodically with your GPS coordinates, or having your computer automatically update your blog with the most recent 24 hours of your computer activity. Or how about having a webcam snapshots automatically posting to your blog whenever something new happens?
It's that last autoblogging feature that I'd like to describe how you can accomplish in this article. To accomplish the task, you're going to make use of two applications that I've reviewed before here at MakeUseOf.
The first is the Active Webcam app that I used in developing a home security system. The second is the Wordpress Postie plugin that lets you send email posts to your blog. By tying the two together, you're going to build your own automatic webcam blogging system.
Setting Up Active Webcam
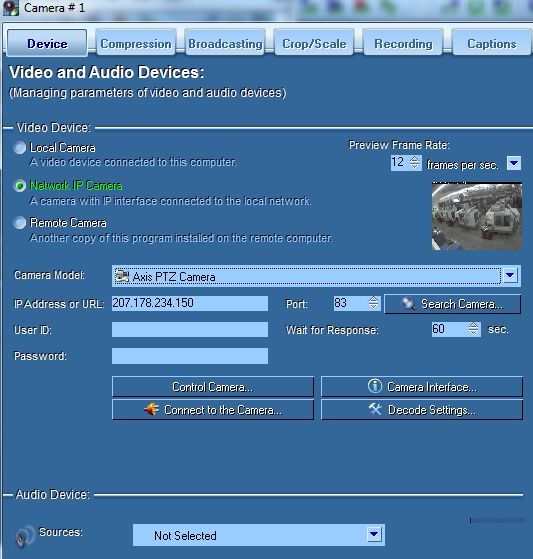
The first step of getting your webcam snapshots to post on your blog automatically is to download and install Active Webcam. The software will need to be installed on any computers that are connected to the webcam, unless you're using a network IP webcam where it's shared out to the whole network. Once you open Active Webcam, just click File -> New Camera, and select the type of webcam you want to set up.
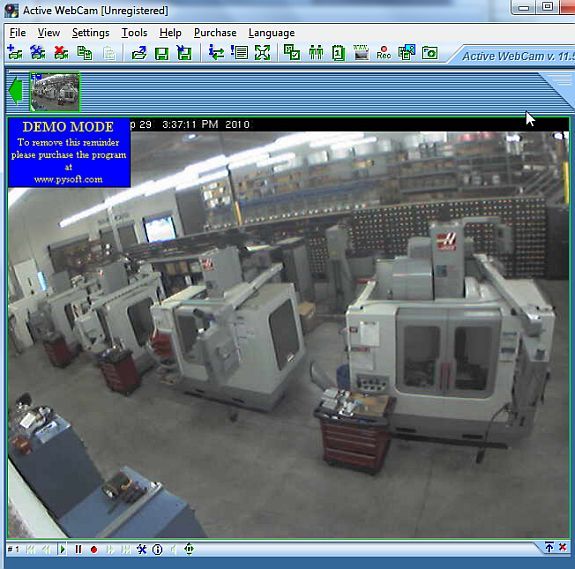
For this example, I'm using a public webcam that's streaming from a California engineering school. You could easily incorporate public webcams into your automatic blog updates if you like - be creative and use content from wherever you can find it, whether it's your own webcam or streams from public ones.
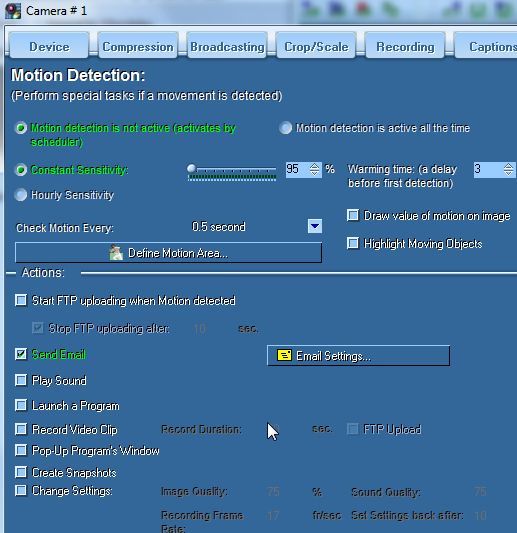
Here's the active webcam. You can add as many as you like and name them however you want them to show up in your blog entries. Once you're done adding webcams, you're ready to configure the software to issue blog entries by sending out email updates. You do this by configuring the Motion Detection area in Settings -> Motion Detection.
You aren't actually going to use motion detection, you're going to configure the schedule to capture camera updates at regular intervals. But first, click on "Send Email" and then click the "Email Settings" button. This is where you will actually create the post entry that will get sent to your blog.
There are a few important things to note here. Whatever email address you choose to use as the "sender", make note of it because you'll need it later. For "Recipient" make sure that it's a unique email address that you aren't using for anything else except this. If you need to, create a new, free email account. Set up the SMTP server settings with your correct settings.
The "Subject" that you type in will be the title of your post and the "Message" will be your blog entry. There are certain variables you can insert, like {Camera} for the camera number, or the current date and time. This is nice because it lets you create a dynamic blog entry. Also, make sure your blog entry starts with ":start" and ends with ":end". This will ensure that the Postie plugin posts the entry correctly.
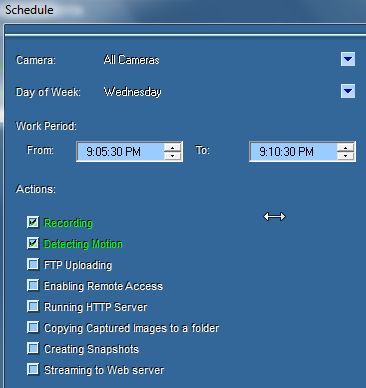
Finally, go into Tools -> Scheduler, and click "Enable Scheduler." You can set up the software to "check in" to the webcam at certain times, and if there's any motion, it'll go ahead and send the email that you've configured. Your automated blogging webcam is now set up!
Set Up Postie to Publish the Webcam Blog Update
The final step is to configure the Postie plugin to accept your webcam's blog entry and publish it. Once you download the Postie Wordpress plugin, follow the instructions in the Postie article to set it up for posting to the blog.
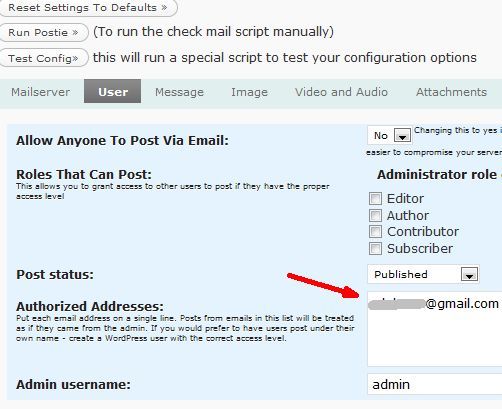
It's pretty straightforward, but the important part is that the "sender" email you configured in Active Webcam needs to be an approved sender in your Postie settings. Additionally, the Recipient should be the Postie email address.
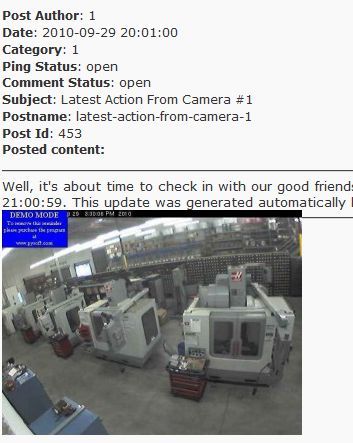
Here is the Postie plugin processing an incoming post from one of the webcam updates.
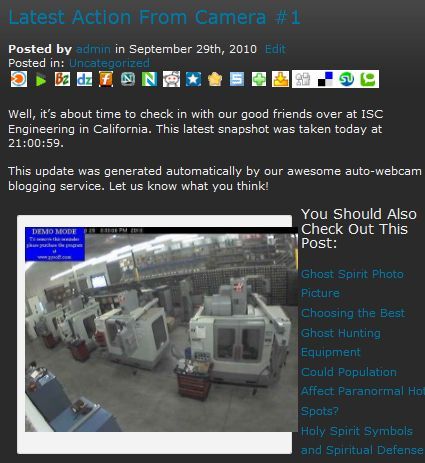
And here is what the automated webcam blog update looks like after getting published to the blog.
You can play around a little bit with the variables. This is an awesome way to update your readers with real-time information from any location in the world. Show them haunted locations, famous landmarks - any public webcam that you discover, or any that you set up, you can use to post status updates with image snapshots to your blog - and you don't have a lift a single finger to do it.
Can you think of any cool uses for your own webcam-powered blog entries? Share your creativity in the comments section below.
Image credit: Quentin Houyoux [Broken URL Removed]


