Infrared (IR) is the most popular type of connectivity used for the remote controls of appliances like TVs, music systems, air conditioners, and so on. IR also isn't new to phones -- in the pre-Bluetooth days, it was used for transferring lightweight content like contacts from one phone to another.
But if you ask for a phone with IR connectivity today, it'll be there for a different reason altogether. Many popular Android phones from HTC, Samsung, Xiaomi, Lenovo, and more have an IR Blaster. It mimics the IR codes of traditional remotes to control multiple appliances from the smartphone directly -- just like how universal remotes work.
Thanks to innovative applications that take advantage of this IR blaster, you can automate many of the mundane tasks that you perform repeatedly. Here's how you can do this.
Hardware Requirements
There are many phones that feature an IR blaster -- like the Samsung Galaxy S6 Edge, the HTC One M9, the Xiaomi Mi5, many more. But we're witnessing somewhat of a trend where the IR blaster is being dropped from many high-end devices lately. For example, the Galaxy S7, the HTC 10, and the Xiaomi Mi 5s don't have it. However, it's a typical feature to expect in many mid-range phones like the Xiaomi Redmi Note 4.
And if you don't have a phone with an IR blaster, there's still a way out -- the makers of the software we're going to use below also make an IR blaster device that pairs with any Android or iPhone over Bluetooth. The AnyMote Home is an omnidirectional IR blaster priced at $119 that allows you to do even more, like controlling your electronics using an Amazon Echo.
Software Requirements
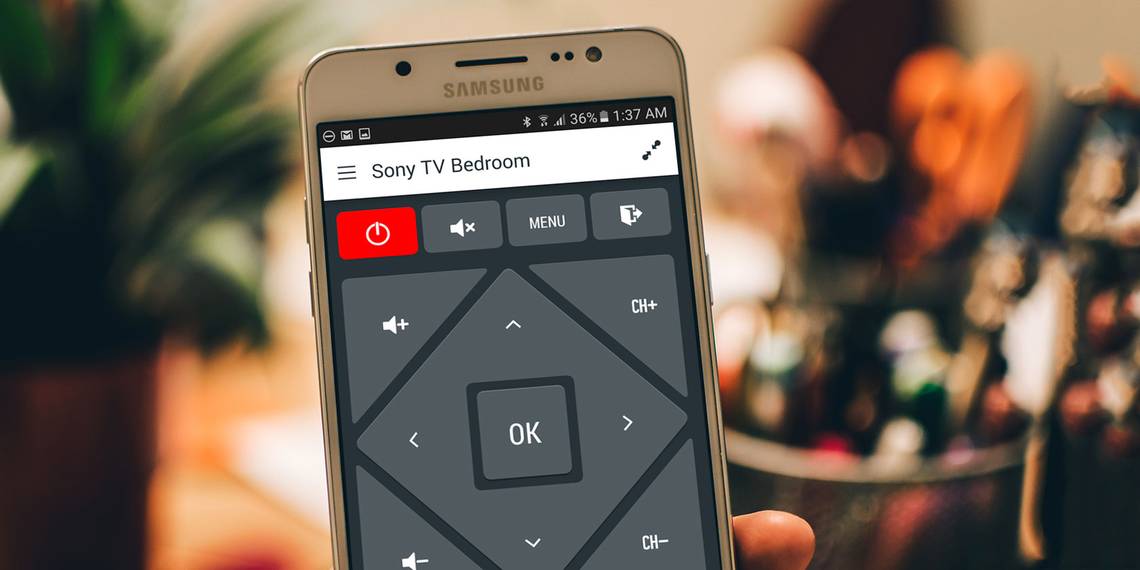
As we mentioned above, the software we're going to use for this feature is AnyMote. The app works with select Android phones that have an IR blaster. All the features we're going to cover today are usable in the free version. If you care, an in-app purchase of $6.99 removes ads from the app and unlocks features like adding unlimited remotes and a backup/restore function.
Download -- AnyMote (Free)
Setting Up Multiple Remotes in AnyMote
With the AnyMote app, you can juggle between multiple remotes. The first thing you want to do is to add compatible remotes for all the electronics you own. You can do that by swiping in the side menu, hitting the + symbol, and clicking add remote.
Here, you can choose the type of device, after which it'll throw you some sample buttons to check which remote preset is compatible with your device. Once you've chosen the preset that works the best, it'll add this remote to the side menu.

Creating a Macro
Now that you're done adding all your remotes, it's time to create some macros to automate those frequently performed tasks. The sky's the limit when it comes to setting up a macro, and it will boil down to what devices you have. I will demonstrate some of the macros that I've preset on the AnyMote app on my Samsung Galaxy S6.
To add a macro, you'll need to swipe in the side menu, click the + button, and click add macro. Now set a name for the macro.
I have a Chromecast plugged into the HDMI 2 port of my TV in the bedroom. There's also a typical cable box that is hooked up via composite in. I want to create a macro so that that pressing a single button will turn on the TV and switch to the HDMI 2 port. So for this example, I'm going to name the macro Sony TV Chromecast.
After this, the next screen is pretty self-explanatory. The + symbol lets you add a new command or add a delay between two commands. I'll start with Add a command. I'll choose the Sony TV Bedroom remote, which I've configured previously. Now, I see a list of all the buttons for my TV remote -- here I'll choose Power on and click the checkmark symbol on the top-right.

You'll see that AnyMote automatically adds a time delay after every command. This delay is important for instances like this one -- since after you hit the power button on your TV, it generally takes a couple of seconds for it to accept the next command. I roughly counted down the number of seconds it took for this to happen on my TV and set the delay accordingly (10 seconds in this case). After that, I hit the + button again, selected HDMI 2 from the list, and hit the tick symbol on the top right.
Making sure that my TV is turned off, I can try this macro by pressing the Play symbol next to the + button. Sometimes, if you're making changes and they don't seem to be taking effect, shutting the app from the multitasking view and starting it again should generally make it work (it did in my case). After seeing that the macro is working as expected, pressing the checkmark symbol on the top right will save the macro.
As an optional step, you can add this macro as a button to an existing remote. I chose Sony TV Bedroom, since this macro is related to that remote, and voila! I can access this macro quickly from the side menu or by going to the Sony TV Bedroom remote.
Creating a Task
For the next example, we'll try to create a new task. A task, unlike a macro, is a preset command that can be activated upon the occurrence of an event. The best use case for a task is something that I regularly face when using a Chromecast: When a phone call comes in, there's no easy way to pause an ongoing video.
It generally requires answering the call, asking the person to hold, pulling down the notification bar and hitting the pause button. This can be automated by creating a task in AnyMote.

To create a task, swipe open the side menu, hit the + button, and tap add task. Now give the task a name -- I'm going to call it Pause Chromecast incoming call.
On the next screen, choose incoming phone calls from the list. Now, select tap to add command. Here, choose from your configured remotes -- I'm going to choose Sony TV Bedroom again because that's the one that has a Chromecast plugged in. Now, from the list presented, I'll choose Pause. That's it -- now my task is set.
There are a couple of caveats, though: This will only work if your TV supports the HDMI-CEC profile, and second, you need to be near the television for this to work, since infrared requires a line of sight. But in my testing, it worked most of the time and is super convenient!
What Did You Automate?
Like we said, the sky's the limit when it comes to the number of things you can do with macros and tasks on AnyMote. A couple of other things that I also set up using the same sequences of steps mentioned above are:
- Creating a macro that turns my air conditioner on with a two hour auto-shut-off timer, because I don't like to be woken from sleep frozen.
- Creating a task where my air conditioner turns on again at 6:30 AM, for some much needed cooling during the last few hours before I wake up.
Hopefully you've discovered how useful it can be having an IR Blaster on your smartphone. Now we want to hear from you.
Does your phone have an IR blaster? Have you tried third party apps like AnyMote to really make the most of it? What macros or tasks have you made? Sound off in the comments below!