The preview of Android 7.0 Nougat, expected for release in Fall 2016, features a new navigation bar that fills in the triangle, circle, and square, while also adding Google colors around the circle.
It's a minor change, but one that no doubt encourages the dual feature of the Home button as a means to get access to Google via Now on Tap.
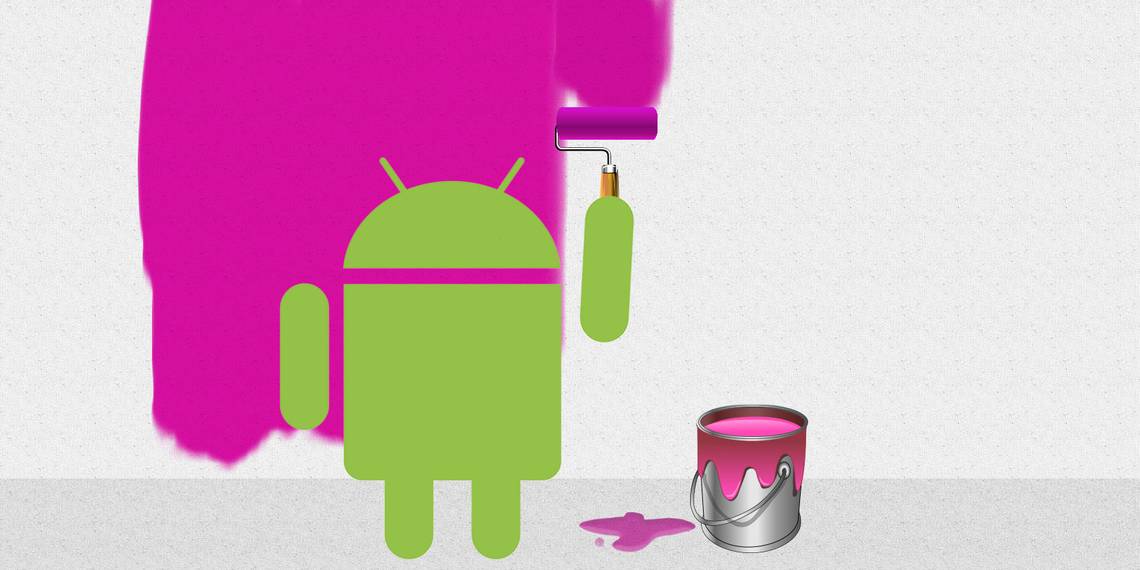
But you don't have to wait for Android 7.0 Nougat to get a flavor of the new navbar -- thanks to a little-known feature on Android 6.0 Marshmallow, you can install it today. Plus, you can install all kinds of other cool themes.
To find out more, let's take a look at RRO Layers.
What Is RRO Layers?
Runtime Resource Overlay (RRO) is a Sony-developed facility that provides the basis for custom theming on Android 6.0 Marshmallow, and as long as your device is rooted and you have an app like Layers Manager installed, you can apply some customizations to make Marshmallow look exactly how you want it.

As an example of how good it can be, Sony uses RRO Layers to theme the user interface on its Xperia handsets. In fact, RRO Layers looks as though it was adopted by Google to assist device manufacturers who would previously create their own versions of Android, like Samsung's Touchwiz and HTC's Sense.
Pushing updates through manufacturers, though, has led to painfully slow updates for most users. So if manufacturers can be encouraged to use RRO Layers instead, then it seems there is a good chance that updates to Android -- particularly critical ones -- can be expedited.
Install Layers Manager to Get Started
To enable access to RRO, you'll need a rooted Android device running an AOSP-based custom ROM, and you'll need to install Layers Manager from the Play Store.
(If you have a phone or tablet running CyanogenMod or a CM-based ROM, you can't use Layers; instead, try out the CM Theme Engine.)
After launching and granting superuser permissions, browse to the Layers Showcase option. Click the menu button and check the Free Layers and Paid Layers lists, where you'll find a nice selection of themes. Installing one of these is relatively simple. Find the one you want, check the gallery of screenshots to double check, then Get Layer to install it from the Play Store.

Once installed, you'll need to activate the theme in Layers Manager. This will undoubtedly involve enabling some plugins (see below), which will be listed individually, although you can install them in bulk by flicking the switch. Hit the paint roller button when you're ready to Install Overlays and apply the theme, tapping Reboot when instructed to restart your phone, or use the Soft Reboot option in your power menu. Once this is done, perform a full reboot, and the theme should be applied.
Run into problems? If you're getting an error downloading themes or plugins, it could be because your Android system partition is full. In this situation, try cleaning out some of your unused files or apps.
Three Options You Should Try
A brief browse should reveal a whole host of themes to choose from, but which ones should you consider installing? It's really up to you, but the following trio of themes will give you a good look at how the overlay software can instantly re-theme your Android device.
Note that plugins are required to help some of these themes work properly. You should check each theme as you install it for any required plugins that will enable it to work as required.
Azure Free
As you might have guessed from the name, this theme adds a beautiful new blue theme to Android, with enough plugin overlays included to theme all of the usual AOSP apps.

I quite like the look of this, so I've kept it as the theme on my Nexus 5 (our review).
Grounge - Layers Theme
This paid theme ($0.99) brings in a whole new bunch of styles. That's right: a theme that comes with its own themes included! Whatever your color, there should be an option for you here, and you'll find that all of the usual AOSP apps are given a new look, along with the notification area, settings menu, even Google Now.
Nougat Navbar
We shouldn't ignore the Android Nougat-inspired navbar, which isn't a full "theme", but it works just the same. To get started, download this plug-in from Google Play: N Navbar - Layers/RRO.
(Note that the Android Nougat navbar overlay won't work with CyanogenMod. Instead, use NNav Bar CM12/13.)
Now, in your Layers Manager app, open the menu and select Install Overlays and look for NNavbar -- select it to open. Check the screenshots and look at the options (you can choose Classic, Original, Original Transparent, and White), then confirm the choice by tapping the paint roller button, and reboot your phone when instructed.

When the phone restarts, the Android Nougat-style navbar should be enabled! If you prefer a wider selection of navbar themes, meanwhile, take a look at Navigate - Layers Theme, but note that you'll also need Busybox installed.
Can You Make Your Own Themes?
If all this talk of changing your Android theme has got you thinking about making your own, you have several options. For CyanogenMod users, we suggest taking a look at our guide for creating an Android theme with the ThemeDIY app.
Meanwhile, if you want to make your own theme for non-CM devices, you'll need Android Studio and a couple of other apps -- this online tutorial should point you in the right direction.
What do you think of the Nougat navbar? Have you found any particularly awesome themes in Layers Manager? Run into any problems? Tell us about it in the comments.