If you're new to Adobe Photoshop, as everyone is at some point, then you may not be familiar with the idea of layers. Thus, we parepared a Photoshop layers tutorial for you.
Most modern image editing software uses layers to allow you to make changes on top of what's already there in a non-destructive way. This means you can edit your image as you like, making each change on a new layer, and just hide or delete layers to see the previous version.
Layers are fundamental to Photoshop and if you're editing without taking advantage of them, you're really not using the program to its full potential.
Think of each layer as a piece of transparent plastic or glass that you lay over the original image. You can make changes to each layer without affecting any of the others. When you paint or draw or type on one layer, you can still see through to the layer below. You can also remove layers (delete or hide) without affecting the others. Very convenient.
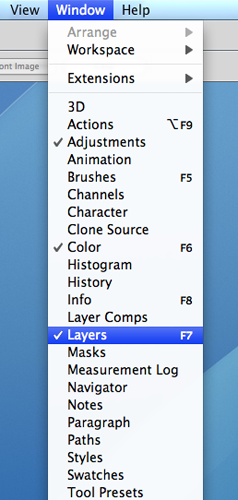
To get started you need to make sure your layers palette is open. If you don't see it in the bottom right of your screen, then click on Windows in the menus and choose Layers or hit F7 on your keyboard.
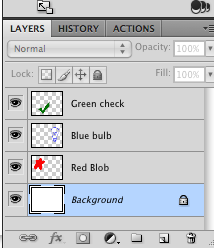
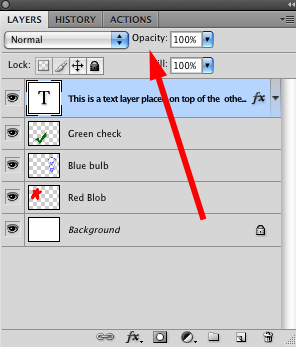
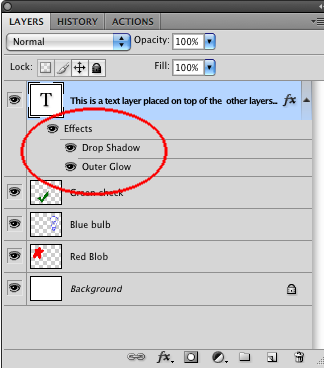
Now here's what the layers palette looks like
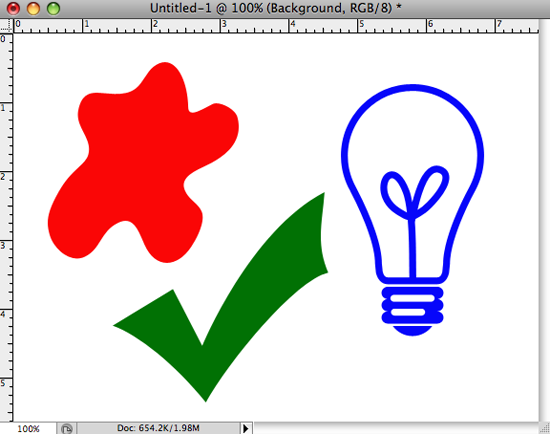
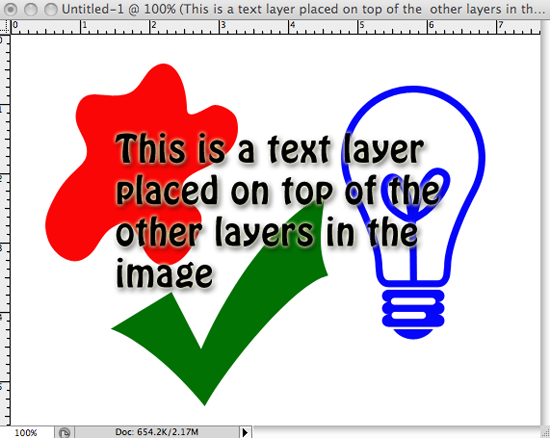
... and here's the image itself.
The little eyeball next to each layer indicates that layer is visible. Clicking on the eyeball toggles the visibility. The icons (with the checkerboard backgrounds) represents each individual layer and the image in each shows the relative position of the layer contents on the image as a whole. You can manually change the name of each layer. This comes in very handy when dealing with 10, 20 or more layers in one image.
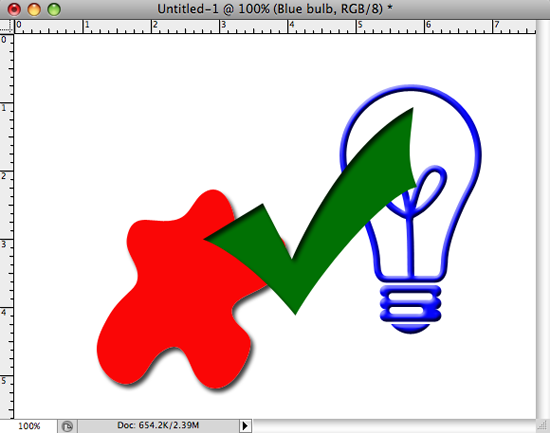
In the image above, each of the three items are on their own layers, so I can move them around or make other changes to them, without affecting the other layers. Here's an example:
Here are some things you can do with layers:
Add text to a picture
When adding text to an image you add it on its own text layer. Text layers can only contain text and only text layers can contain editable text. You can make changes to a text layer (eg: drop-shadow etc.) without affecting the image below it.
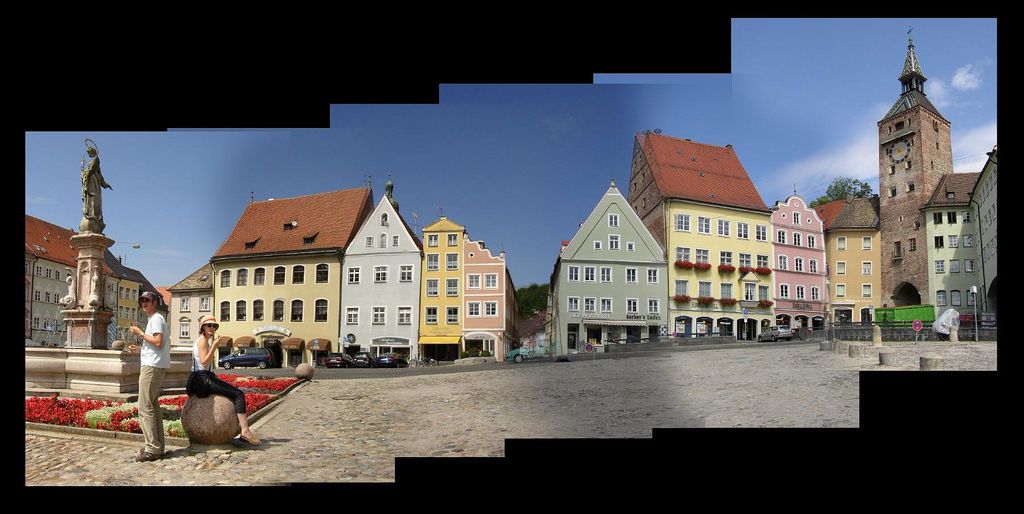
Create a montage
You can create a picture montage with each image on its own layer, thereby making it easier to move them into the proper place.
Using an auto-select layer might come in handy when creating a montage. By default you must select which layer to edit in the layers palette. With the auto-select layer checked, Photoshop selects whatever layer it thinks you want, based on where you click.
Darkroom type effects
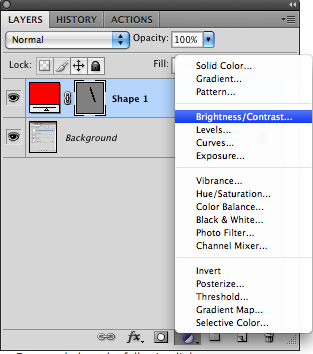
There are special layers in Photoshop called adjustment layers. These allow you to non-destructively make adjustments to your image. You can use these to increase contrast, or mute some overpowering colours or even convert your entire image to black and white. I'll look at adjustment layers in more detail in a future post.
All layers have an Opacity slider. This lets you either reduce the opacity (make it fade away) of whatever's on the layer. In the case of adjustment layers, the slider allows you to reduce the strength of an effect.
Layers have Blend Modes which are special ways of blending a layer with the ones below it.
You can also add effects to a layer, things like drop shadow and gradient overlay. Once applied, these effects are listed in the layers pallette and can be easily edited later without affecting anything else you've done.
These are but a few of the many things you can do with layers in Photoshop. In fact, just about everything you do to an image should happen on it's own layer, so you can easily revert to a previous version.
Please note: I'm using Photoshop CS4 for this tutorial. YMMV on other versions. Please ask in the comments if you have any questions about the version you're using and I'm sure I or someone else will be able to help.
Picture credit: Daveybot


