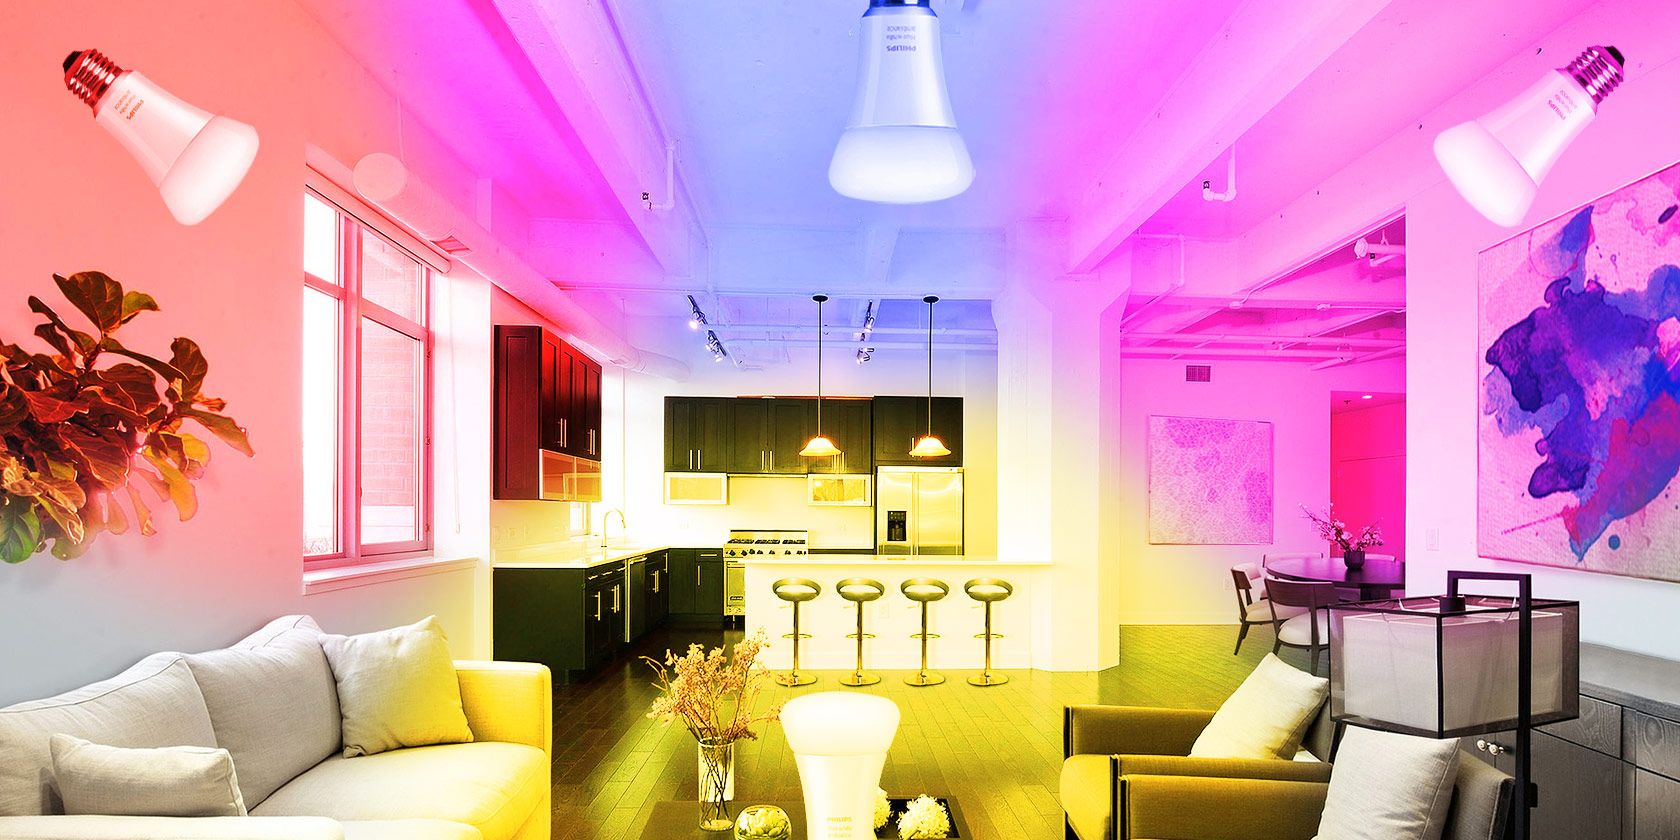
I have quite a few Philips Hue bulbs around the house, but I haven't used the official app in over a year. Even though it's recently been updated to add some neat features and a modern design overhaul, the app remains limited to only controlling your lights (and even then, only one specific brand of lights).
I don't want one app to control half my lights, another for my TV, and yet another to report the sensor data. In fact, I don't want to control any of it manually at all unless something is broken. A smart home is supposed to be smart enough to do it all automatically!
So here are 6 ways you can make your Philip Hue lights more useful, and augment – or ditch – the default Hue lighting app. Don't be a slave to your so-called "smart" devices!
Automate (Slowly) with IFTTT
If-This-Then-That is probably the easiest upgrade you can give your Hue lighting system, and requires no additional purchases. All you need is to sign up to a free IFTTT account, then find some "recipes" that interest you.
By installing the IFTTT app on your phone, you can use your phone's GPS signal to trigger actions when you arrive home or leave for work. Here's a simple recipe to get you started – turn off all the lights when you leave home:
You can use the same recipe with other family member's mobile devices too – perhaps activating a light to indicate when they've arrived at work, home or any other location. This is called geofencing, and has a variety of uses.
It's easy to link your Hue bulbs with any of the hundreds of services available on IFTTT (most of which are not particularly useful, like using the weather channel to change your lights blue if it's going to rain), but the service is very limited. You can't have conditional scripting or combine different recipes, so you're limited to one trigger connected to one action (for multiple users, this would mean all the lights get turned off while someone is still at home). Zapier does offer multi-step automation, but the service isn't free.
There's also usually a delay, sometimes as much as 5 minutes – so IFTTT is unsuitable for use with a motion sensor, for instance. For more complex and time critical interactions, you'll need to spend a little.
Add a Motion Sensor (The Easy Way)
The Zuli smart plug uses your smartphone and Bluetooth scanning to perform presence detection for multiple users. You place a Zuli smartplug in one of the room's sockets, and it detects when you're in that room (or rather, when your phone is in that room).
The principle is identical to our auto-locking office door project, only built into a plug. Having recently added Hue support, you can now specify lighting profiles for different users and rooms; so as you enter your living room, the Zuli smartplug detects you're there, and turns on the lights. It also works with Nest, if you have a house with individual thermostatic room control. A 3-pack is available for $120; iOS only.
If that's too limited for your needs, you will need to ...
Buy a Hub
If you have a selection of disparate smart home products, each with their own control apps, the single most important upgrade you can make to your system is purchasing a smart home hub.
"But I already have the Hue hub!", you cry. Unfortunately, that little white box that came with your Hue starter kit isn't actually a hub – it's just a network bridge between the proprietary Zigbee network that the lights run on, and your home computer network. There are no brains inside the Hue bridge, so in order to give your Hue lights more intelligence and autonomy than the simple smartphone app allows – and to connect them with other smart home devices – you'll need a hub.
This device will sit on your network and act as a central controller to replace all those different apps. At a deeper level, it'll allow you to automate actions based on time, user presence, and other sensor readings. This enables you to, for instance, turn on your Hue lights when motion is detected and light levels are low – a huge upgrade compared to pulling out your mobile phone just to turn on a light!
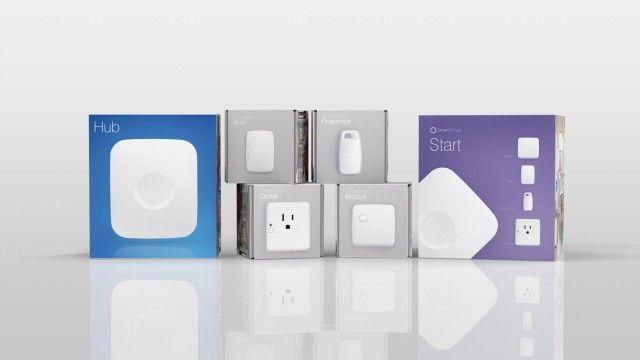
There's a large range of smart home hubs out there, but your choice will likely be based on existing hardware in your house. Samsung SmartThings is generally considered to be the most user friendly, and there's a range of first-party sensors you can integrate, as well as compatibility with an extensive range of Z-Wave devices (a well established standard for home automation devices).
Use a SmartThings Arrival [Broken URL Removed] sensor to turn on and off lighting when you arrive and leave home. A motion sensor will give you more granular control for lighting in specific rooms. For your living room, use this Kodi plugin to control and react to media playback states – like "dim the lights when Kodi is playing".
One word of advice though: stick to large, established brands, and ignore smart home hubs that promise to be compatible with any smart home device, or those that require a connection to a cloud server to run. Revolv was a promising start-up that integrated many different smart home networks; it was bought by Google and shut down, citing increased support and cloud server maintenance costs (despite being originally sold with a "lifetime subscription").
The Revolv hubs are now as useless as a hockey puck. Klug is still in crowdfunding stages, but promises to "just plug into your router" and magically make every smart home device work together. It won't, I promise you – nothing is ever that simple when it comes to smart home devices. Avoid hubs that over promise and don't already have the backing of a large company or an established user base.
If you can't find a hub that fulfils all your needs, or don't want to be tied to a particular manufacturer, don't panic – you can always make your own.
DIY Smart Home Hub
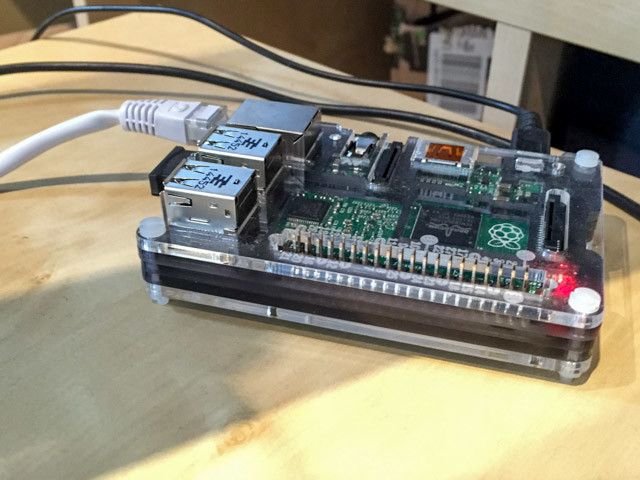
The two most popular DIY solutions for rolling your own home automation hub are currently OpenHAB and Home Assistant; both can run on a Raspberry Pi, and have a large community of coders that work tirelessly to provide free integrations with a variety of smart home devices, including Philips Hue.
In fact, there is no commercially available hub that offers nearly the same level of compatibility as either of these. I'm currently running OpenHAB to integrate:
- Some DIY smart sensors
- Off-the-shelf Z-Wave sensors and plugs
- Custom MQTT sensors and Arduino relays
- 4 Hue bulbs
- TV remote control via a Harmony Ultimate
- ...and much more.
Extensive scripting support enables me to code in some complex automation rules to activate a slew of devices with a single scene command, as well as motion sensors with a timer for basic lighting. This is all done with a $35 Raspberry Pi, and a USB Z-Wave adapter.
This comes at a price though: you are expected to run through lengthy and complex installations (usually with a command line), configure things yourself, and seek out your own support online when things don't work. Don't worry though – I've written a complete getting started with OpenHAB guide, as well as a second tutorial on integrating Z-Wave sensors and MQTT protocols.
Add Voice Control
Voice controlling your home is the stuff of sci-fi movies, but you can have it now. If you have a second generation Philips Hue bridge (that's the square one with rounded corners, not the circular one), congratulations – your system can already be linked to Apple devices for Siri control.
To set it up, just open the Hue app and navigate to Settings -> Siri Voice Control, which will export your lights and scenes into the Apple HomeKit profile. You should immediately be able to control your lights with Siri; try something like "Turn on my bedroom light and change it to pink" or just set the scene "set scene bedtime".
You'll need an Apple TV if you want to use this when outside of your home. To set up more complex commands which chain together multiple actions, use the free Elgato Eve app, which works with anything compatible (not just Elgato products). We even showed you how to make your fake Hue lights with a Raspberry Pi.
Amazon's Echo and other devices that integrate Alexa voice services can also control your Hue bulbs. To enable this new skill, open the Alexa app and go to Skills -> Refine -> Smart Home Skills, and find the Philips Hue option. Unfortunately, you're limited to brightness and on/off – there's no color control -- at least not without some complex workarounds.
Like most things, there's a DIY option for voice control too: a Hue module is available for Jasper, an open source always listening voice command system that can run on Raspberry Pi.
Enhance Your TV Experience
"Ambilight" has become a generic term for ambient screen backlights that change to match the on-screen action, but the term originated as a branded feature of certain Philips TVs. It's like surround sound, but for light. Newer Ambilight-capable Philips TV now integrate with the rest of your Hue room lighting too, and the effect is quite stunning:
Unfortunately, it seems Philips no longer makes TVs for the US market, so you'd need to import or look at DIY options.
The HueImmersive Java app achieves a similar effect by averaging the colors on your monitor. There's a faster, Mac-specific option too that runs on Python. There's even a MineCraft Hue plugin [Broken URL Removed], which adds a huge amount of immersion to the game.
How Do You Use Hue?
There's a lot of useful and entertaining ways to make use of your connected Hue lights, so I'm sure we've missed some. Have you tried immersive gaming or TV experiences, or do you prefer the more practical solutions, like being woken up with a color to indicate today's weather? What's the most useful way you've found to automate your lighting?


