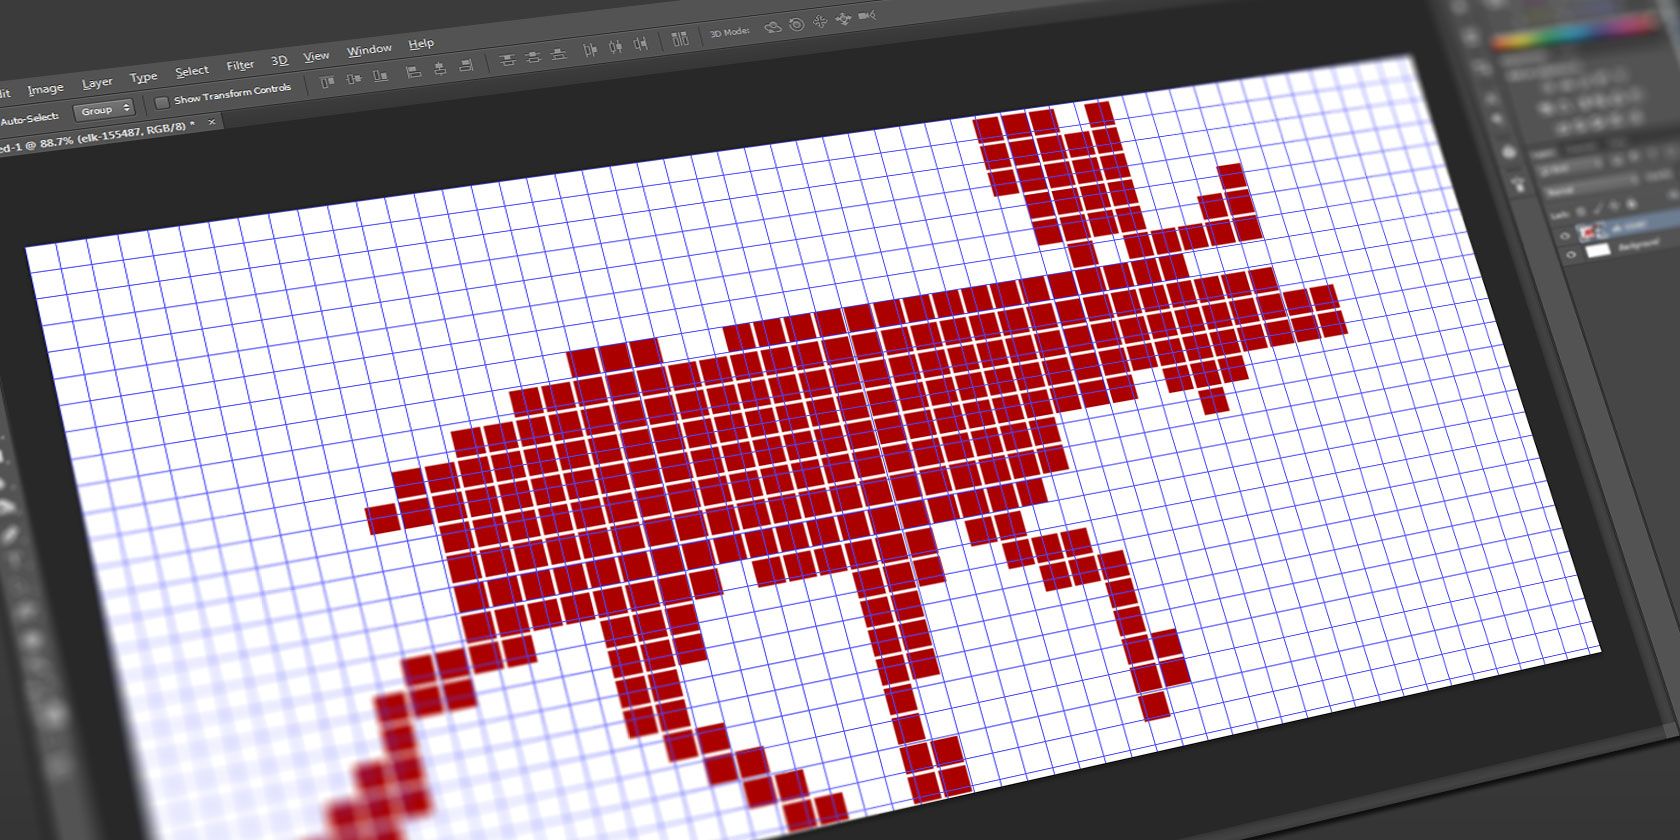
Pixel art will never go out of style. Even at its worst, there will always be a loyal fanbase that prefer the look of stylish retro graphics, but the past few years have seen a resurgence in the popularity of pixel art thanks to the rise of indie games.
Some might say that the pixel art era was the golden age of gaming. Indeed, pixel art is so beloved that some even replicate its aesthetic using homemade bead creations, as seen in this collection of gaming gifts.
But as simple as it seems, pixel art isn't exactly easy, especially if you use the wrong tools. Despite all of the free image editing programs available, nothing beats the sheer power and flexibility of Adobe Photoshop -- as long as you set it up correctly.
Note: All of these instructions are based on Photoshop CS6, but can be followed in other versions of Photoshop without much deviation.
Turn On the Grid Overlay
First things first, you have to turn on the grid. Pixel art is inherently a grid-based art because you're dealing with a grid of individual pixels. Without a visual guide to where these pixels are, the actual artistry becomes more frustrating than fun. Skip this step at your own peril.
In the menu, go to Edit > Preferences > Guides, Grid & Slices. In the resulting window, you'll see a Grid section. Set the Color and Style however you like, but make sure that Gridline Every and Subdivisions are both set to 1. Click OK to save.
Then, go to View > Show > Grid to enable the actual grid.
Switch the Ruler From Inches to Pixels
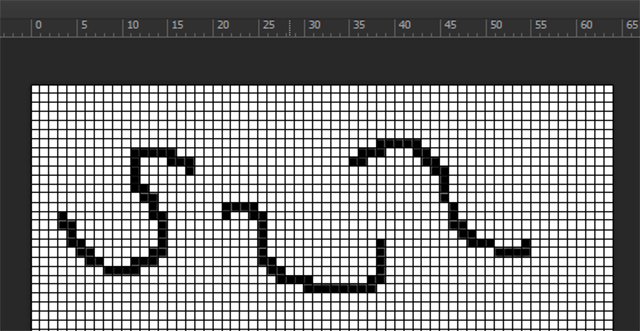
While the grid mentioned above is helpful, it can be a bit difficult to tell which particular pixel you're working with. Maybe not so much if your image is only 8x8 or 16x16 in size, but it's a different story when you're working with graphics that are 32x32, 64x64, or bigger.
First, enable the ruler by going to View > Rulers.
Once the rulers are visible -- there should be one along the top and one along the left -- you can right click on either, then select Pixels. Now you have a quick guideline that you can use for estimating your pixel positions.
Track the Cursor Position
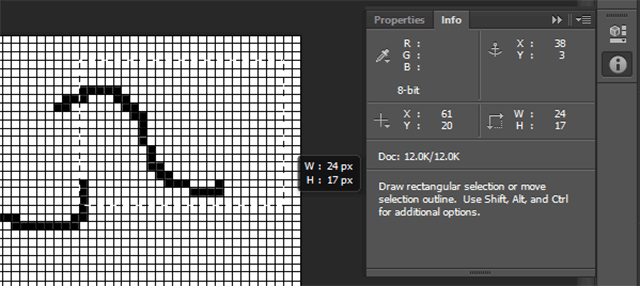
While the ruler guidelines are great for quick glances and rough estimations, sometimes you need to know the precise location of the mouse cursor. Fortunately, there's an option that lets you see these details in real time, and it's appropriately called the Info Window.
Go to Windows > Info to enable it. A panel will open up that shows the X and Y position of the cursor, and if you do any drag-related action (such as box selection), it will also show the Width and Height of the drag.
Pixel-Perfect Tools
The Magic Wand tool is one of the more useful tools available in Photoshop. With it, you can select entire chunks of similar-toned pixels with a single mouse click. Many people use it to strip away backgrounds from an image, for example. (Learn more about this in our beginner's guide to Photoshop.)
But if you want pixel-perfect precision with the Magic Wand, you'll need to reduce the Tolerance down to 0. Higher tolerances are useful when dealing with photographs and such, but not so much when you're working with individual pixels.
Other tools, like the Gradient tool, also rely on a Tolerance value to determine which pixels get filled. Always set Tolerance to 0 when working with pixel art. In addition, when applicable, always uncheck Anti-Alias and always check Contiguous when working with pixel art.
Disable Blur When Resizing Images
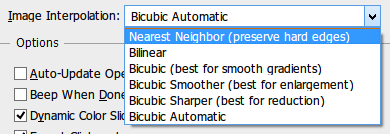
Have you ever completed an image only to realize that it's too small or too big? The quickest fix is to directly stretch or shrink the image, but Photoshop can be finicky when it comes to resizing because, by default, it uses a Bicubic interpolation algorithm.
Fortunately, you can change which algorithm is used.
First, go to Edit > Preferences > General to open up the Preferences window. Here you'll find an option labeled Image Interpolation with a dropdown menu. Change it from Bicubic Automatic to Nearest Neighbor, then click OK.
Now when you resize an image up or down, Photoshop will directly scale the colors based on the source pixels. No more blurry edges and no more fuzzy artifacts.
Set Up Multiple View Windows
As a pixel artist, you're going to spend a lot of time zoomed in on the image you're working on. This means that if you want to see what the image looks like at normal magnification, you're going to be doing a lot of zooming out and zooming back in.
That is, unless you open up a separate viewing window.
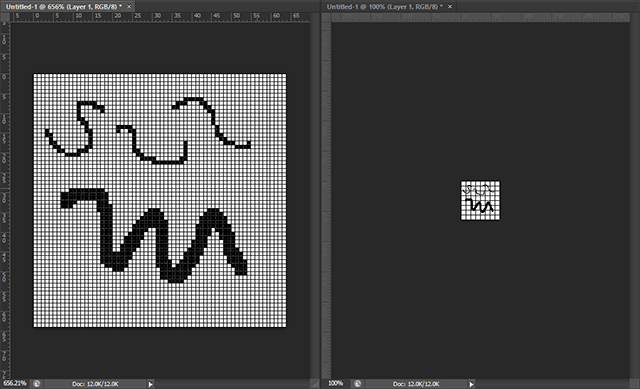
It's pretty simple to set up. Go to Window > Arrange > New Window for [Project Name]. And then, if you select Window > Arrange > Tile All Vertically, you'll see two copies of your image side-by-side. Zoom in on one and keep the other at 100% zoom for maximum convenience.
Photoshop Pixel Art Can Be Pain-Free
Photoshop might be intended for photo manipulation, but with a few simple tweaks, it can be a productive powerhouse for pixel artists. That being said, don't feel obligated to use it if you don't want to; in fact, when it comes to free software, few can beat the viable Photoshop alternative, GIMP.
Now that your workflow is set up, maybe it's time to sharpen your actual art skills. Check out these awesome pixel art resources for tutorials and guides, and tune into these creative art Twitch channels to watch artists in real time. And if you want to expand past pixel art, don't skip these digital art tutorials.
Do you use Photoshop for pixel art? Know any other tips and tricks for productivity? Or if you use different software, what do you use? Tell us in the comments below!

