Generally, Stacks has been ill-received by the Mac community due to its lack of functionality although it was pretty hyped up before Leopard was launched.
In my opinion, Stacks isn't as bad as most people make it seem. After a bit of brainstorming, I managed to find a few more good uses for Stacks. Some of them may not be new tricks but I'd like to share them with you anyway.
Mail Attachments Stack
For those of you who use Apple Mail as the default mail application, this may actually come in useful for you. You can create a Stack to show all of your recent mail attachments.
Here's how it works: every time you use Quick Look to preview mail attachments or directly open them by double-clicking on the attachment, they are automatically stored in ~/Library/Mail Downloads/
Simply drag the Mail Downloads folder to the Stacks section of the Dock and let go.
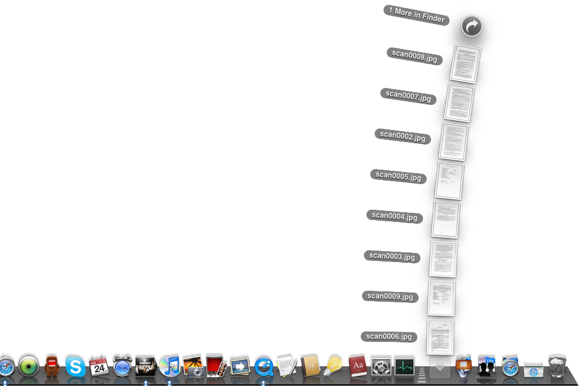
You may be overwhelmed by the thousands of attachments you have in there. It's a good idea to arrange it by 'Date Created' and display it as Fan or List view so that you'll know which are the latest attachments.
Any attachments which aren't previewed with Quick Look or opened directly in Mail or instead, saved to the 'Downloads' folder will not show up in this folder.
Recent Applications/Documents/Servers Stack
This is a Terminal trick to make a Recent stack show up in the Dock. If you take a look at the Appearance preferences (System Preferences ->Appearance), you'll notice a section which lets you determine the number of recent applications, documents and servers to display. This will generate a list located in the menu bar, click on the Apple icon -> Recent Items.
This is what you'll need to do if you want that list to appear as a stack. Open Terminal (located in the Utilities folder or just Spotlight for it) and copy and paste these 2 lines of commands individually:
defaults write com.apple.dock persistent-others -array-add '{ "tile-data" = { "list-type" = 1; }; "tile-type" = "recents-tile"; }'
killall Dock
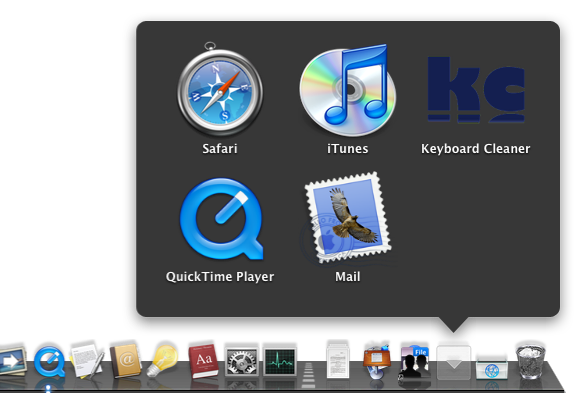
After the Dock relaunches, the Recent Items stack will appear.
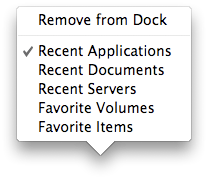
Right-click on the stack and there is a contextual menu which will allow you to display the recent documents or servers instead.
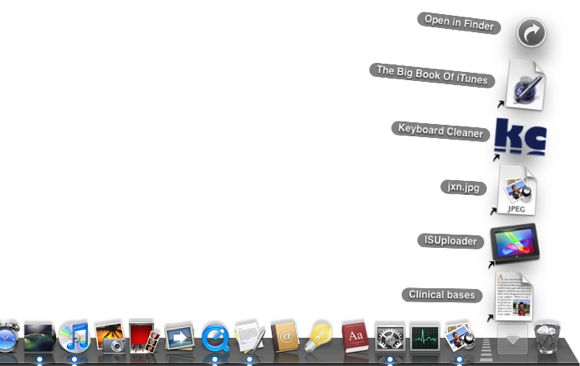
The 'Favorite Items' stack doesn't really work in Leopard - it merely displays the 'Places' section of the Finder sidebar. If you want to display your favorite items...
A Favorites Stack
A Favorites stack is basically a stack of anything which you add to the Favorites folder. This function is not unavailable in Leopard, it's just slightly harder to find.
The old 'Control-Option-Click' shortcut to make an item a Favorite doesn't work in Leopard. Instead, what you need to do is click on an item to select it, click on the File menu, press and hold the Shift key and click 'Add to Favourites'. Or select an item and press Command-Shift-T.
The shortcuts/aliases are stored in ~/Library/Favorites/. Drag that folder to the Stacks section in the Dock to make your Favorites stack.
Preferences Stack
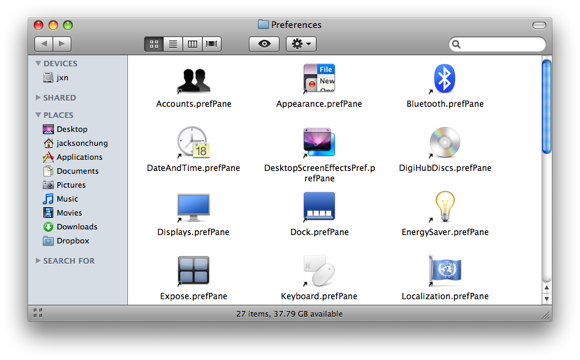
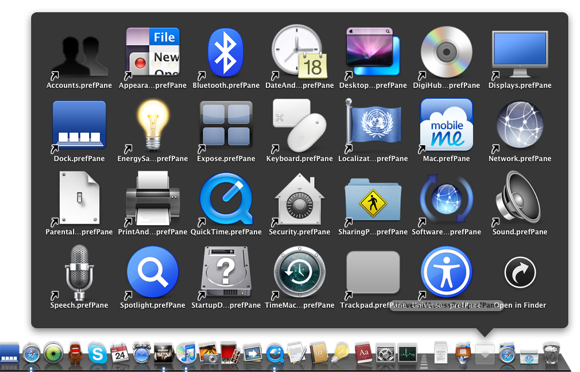
By making a Preferences stack, it's possible to shave a few seconds off your navigating time. It's not very difficult to make this stack. I'll just need to explain something: the preference panes you see in System Preferences are located in various folders. Also, it's not necessary to add all the preference panes to the Stack. For instance, I hardly ever go to the Speech preference pane so I can exclude that from the Stack.
To make this stack, create a folder called Preferences and place it in your Home folder.
Open a new Finder window and go to System/Library/PreferencePanes. Command-click on the preferences you want to add to your stack, then Command-Option-click and drag them to the Preferences folder in the other Finder window. You should end up with a folder of aliases to the preference panes.
These are only the default preferences from Mac OS X. The other preference panes for example Perian or Flip4Mac WMV are located at ~/Library/PreferencePanes. Repeat same procedure to put their aliases into the Preference folder you've created.
Once you're done, drag the Preferences folder to the Stacks section of the Dock.
Stacks as actual drop boxes
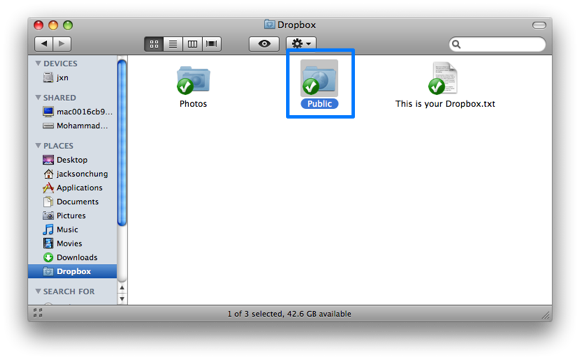
By creating stacks for the Public Folder located in your Home folder; and the Public folder in the Dropbox folder (not applicable if you don't use Dropbox), you can literally create drop boxes as dumping grounds for everything you want to share with others.
Drag-and-drop anything into these stacks and they're automatically shared within your LAN or through the internet (in the case of Dropbox). To find out how to set up sharing within your local area network, take a look at this Macnifying OS X article.
Are there any other useful Stacks tips you'd like to share with our readers? Let us know in the comments.


