Are you afraid that someone might rip your video and claim it as their own, potentially stealing away viewers and revenue? Or maybe you just want to generate some additional buzz and publicity by branding your videos. One answer is to use watermarks.
Watermarking is typically done in the video editing phase right before the video is rendered. However, if you have a finished video that needs a watermark and video editing isn't impossible, here are some free ways you can get the job done.
What Is a Watermark?
A watermark is a still image that overlaps a video. It can cover the entire dimension of the video, sit in the center of the video, or rest neatly in one of the corners.
It can be opaque, though most of the time it will be transparent as to not interfere with the video itself. Watermarks are usually some sort of logo but can be text, too.
Here are several different ways you can add a watermark to your video.
1. Add a Watermark to Videos With Video Editor for Windows 10
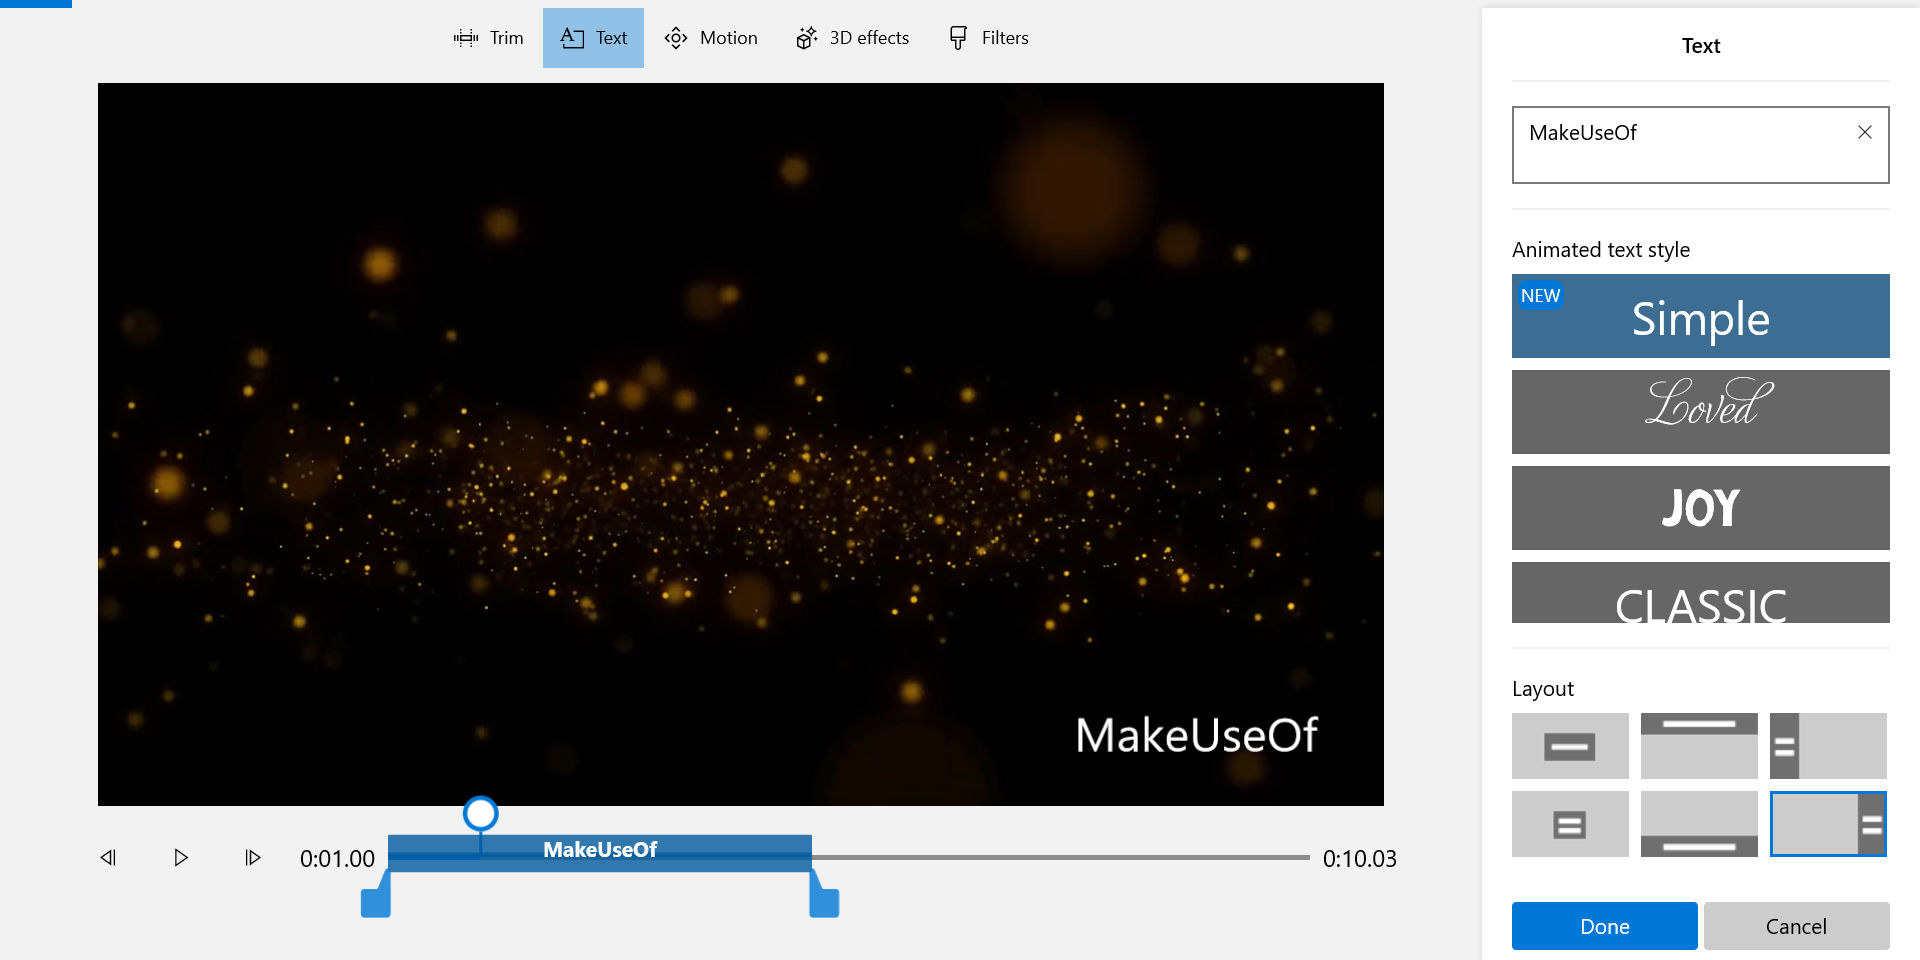
Windows 10 actually comes with a built-in video editor, but it’s hidden in the Photos app and you won’t find it without a bit of digging. This tool comes with many basic video editing tools, and one of these tools lets you add a watermark to your videos.
Of course, since it’s a basic tool, you won’t find many advanced options to customize your watermark. Also, you’re only limited to adding text watermarks as there’s currently no way to use an image as a watermark in your videos.
Another thing to keep in mind is that you can’t freely move around your watermark on your video. There are only some fixed locations where you can place your watermark.
The tool serves the purpose of adding a basic watermark to your videos, and the great thing is it doesn’t require much skill. You can add a watermark even if you’ve never done any video editing before.
2. Watermark Your Videos With OpenShot
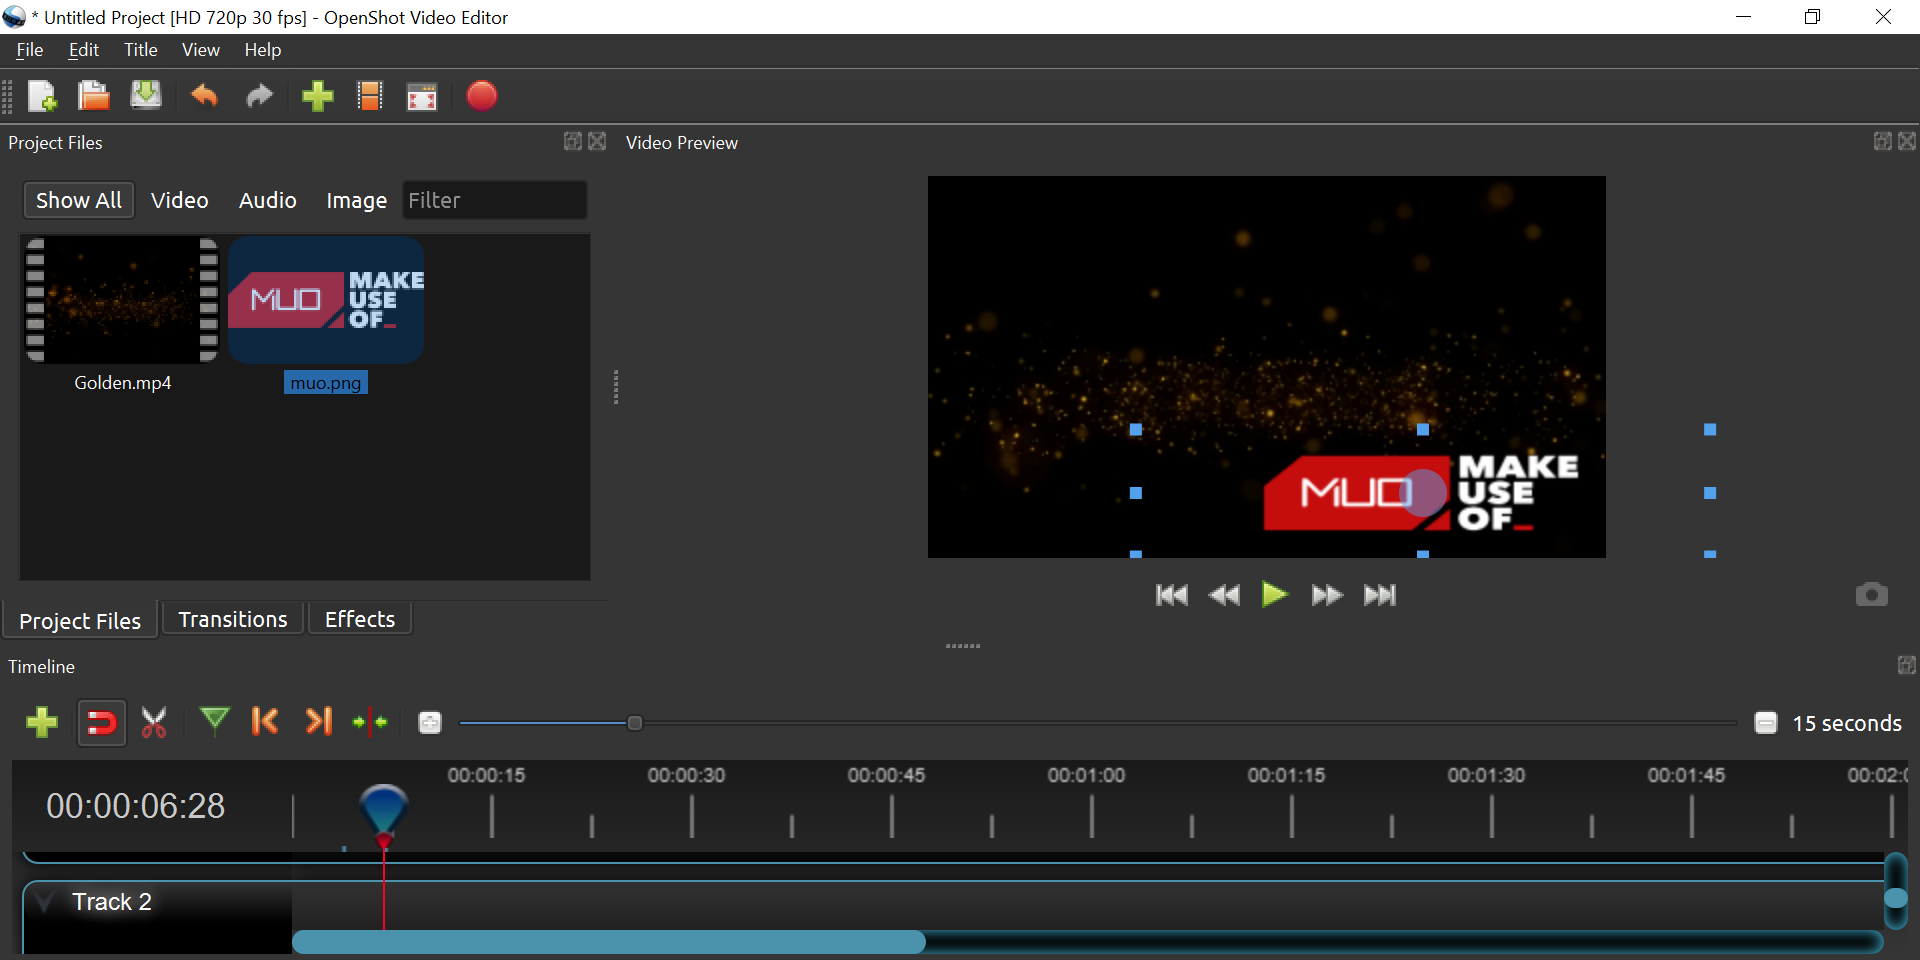
OpenShot is a free and open-source video editor with the ability to let you quickly add a watermark to your videos. You can import an image from your computer as a watermark, or you can type your own text and add that to your videos.
The tool offers many ways to customize the watermark, like the option to change the transparency levels and the duration of your watermark. You’re free to add more than one watermark if you want, as there are multiple editing tracks in the tool.
Although this is a fully-featured video editor, you don’t have to mess around with any complicated features to add a watermark. Simply load the required files, place them where you want, and you’re good to go.
3. Put a Watermark on Your Videos Using Olive Video Editor
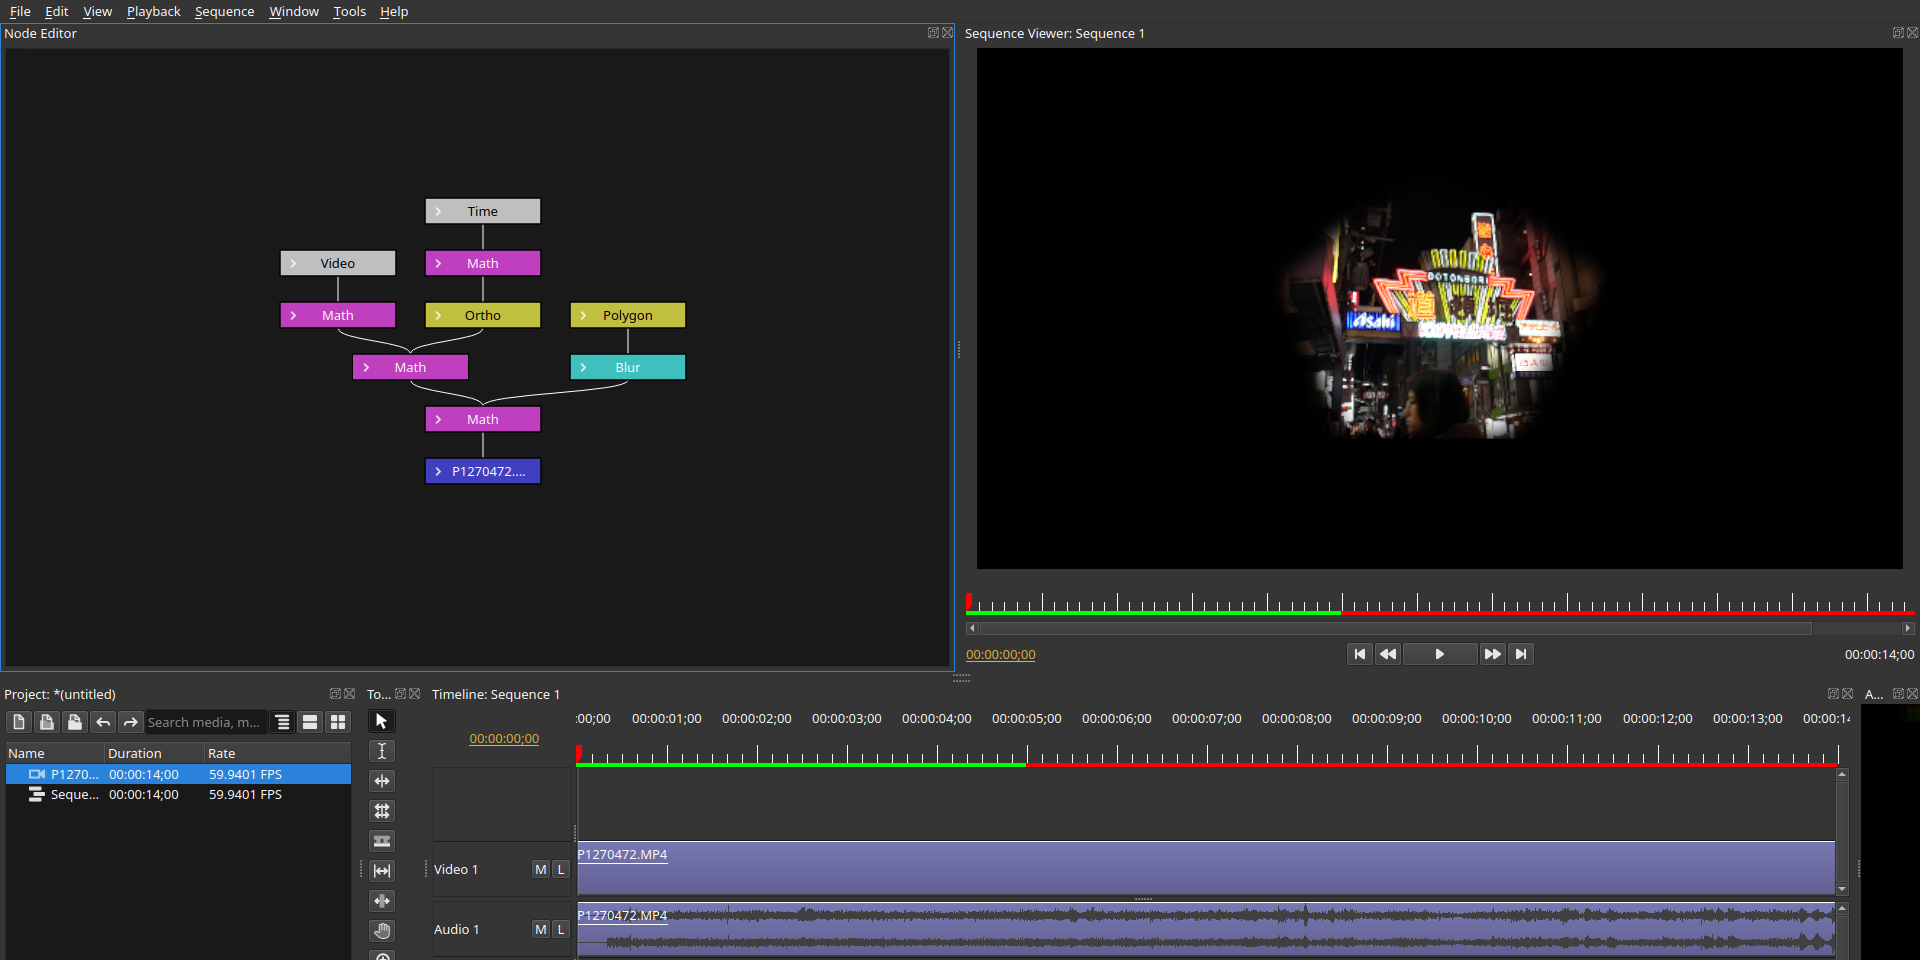
If you want something that’s free, open-source, and supports both text as well as image watermarks, Olive Video Editor is what you need. This program offers several customizable features to let you add a watermark of your choice to your videos.
You can pick any image from your computer to use as a watermark, and then it’s just a matter of placing the image at an appropriate location in your video. If you choose to add a text watermark, you can customize the style of your text by changing the font style, the color of the font, and so on.
There are many tools to play around with to customize your watermark. For example, once you’ve added an image as a watermark, you can drag the edges of the image to resize your watermark.
This is much more convenient and easier to do than to open the image in a photo editor and resize it. You can use the handles around the image to rotate it as well.
You can make your watermark transparent by using the Opacity option on your screen. Lastly, you can make your watermark appear only in certain parts of your video by changing the duration of the watermark on the timeline.
4. Add a Watermark to All of Your YouTube Videos
If you run a YouTube channel, and your goal is to watermark all of your channel videos with the same watermark for branding purposes, you're in luck. YouTube's Branding feature can handle all of that for you. With just a few clicks, you can add a custom image to every video on your channel.
During your video, the watermark will appear as a small image in the bottom right corner of the video. Users can click on it, and will then be directed to your channel.
There are two huge benefits to this:
- If you ever want to change your branding image, you only need to update the Branding settings and all of your videos will have the new watermark.
- Your source videos can remain watermark-free in case you ever want to repurpose them for something else.
To enable Branding:
- Navigate to the YouTube Studio page on YouTube. Ensure you're logged in to your account.
- Click Customization in the left sidebar and then click the Branding tab.
- Click Upload and select the image you want to use for the watermark.
- Select when you want the image to start showing and for how long you want it to show.
Note: The Branding feature is only available to YouTube accounts that are in good standing, meaning that you haven't earned any copyright strikes, DMCA takedown notices, community warnings, etc.
Brand Your Videos With a Watermark
When you share your videos on the web, anybody can download and reuse them in their own projects. While you can’t fully prevent that from happening, you can at least let the viewers know who your video actually belongs to by adding a simple watermark. The above free tools will help you do just that.
If you want more options for adding watermarks to your videos, consider using a full-fledged video editor instead.


