Taking screenshots is something everyone needs to do once in a while. There are numerous screen capture tools out there – some very powerful and costly, and some lighter and cheaper.
But let’s face it, most of us don’t need to use screenshots professionally. We just need a lightweight and simple tool that won’t slow down the computer and will simply do what it’s supposed to – take screenshots. Here are 3 free, simple and lightweight free screenshot programs that do just that.
Snaplr [Windows & Mac]
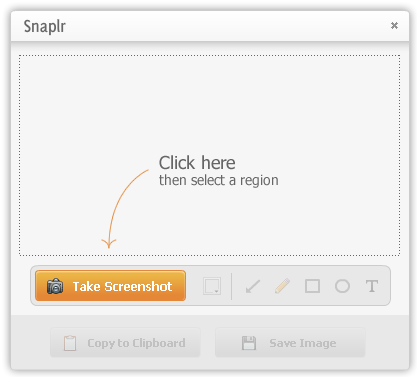
Snaplr is a tiny Adobe Air application that is both slick and extremely simple. There are no hotkeys, no configurations to be done and no options to choose from. Snaplr is basically one single screen:
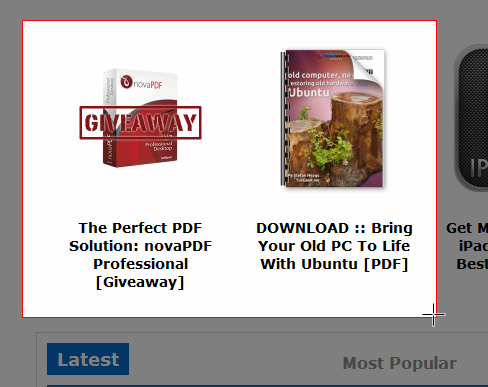
After you click the “Take Screenshot” button, you can choose any window you want and then select the region you want to capture. If you want the whole screen, you’ll just have to choose it by hand.
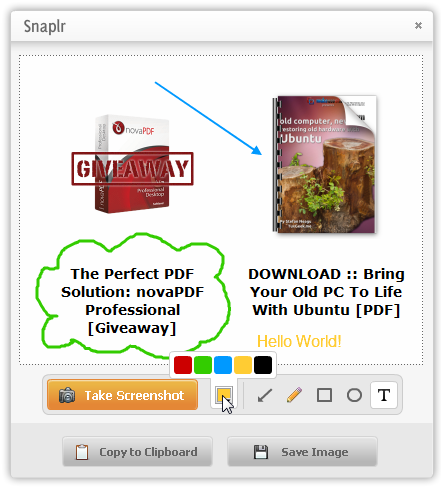
When you let go of the mouse button, Snaplr will pop up again – this time with your captured screenshot inside.
You can now use Snaplr’s limited yet useful annotation tools to add text, draw arrows or shapes, or just freehand with a brush. You can choose from 5 different colors for your annotations.
When you’re done, you can copy your screenshot to the clipboard and just paste it into an e-mail or a document, or you can choose to save it as a PNG file.
This is all you can do with Snaplr, but it really works.
Greenshot [Windows]
If you want something just a bit more powerful (though a bit less slick, I must say), and you’re a Windows user, you should try Greenshot.
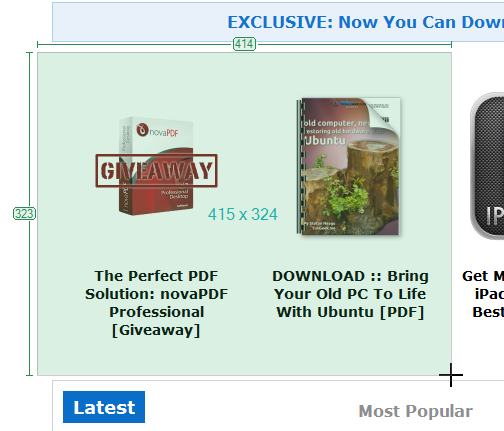
Greenshot offers a lot more options than Snaplr, but the entire package is still minimalistic and light, and you can get down to business pretty easily. After you install Greenshot it will take over your PrintScreen button and will create several hotkeys which you can use to capture your whole screen, a whole window, or a region of your choice.
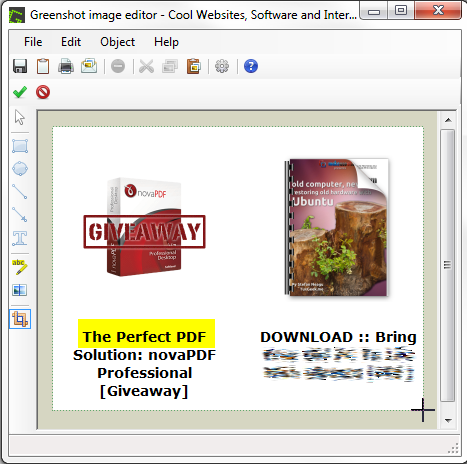
By default, a new screenshot will open in Greenshot’s image editor. Here you can do all the usual things, but with Greenshot you can also highlight and obfuscate text for example, which are pretty handy options. These tools are also pretty configurable: You can choose from blur or pixelize when you obfuscate, and the highlight tool can also magnify or greyscale the entire image but not the highlighted section. You can also crop your image if the original screenshot is not perfect.
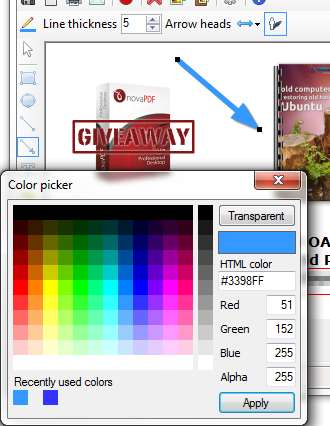
As opposed to Snaplr, here you can choose any color you want for your annotations, and you can also make them transparent. It will even show you the recently used colors.
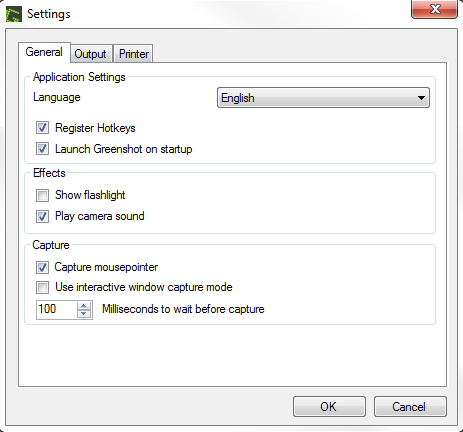
Though not overwhelming, Greenshot does have some settings (which you can ignore if you don’t want to deal with it – it works just fine on defaults). You can’t change the hotkeys, but you can play with effects and capture options.
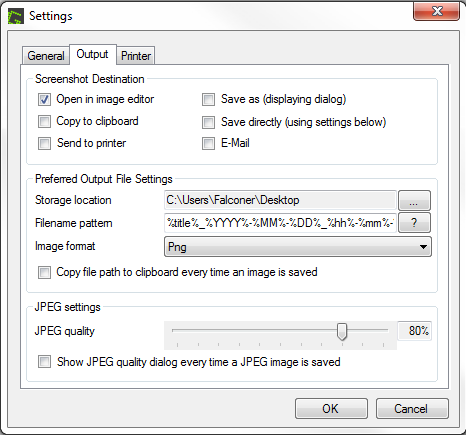
You can also control some output options. Instead of the image editor, you can automatically copy the screenshot to the clipboard once you take it. Alternatively, you can send it to the printer or just save it. You also have some control over the output format and quality.
Overall, Greenshot is a good compromise between a very simple tool and a highly powerful complicated tool. The only bone I have to pick with it is the slightly unresponsive editor interface. For some reason there is no undo option, and deleting annotations proved to be quite a task at times. But for simple usage, Greenshot is a peach.
TinyGrab [Windows & Mac]
TinyGrab is a whole different take on the screenshot world. The name of the game here is sharing. Every screenshot you take is immediately uploaded to the cloud.
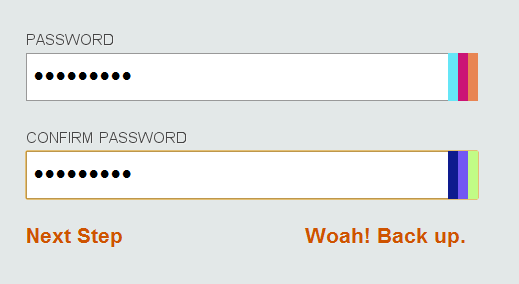
Before you can use TinyGrab, you’d need to create an account. This is slightly annoying, but is sweetened by the beautiful graphics. As you can see, I deliberately typed my password wrong here (the colors don’t match). Brilliant!
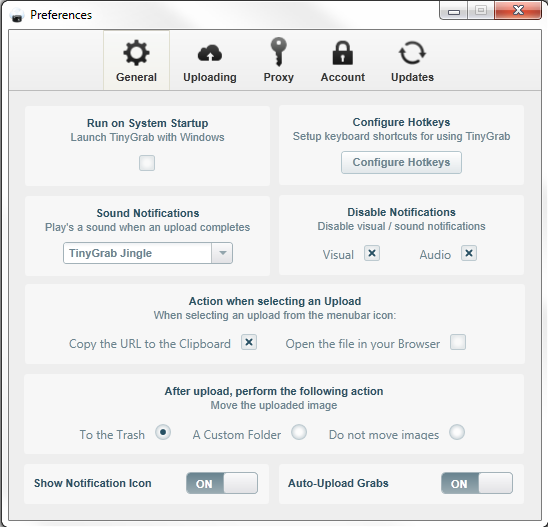
After you download TinyGrab, start by configuring your hotkeys (full screen, active window, or region) and the actions that will take place on and after upload. The preferences are very nicely done and are a joy to play with.
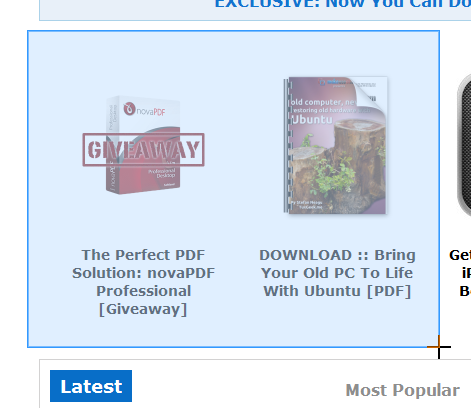
Then go ahead and take your screenshot.
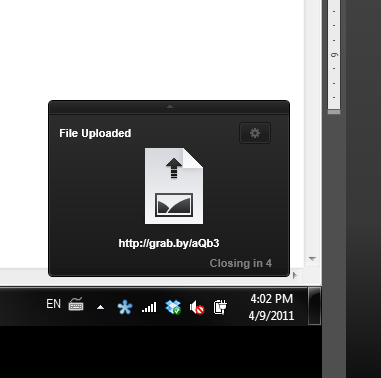
The screenshot’s new URL will be automatically copied to your clipboard. You can now paste it anywhere you’d like and share it.
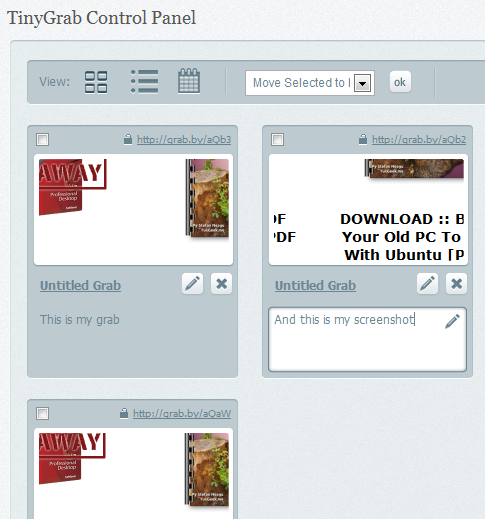
TinyGrab also has an online control panel. You can use it to browse all your screenshots, arrange them in folders and get their respective URLs.
All in all, TinyGrab is a beautiful tool that’s great to use visually and really does what it should, but performance-wise it’s somewhat lacking. The installation wasn’t very smooth, and for such a small and simple tool it had a little too much impact on my not-so-strong computer.
Bottom Line
I tried several free screenshot programs before choosing these three. I think all three of these apps are a great pick if you’re looking for a simple screenshot tool.
If social sharing is important to you, go for TinyGrab. It’s pretty much perfect for that. Otherwise, I highly recommend Snaplr for it’s appealing simplicity, and Greenshot is a good middle solution for those who can’t make up their minds.
If you’re looking for more screen capture tools, check out:
- 3 Fast and Easy Online Screen Capture Tools
- How To Take A Screenshot & Apply Artistic Effects With The New MS Word 2010
- 5 Alternative Screen Capture Tools For Your Mac
- Create Compelling Screenshots With SnapDraw Free 3.20
- SnapShoter: A Screen Capture Tool & Clipboard Manager Rolled Into One
Any other light and simple screenshot apps out there? Do you know of a better solution? Share in the comments!
Image Credit: Shutterstock [Broken URL Removed]


