When you first start taking your photography more seriously, you'll probably consider using editing software. One of the most popular platforms is Adobe Lightroom, used by both amateurs and professionals worldwide.
Lightroom has two different versions: Classic and Creative Cloud. Figuring out the differences between both versions causes confusion for many photographers.
Fear not, though, because this article will help you determine whether Lightroom Classic or Lightroom CC is best for you.
Why Are There Two Versions of Adobe Lightroom?
Both Lightroom CC and Classic are part of the Adobe Creative Cloud plan. Adobe released Lightroom Creative Cloud, often abbreviated as Lightroom CC, in October 2017. The company wanted CC to be a more modern version of Lightroom Classic.
With Lightroom CC, Adobe also sought to introduce an app with a quicker launch time and easier project workflows.
Lightroom Classic vs. Lightroom CC: The Main Differences
Though Classic and CC share a lot in common, you need to know a few key differences. These are listed below.
1. Previewing Images Before Importing
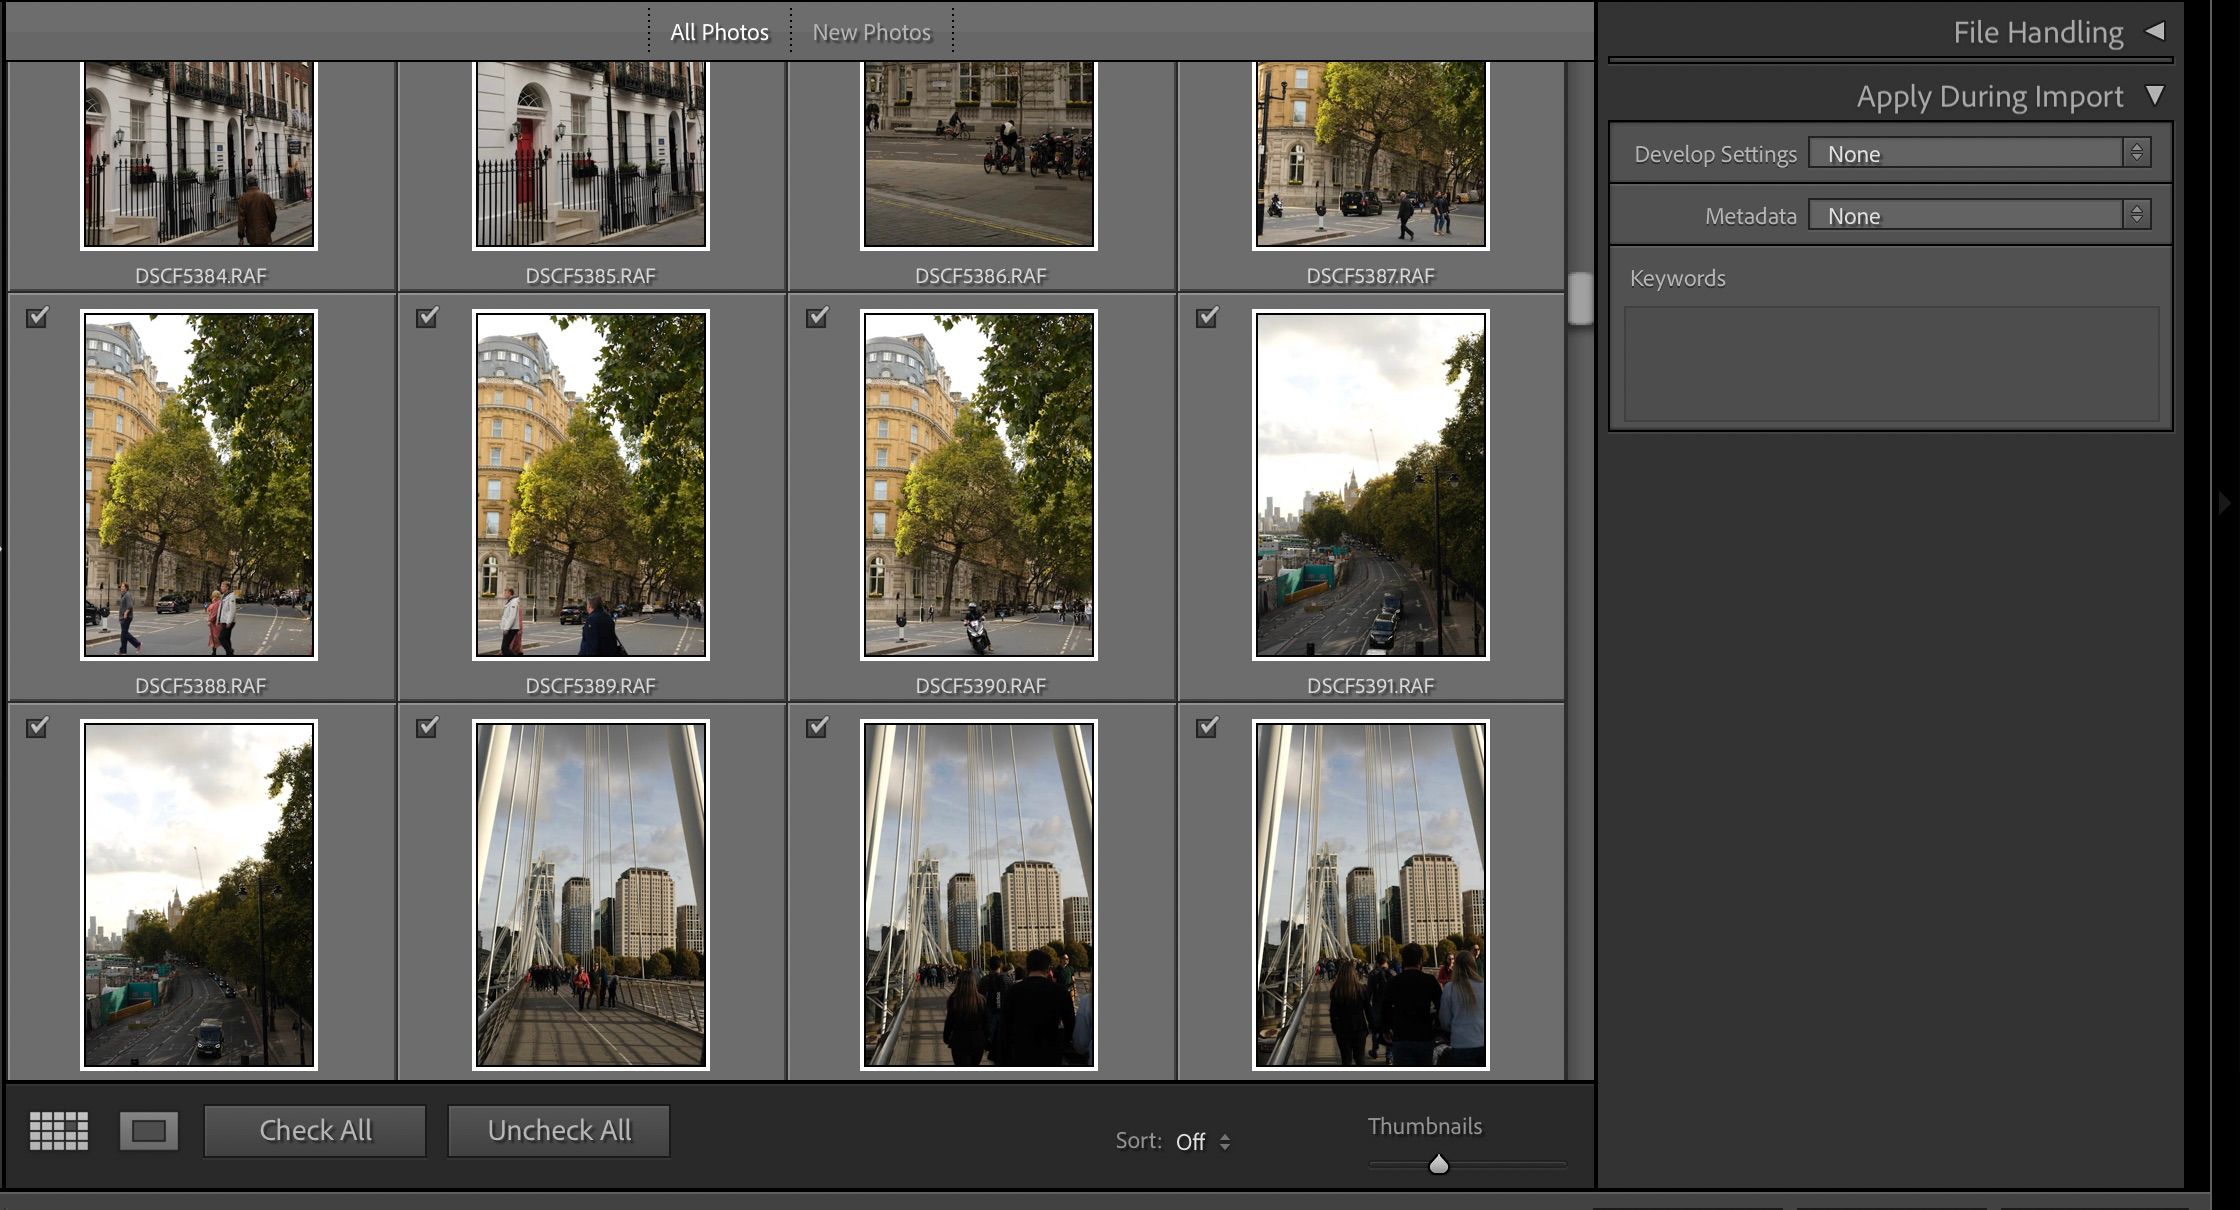
If you have hundreds (or even thousands) of images on your camera's SD card, chances are that you want to preview these before importing them. After all, doing so will save a lot of time when deciding which should stay and which should go.
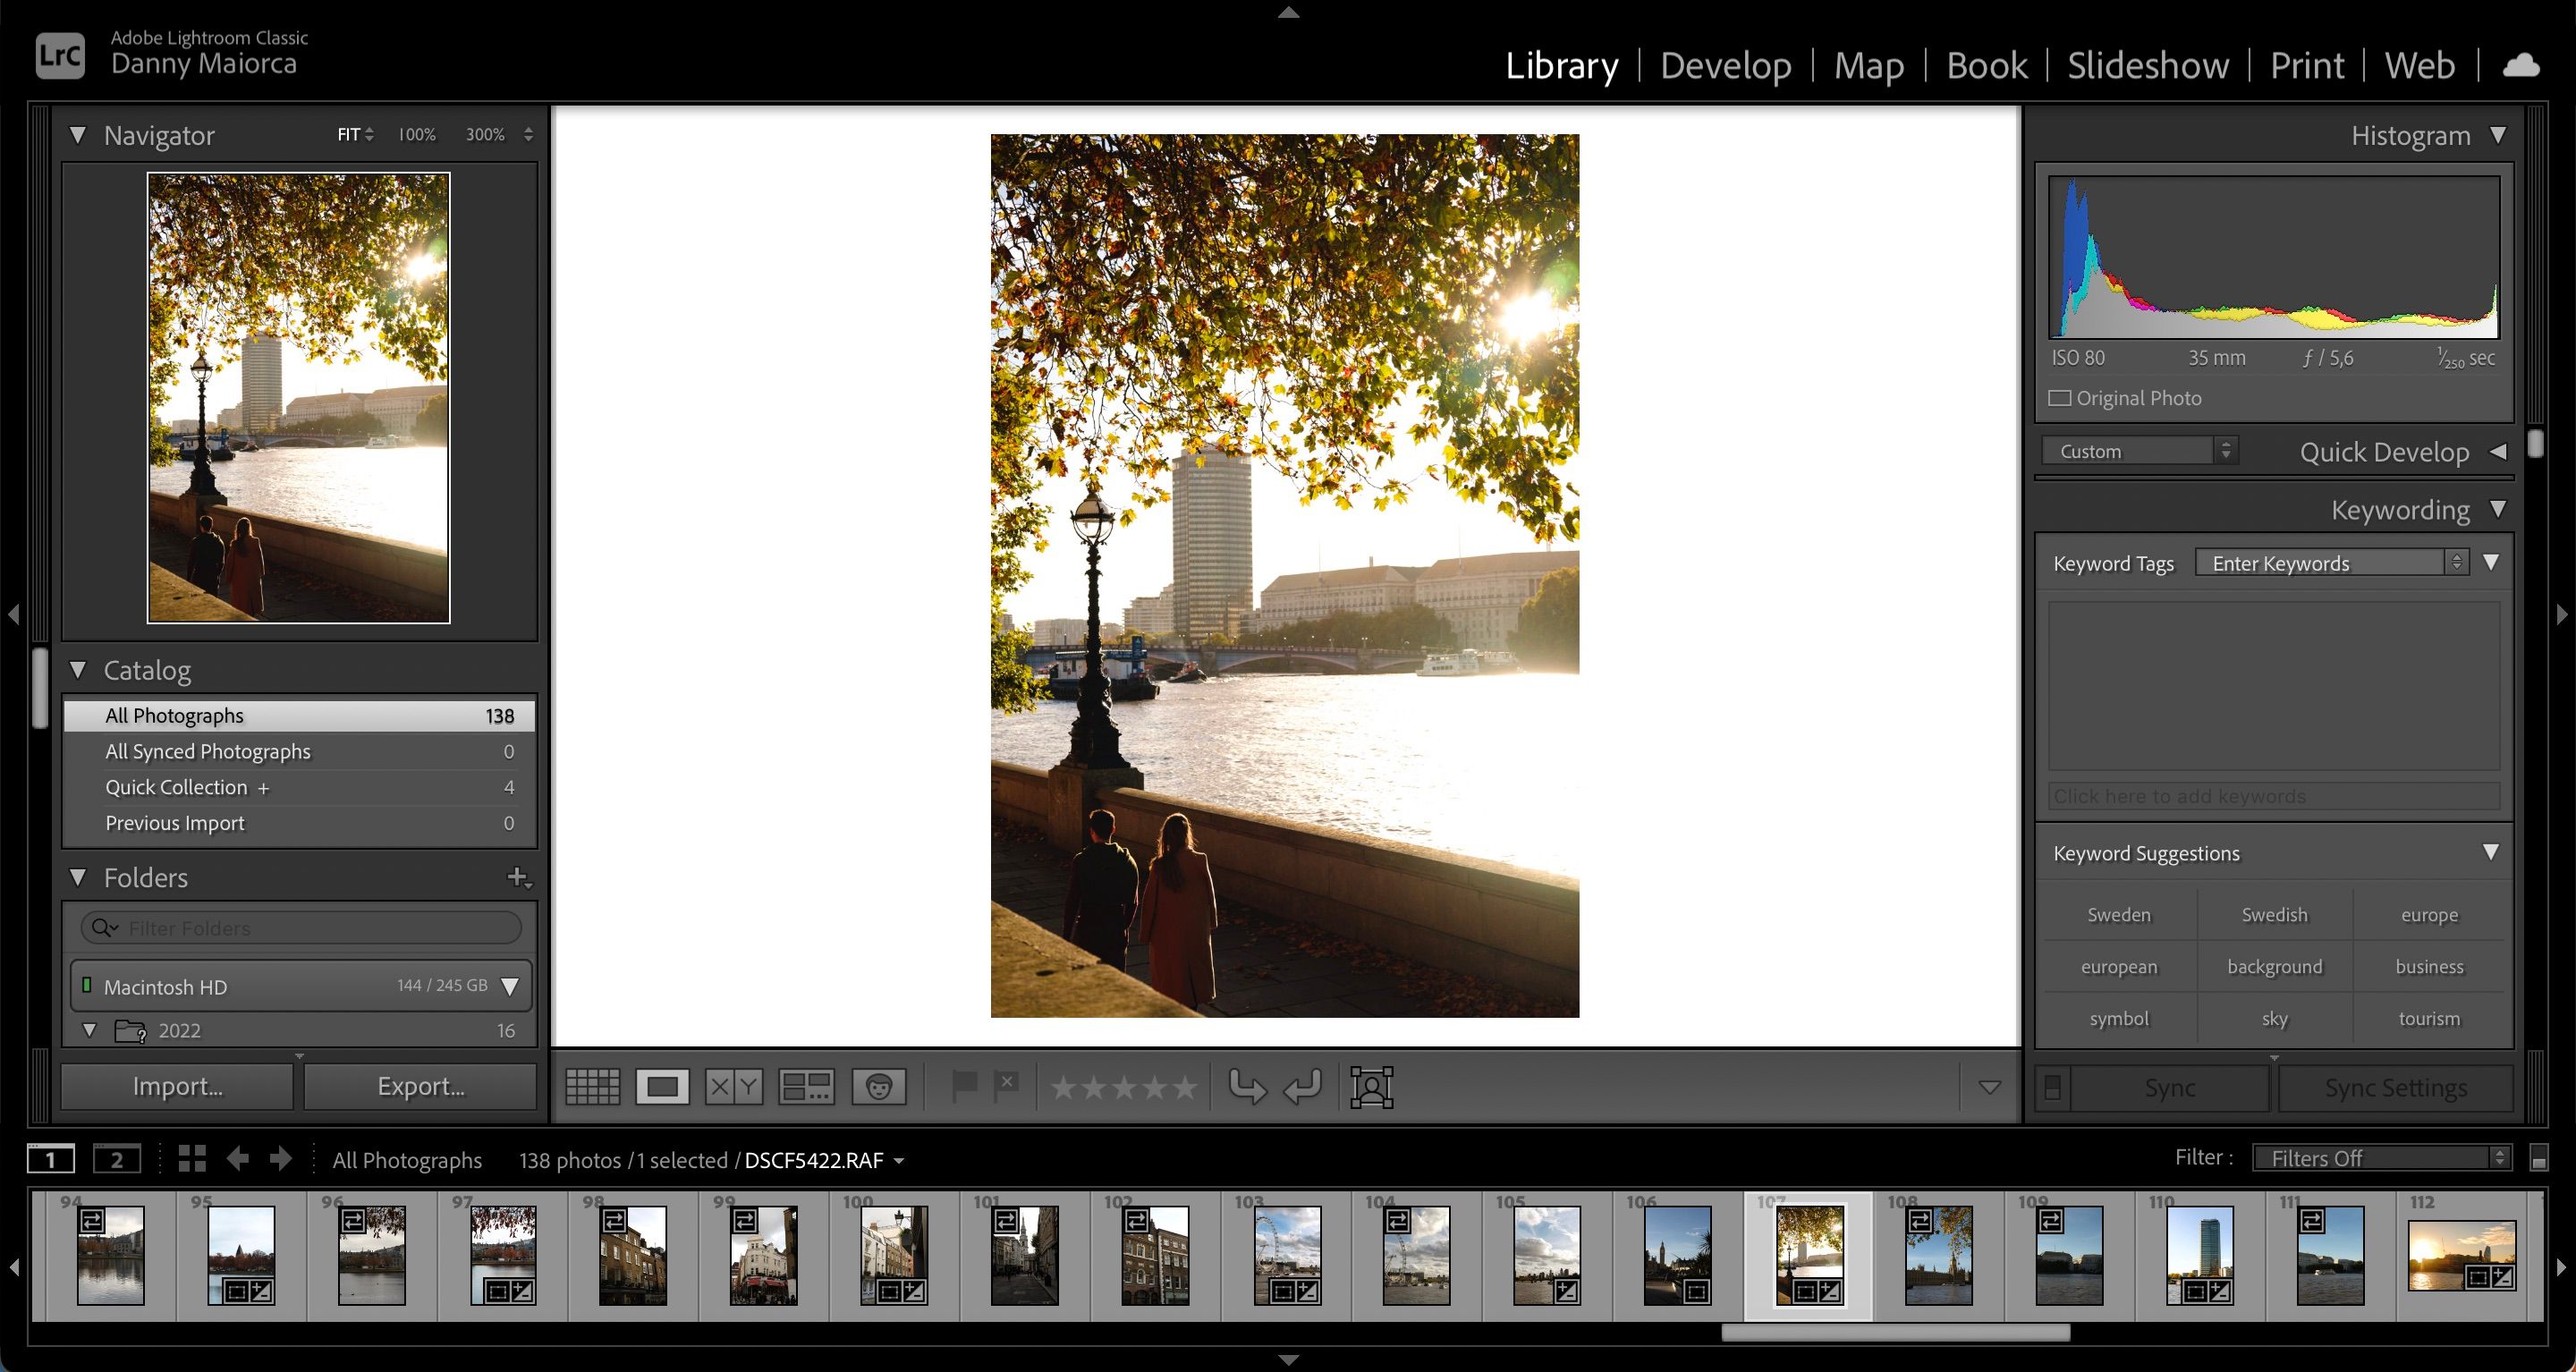
A common cause of frustration for photographers when importing images into Lightroom CC is that they can only see a thumbnail preview. On Classic, you don't have this problem; all you need to do is double-click on a picture to see what it looks like when at full size.
2. The Histogram's Functionality
The Histogram feature on Lightroom helps you see how light is distributed in your photo. And while both Classic and CC have their own versions, how you can use the feature differs significantly.
On Lightroom Classic, you can directly influence the distribution of light in your image through the Histogram. Rather than using sliders, you can alter the graph by clicking on the graph and dragging it to either the left or right.
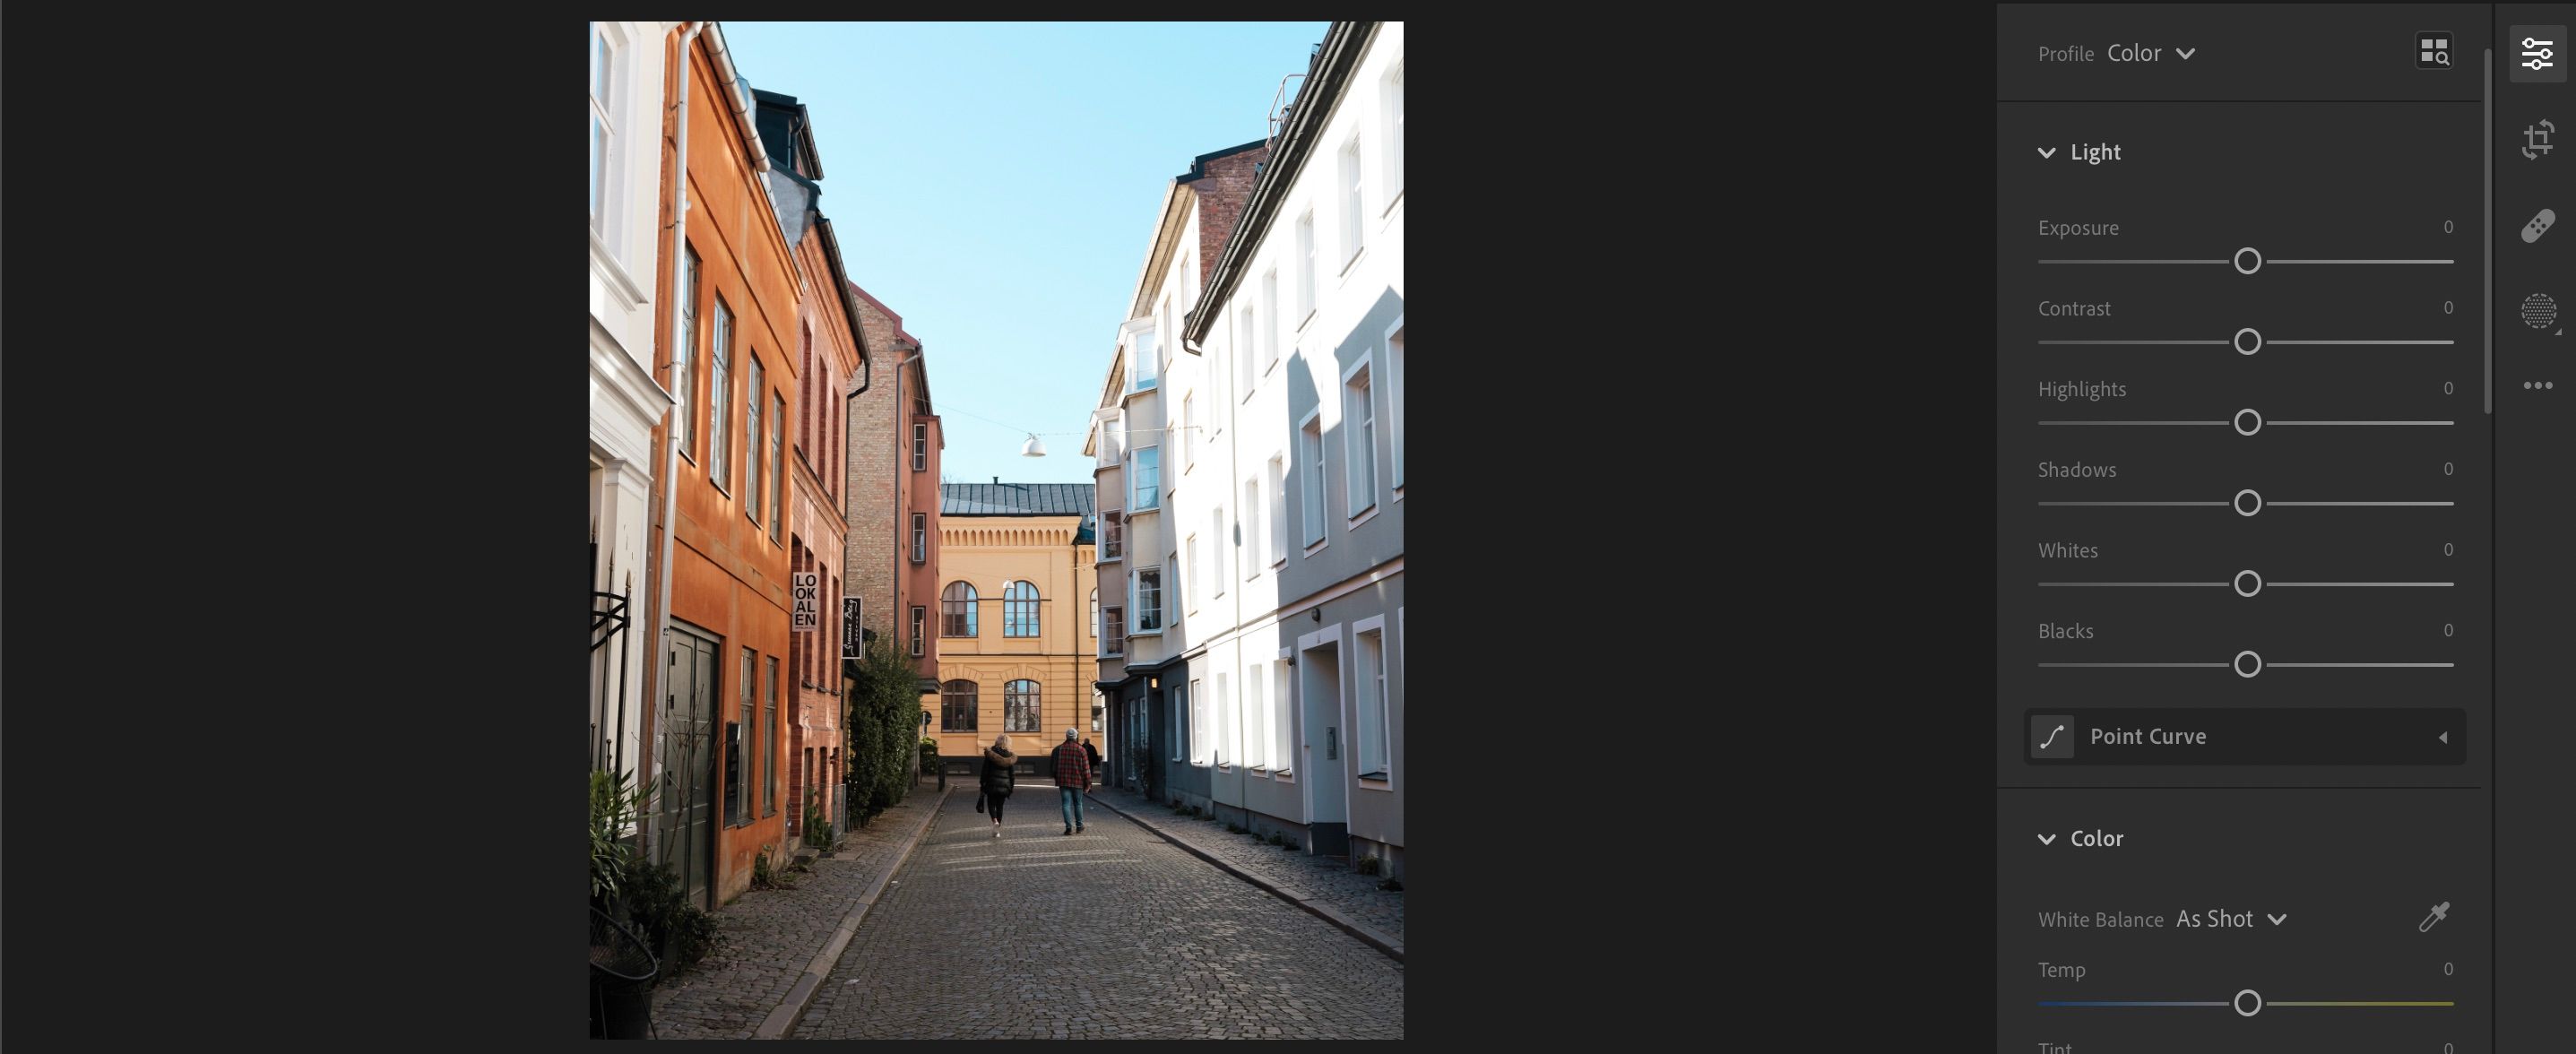
In CC, however, you can only use the Histogram for guidance. To alter the lighting in your image, you'll need to scroll down to specific sliders.
3. Image Export Formats
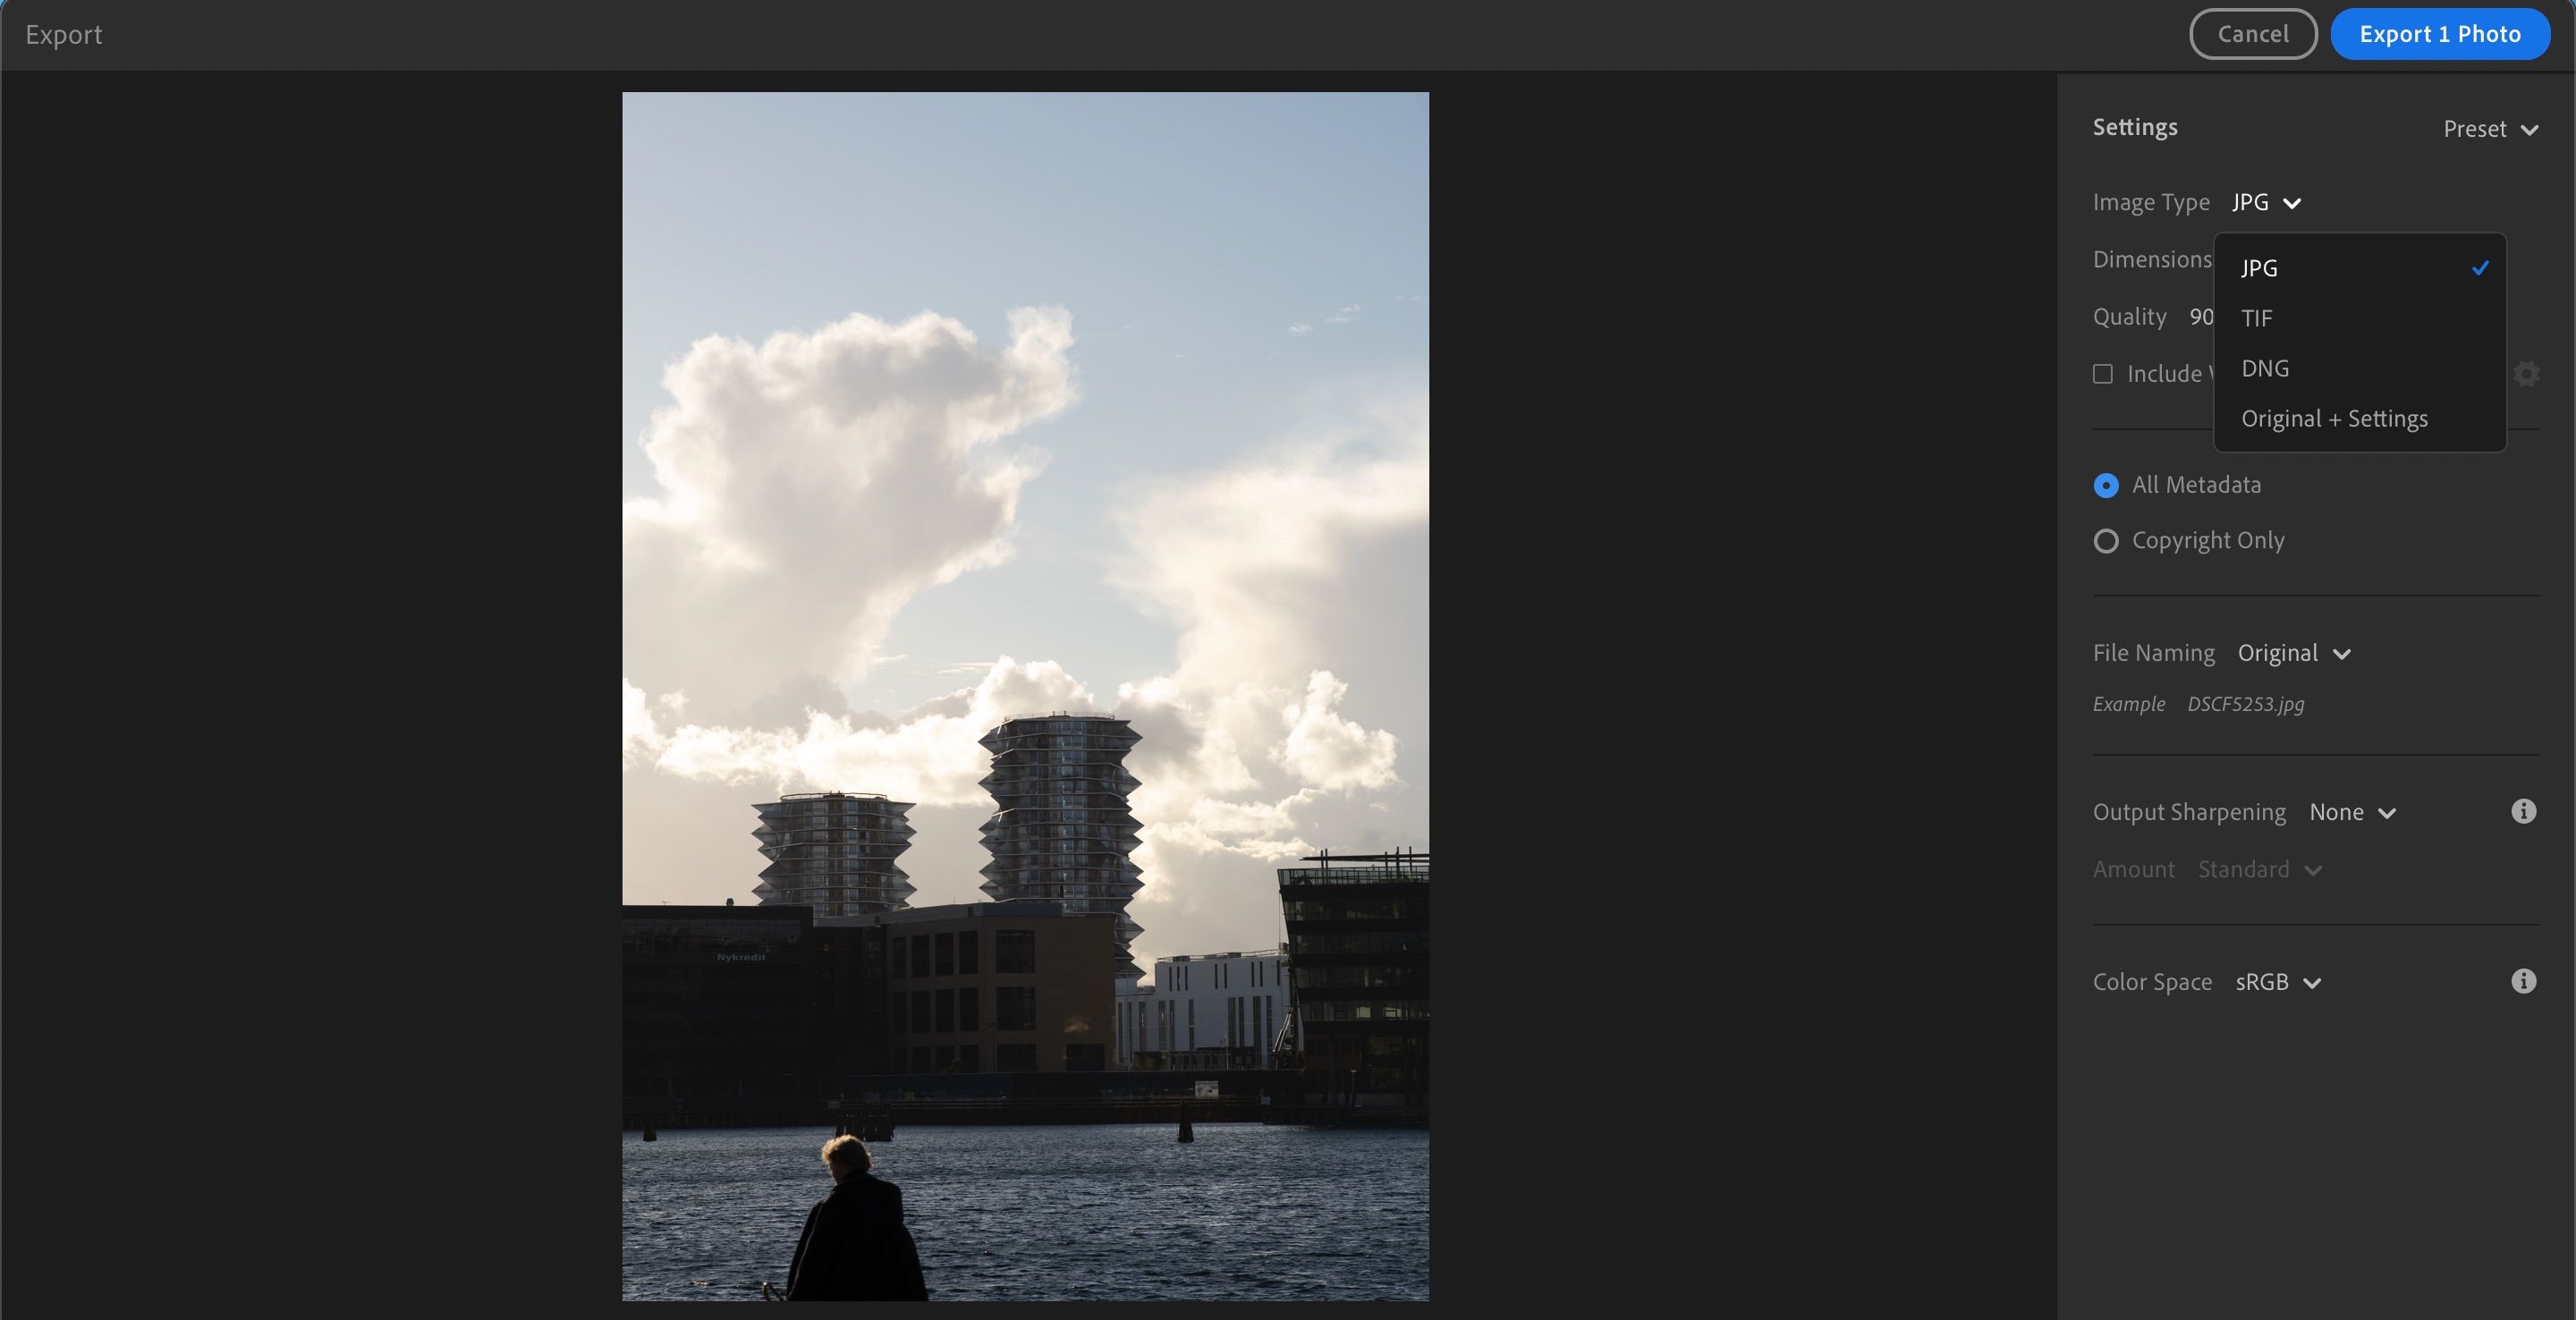
As you might expect from a watered-down version of Classic, Lightroom CC offers limited choices regarding image export formats. When exporting to an external drive on CC, you can only do so via JPG, DNG, or TIF—or whatever the original file was with its settings.
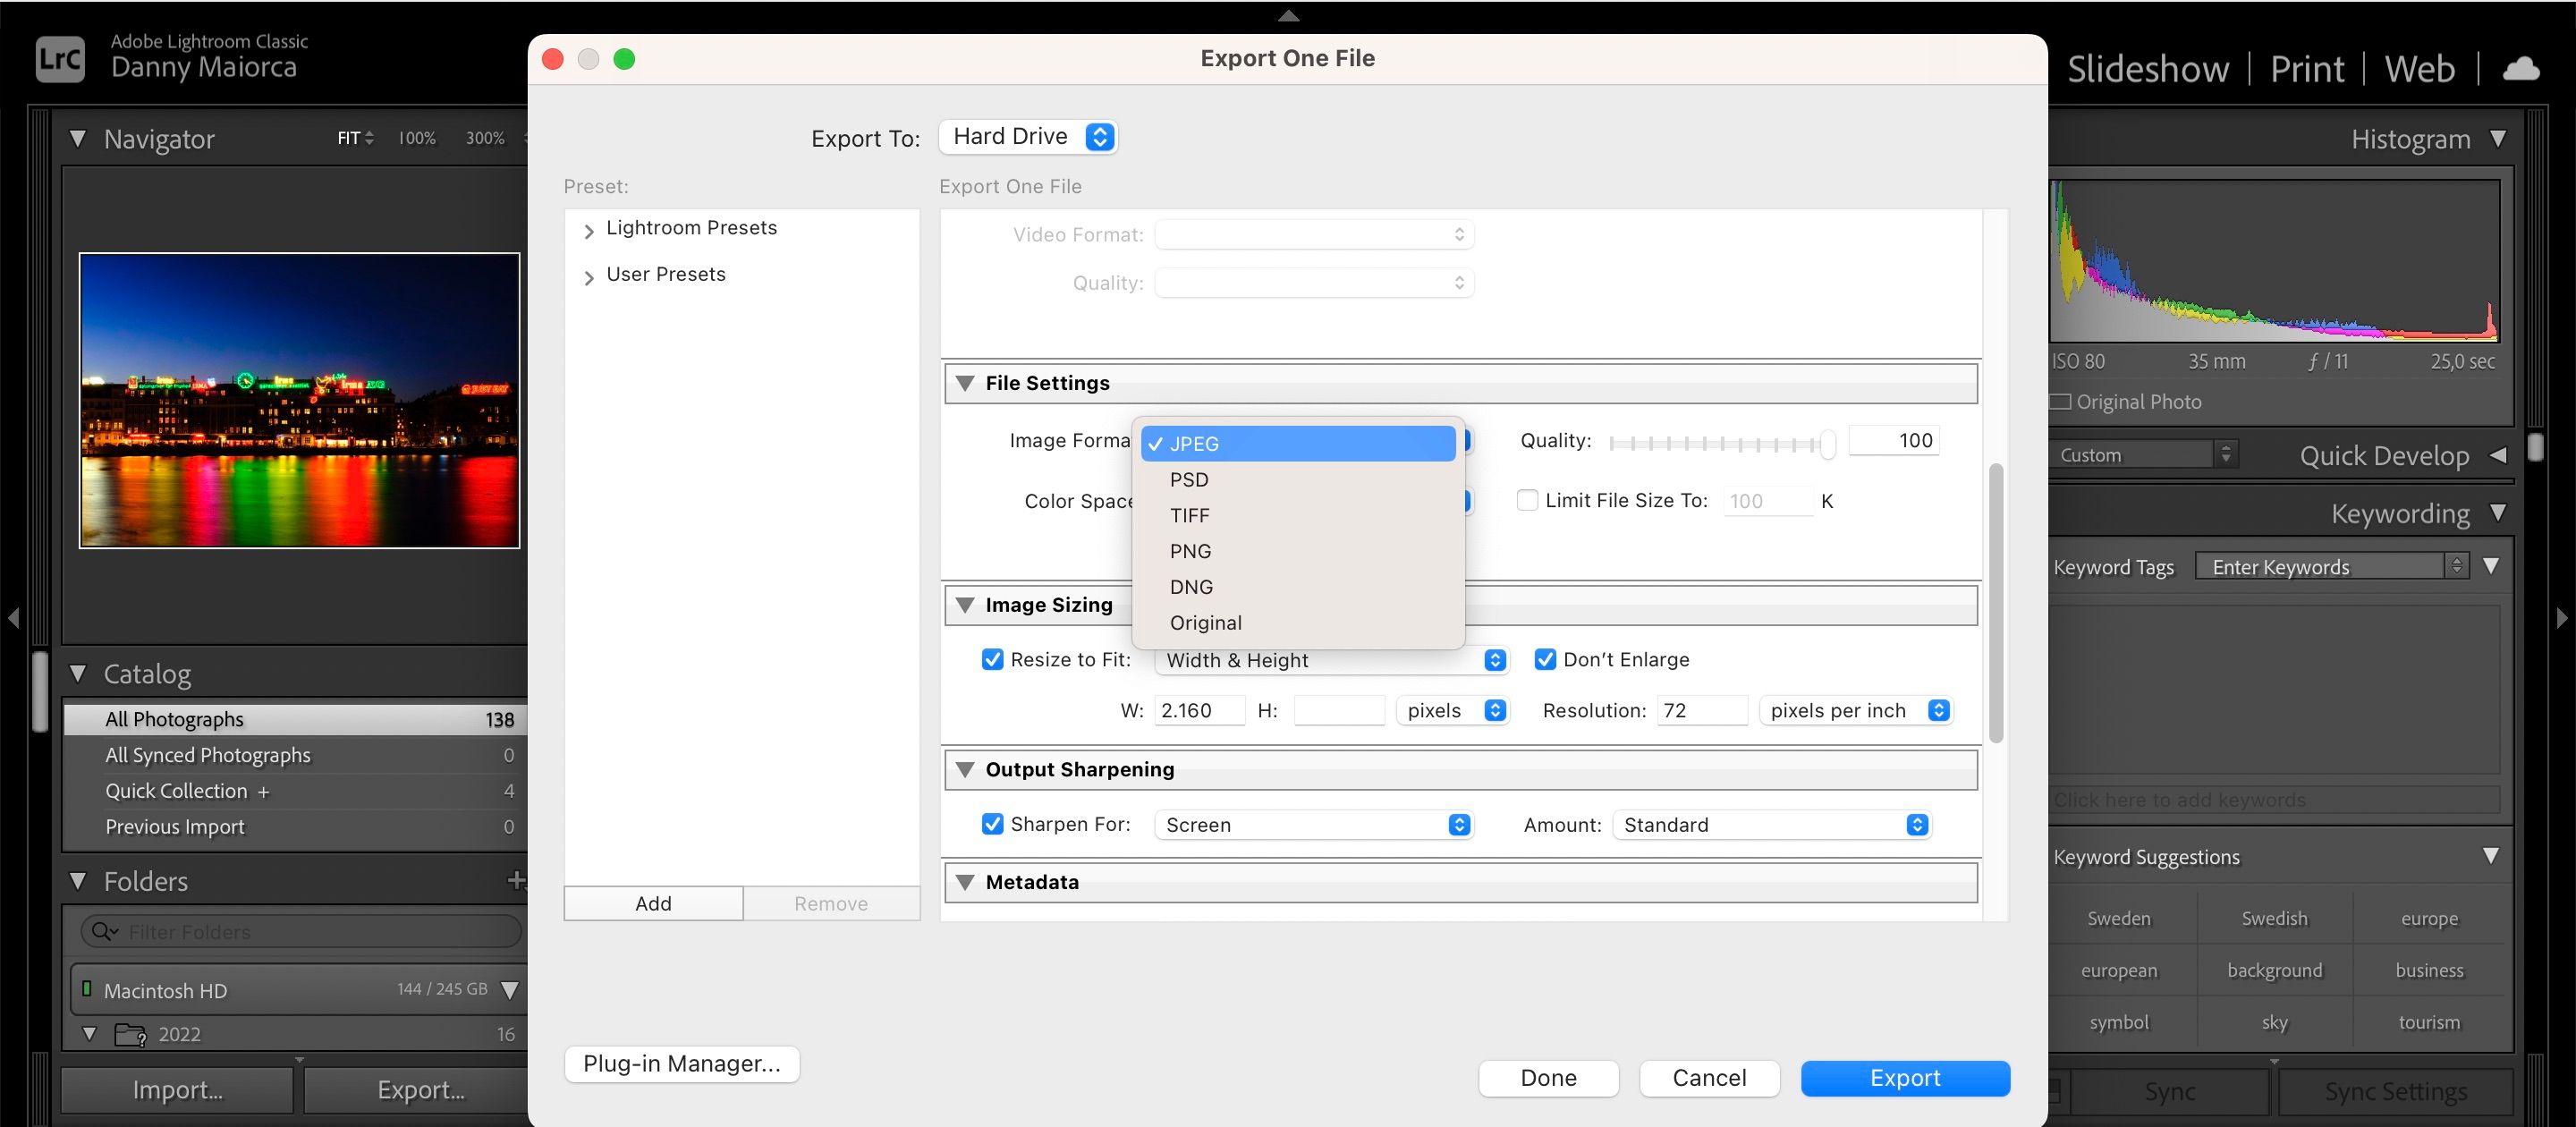
In contrast, Lightroom Classic offers a larger variety. Alongside JPEG, you can also export files in PNG, PSD, and much more. On top of that, you have more control over exporting your files for different media—such as print.
4. The Interface's Look and Feel
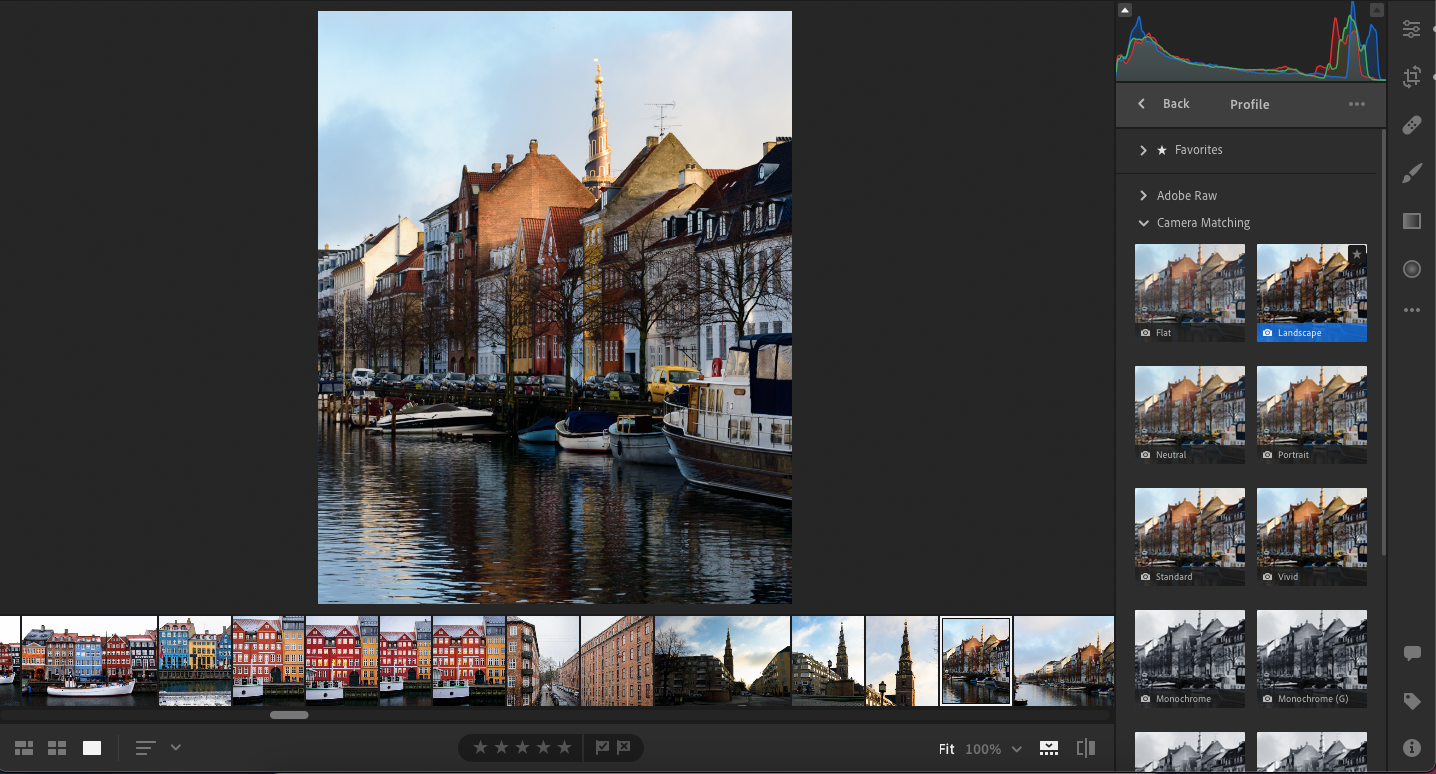
The two versions of Lightroom also differ in how they look. As the more modern version, it's perhaps unsurprising that CC has more of a sleek feel.
Lightroom Classic's layout looks a little older in comparison. However, it's worth noting that Adobe has made significant improvements to the app; it doesn't crash as much as was previously the case.
5. Mobile Optimization
One big upper hand Lightroom CC has over Classic is that you can use the tool on your smartphone or tablet.
With Lightroom CC, you can sync both your desktop and smartphone apps together. As such, you can finish off edits you began on your computer on your mobile device.
Another benefit of Lightroom CC on mobile is that you can save photos directly from the app to your phone's image gallery.
6. Folder Organization
If you have a lot of projects to organize, using Lightroom Classic offers a significant advantage. On CC, you can't manage your pictures within folders—though you can create catalogs.
On Lightroom Classic, however, you can divide your images into different folders. You can also give each folder a name so that you don't get confused when looking for the pictures you want to edit.
7. Calibration
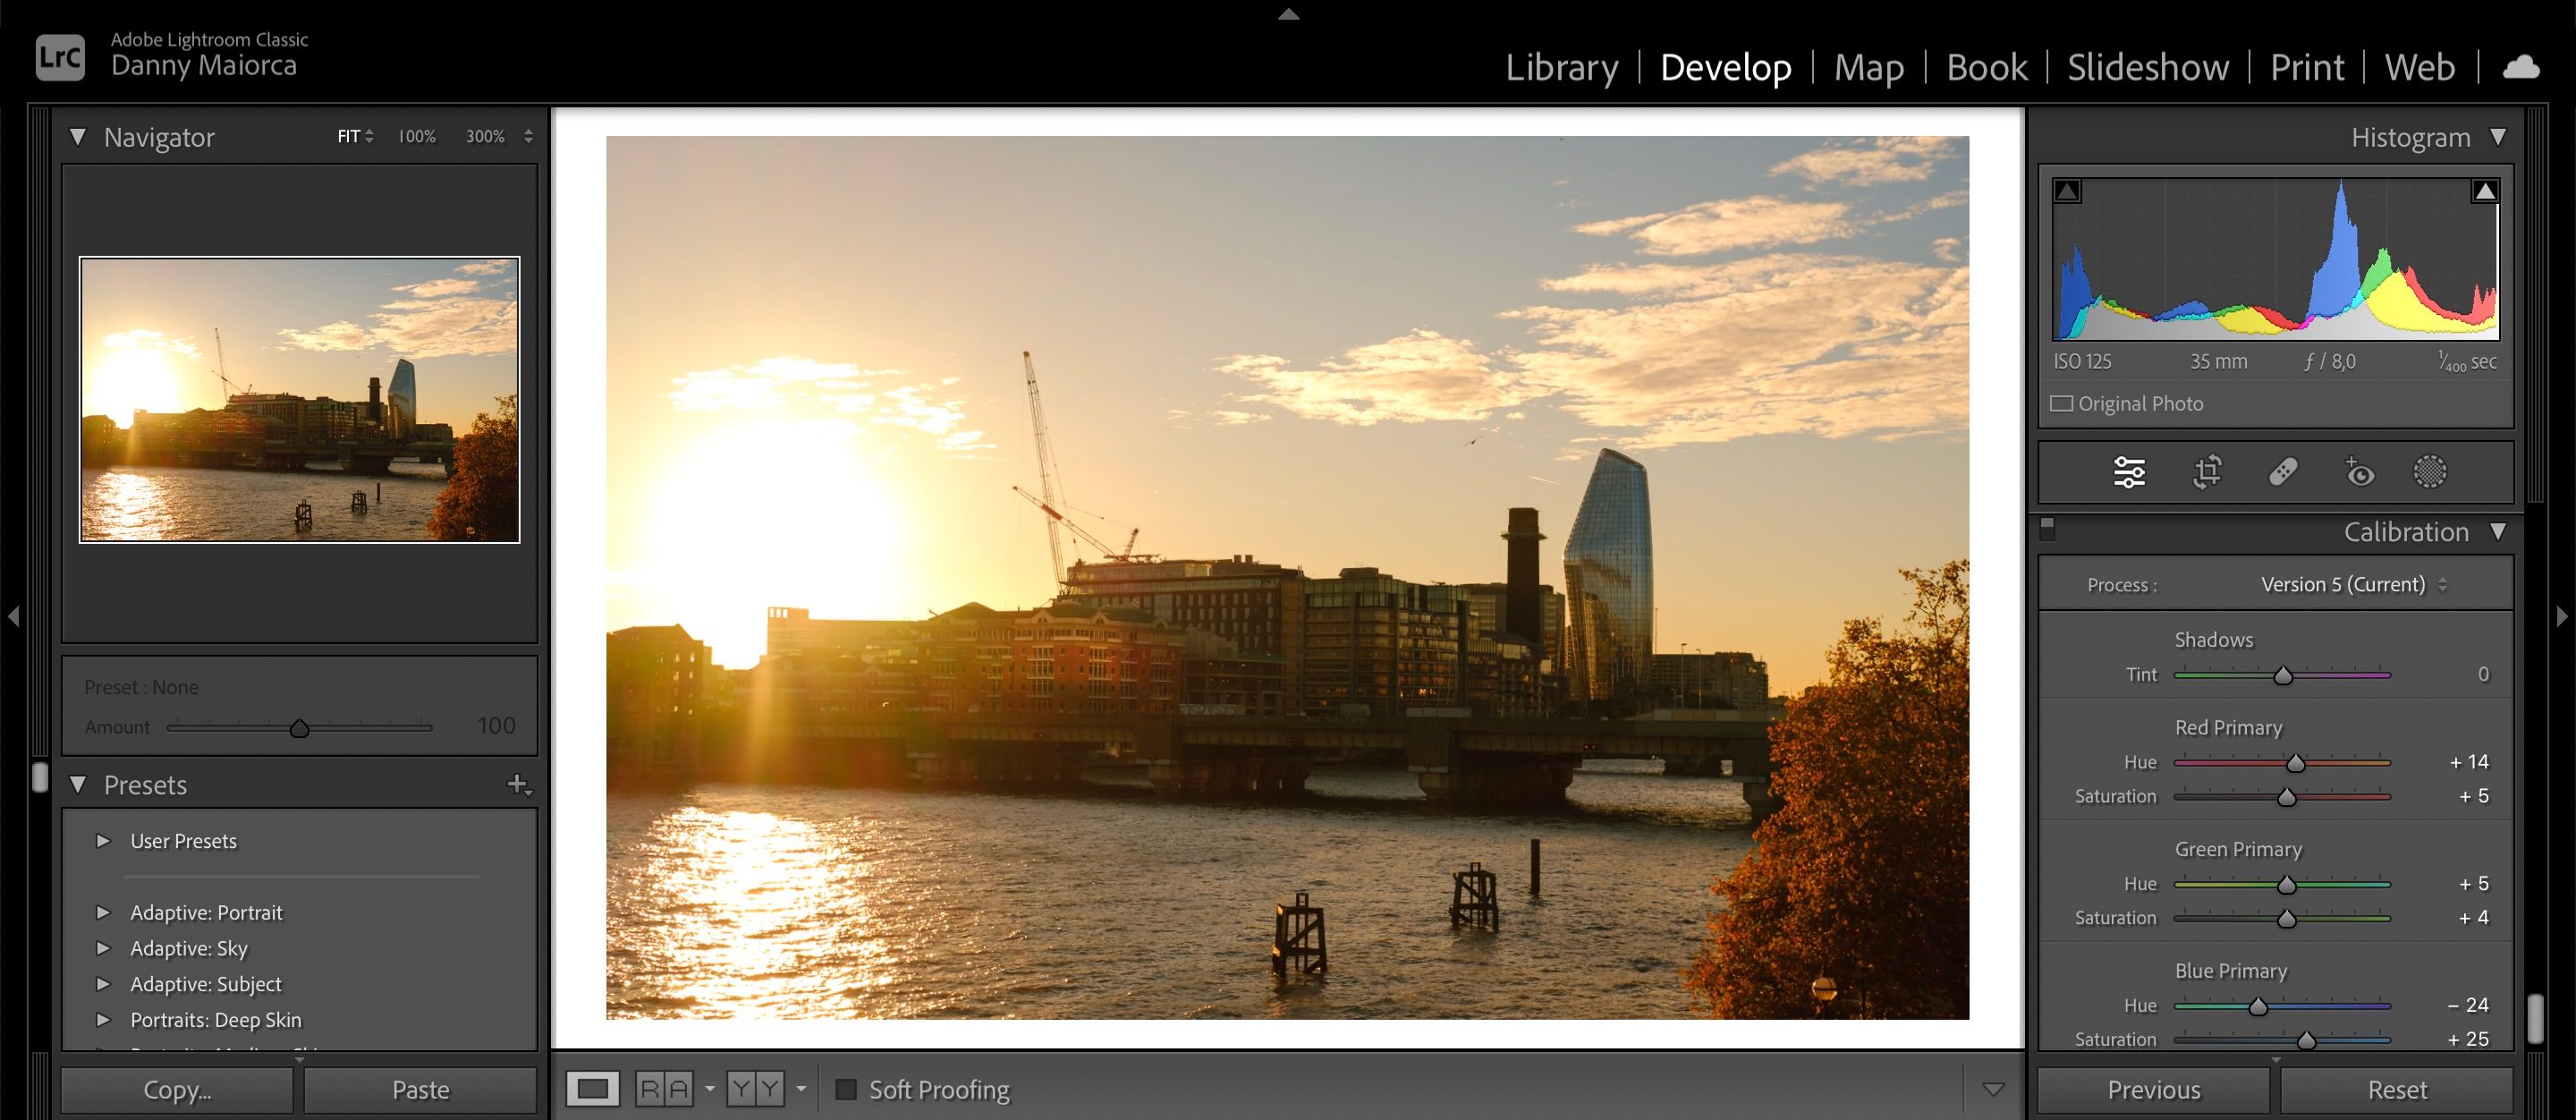
As you become more advanced in editing your photos, you'll want to explore new features that you may previously have found too daunting. One of the handiest in Adobe Lightroom Classic is the Calibration tool.
The Calibration tool is at the bottom of the right-hand menu when you scroll down. You can adjust your red, blue, and green primaries—changing the saturation and hue. In this section, you also have the option to adjust the tint in your shadows more toward pink or red.
At the time of writing in November 2022, Lightroom CC does not have the Calibration feature.
Lightroom Classic vs. Lightroom CC: The Key Similarities
While both Lightroom versions have their fair share of differences, they are still similar in some ways. Let's go over how both versions are alike.
1. The Use of Sliders and Buttons
Though Lightroom Classic and CC look a bit different in terms of aesthetics, the two apps have almost identical ranges of sliders and buttons. These are laid out similarly and work alike too.
With both Lightroom Classic and CC, you can make standard tweaks like adjusting exposure, contrast, and saturation. You can also get more advanced with the pair of them by using Color Grading wheels and tone curves. Utilizing these tools is just one of the ways you can improve your Lightroom editing skills.
2. Desktop Use
If you only want to edit pictures with Lightroom on your computer, you don't have to pick one or the other. Adobe has created apps for both versions of the software that can be used on your computer, whether you have an Apple or Windows device.
Some Adobe subscription plans also include both Lightroom Classic and CC, meaning that you can give both of them a try and decide which works better for you. You can even use Classic and CC together to improve your workflow.
3. Creating Presets
Presets are an excellent way to make your photo edits look consistent, and you can download several Lightroom presets from other photographers. However, you also have the option to create your own.
Regardless of whether you use Lightroom Classic or CC, you can apply and make presets.
When Should You Use Classic or Creative Cloud?
Lightroom Classic and CC are helpful for different scenarios, and picking the correct version depends on your individual goals.
If you want an app with a broad range of functionalities, easy editing workflows for single images, and the ability to save on your phone from the app, CC is a great choice. Using this version might also help you get used to Lightroom if you're a beginner.
On the other hand, Lightroom Classic is a valuable option if you take many pictures or work with clients. Using this version, you can organize projects easier and save time by looking at full-size previews before importing.
Lightroom Classic is also more helpful if you're looking to publish your pictures in print, whether in a book, on a poster, or something else. You can save files in a broader range of formats, as well as see what your image would look like when printed.
CC and Classic, Instead of CC vs. Classic
Regardless of your preferred version of Adobe Lightroom, you don't necessarily need to pick one or the other. The two platforms can work very well together.
You might, for example, want to edit for your clients on Lightroom Classic. If you then want to share specific pictures with your friends and family or on Instagram, you can resize them in CC and save them onto your phone from that app.
Give both versions of Lightroom a try and see which one aligns with your goals. If you outgrow one, you can always switch over to the other.


