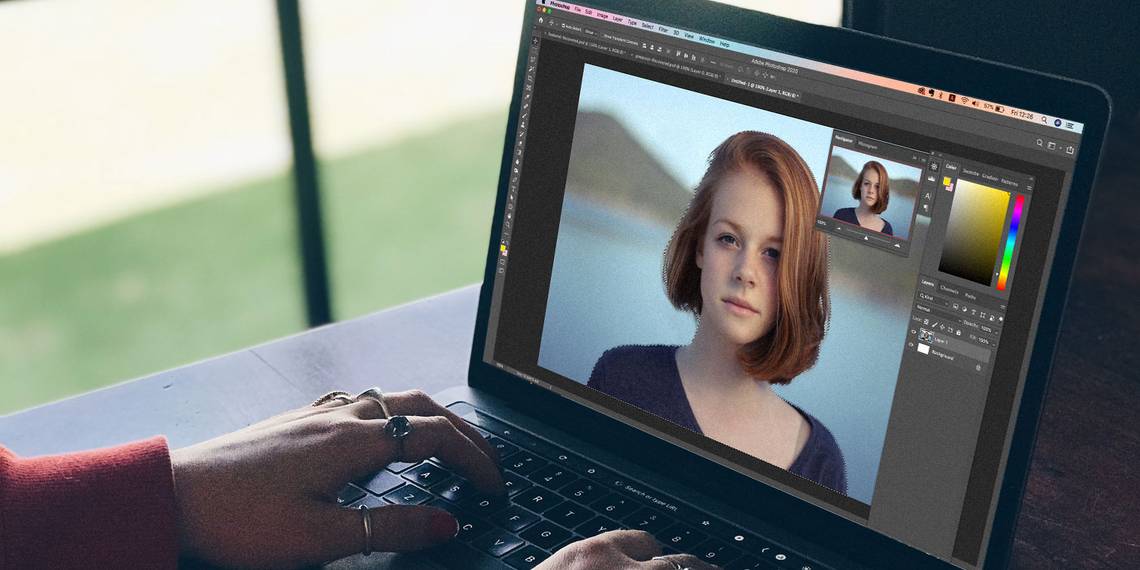
PortraitPro by Anthropics is a powerful AI-driven editing tool that can be used either as a standalone program or as a plugin with image editors such as Photoshop. In this tutorial, we will demonstrate how to use PortraitPro in tandem with Photoshop to transform your images.
If you don’t have Adobe Photoshop or PortraitPro by Anthropics, you may wish to check with both companies online to see if they’re offering free trials. Make sure you select "PortraitPro Studio" as a trial so that it may be used as a plugin.
You may choose your own image to edit or (for the purposes of this tutorial) download the same image we used for free from Unsplash.com.
Why Use Photoshop and PortraitPro Together?
Before we begin, let’s talk briefly about why you would want to use Photoshop and PortraitPro to edit a portrait instead of using a phone app or some other desktop photo editing suite.
Apart from being able to view an image on a larger screen along with a larger palette of tools to choose from for better control, Photoshop and PortraitPro are arguably among the best editing tools on the market for desktop use.
Additionally, both Photoshop and PortraitPro are built around powerful AI-based engines. You’ll see first-hand how amazing these features are after just a few steps in this tutorial.
What You Need Before Getting Started
Make sure you’re using a RAW file or the highest resolution JPEG to work with. The better the quality and size, the better the results. If your image is too small, consider enlarging your picture as much as possible without losing quality.
It’s very important to know where you will be sharing your edited images because certain social media platforms, like Instagram, are restricted in the choice of dimensions they display your images in.
For instance, if you’re editing a vertical portrait, keep in mind that it’s probably best to make sure it looks good as a 4x5 crop, a square, or as a landscape crop not too extreme in length. Instagram will automatically crop your images otherwise and you may come up missing some important pixels.
Now that you know what you need, let’s get started!
Editing With PortraitPro
Once you have PortraitPro installed in Photoshop, import the image you’d like to edit into Photoshop. Then:
- Click Ctrl + J to duplicate layer.
- Go to Filter > Anthropics > PortraitPro.
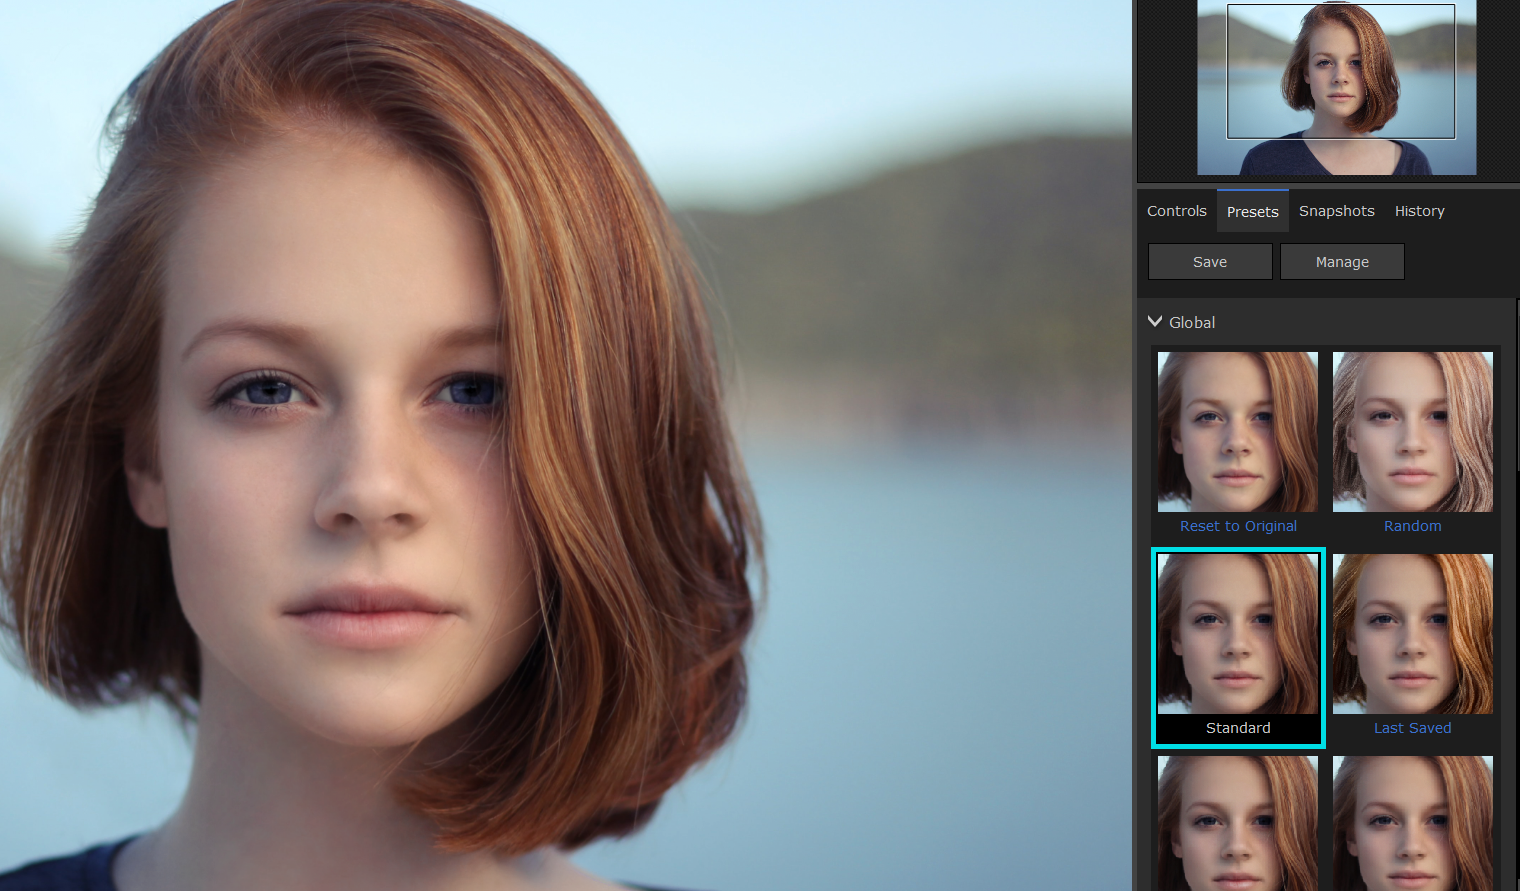
- Go to the Presets tab.
-
Select Standard.
-
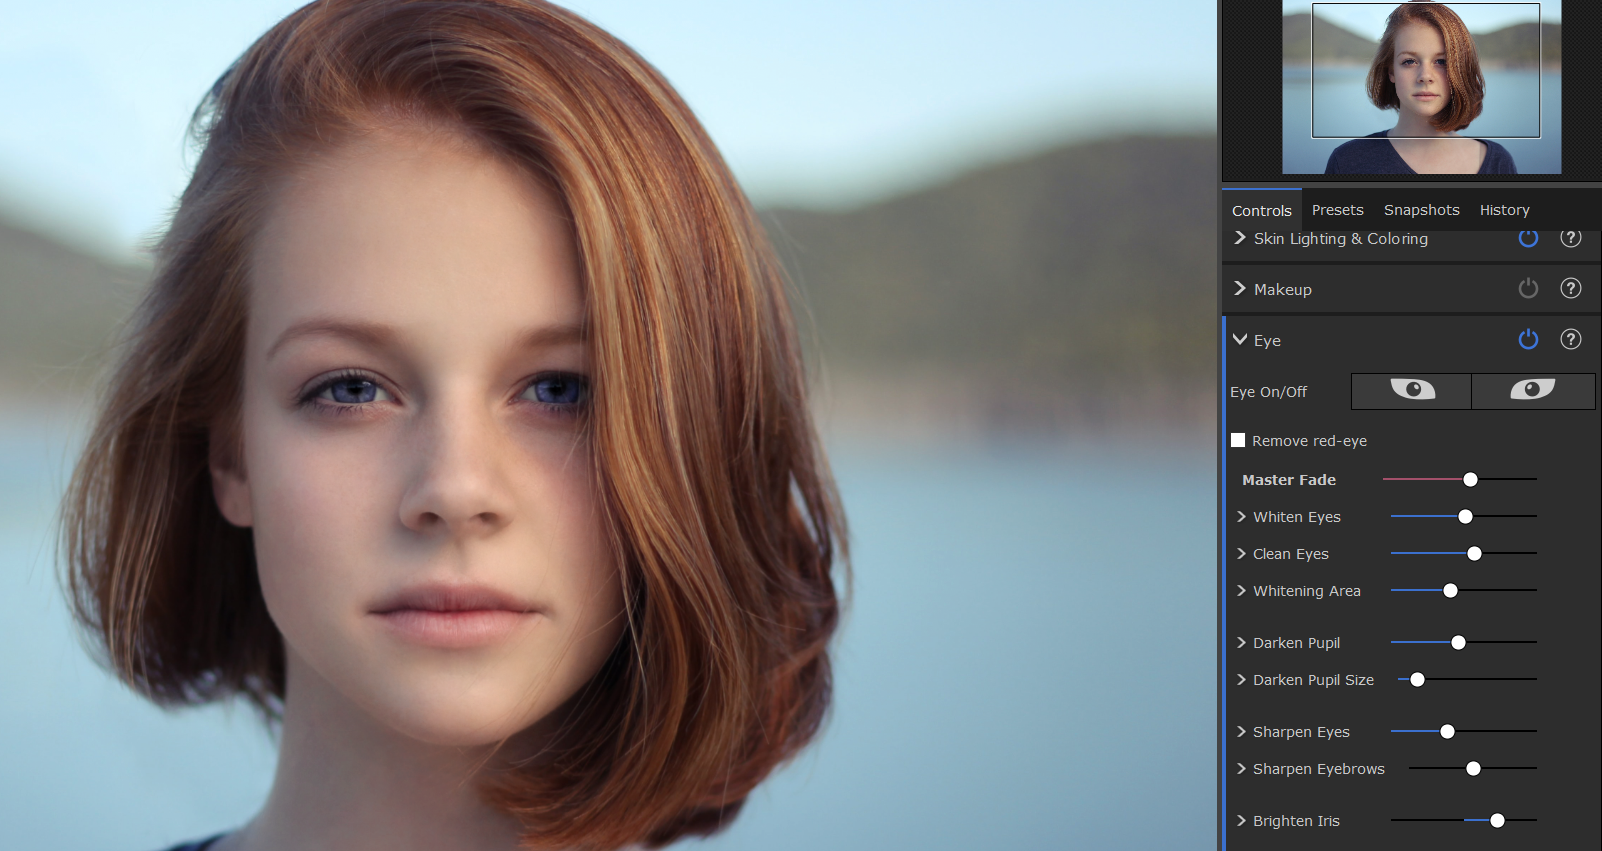
Go to Controls > Eyes and raise Brighten Iris to taste. We used 46.
-
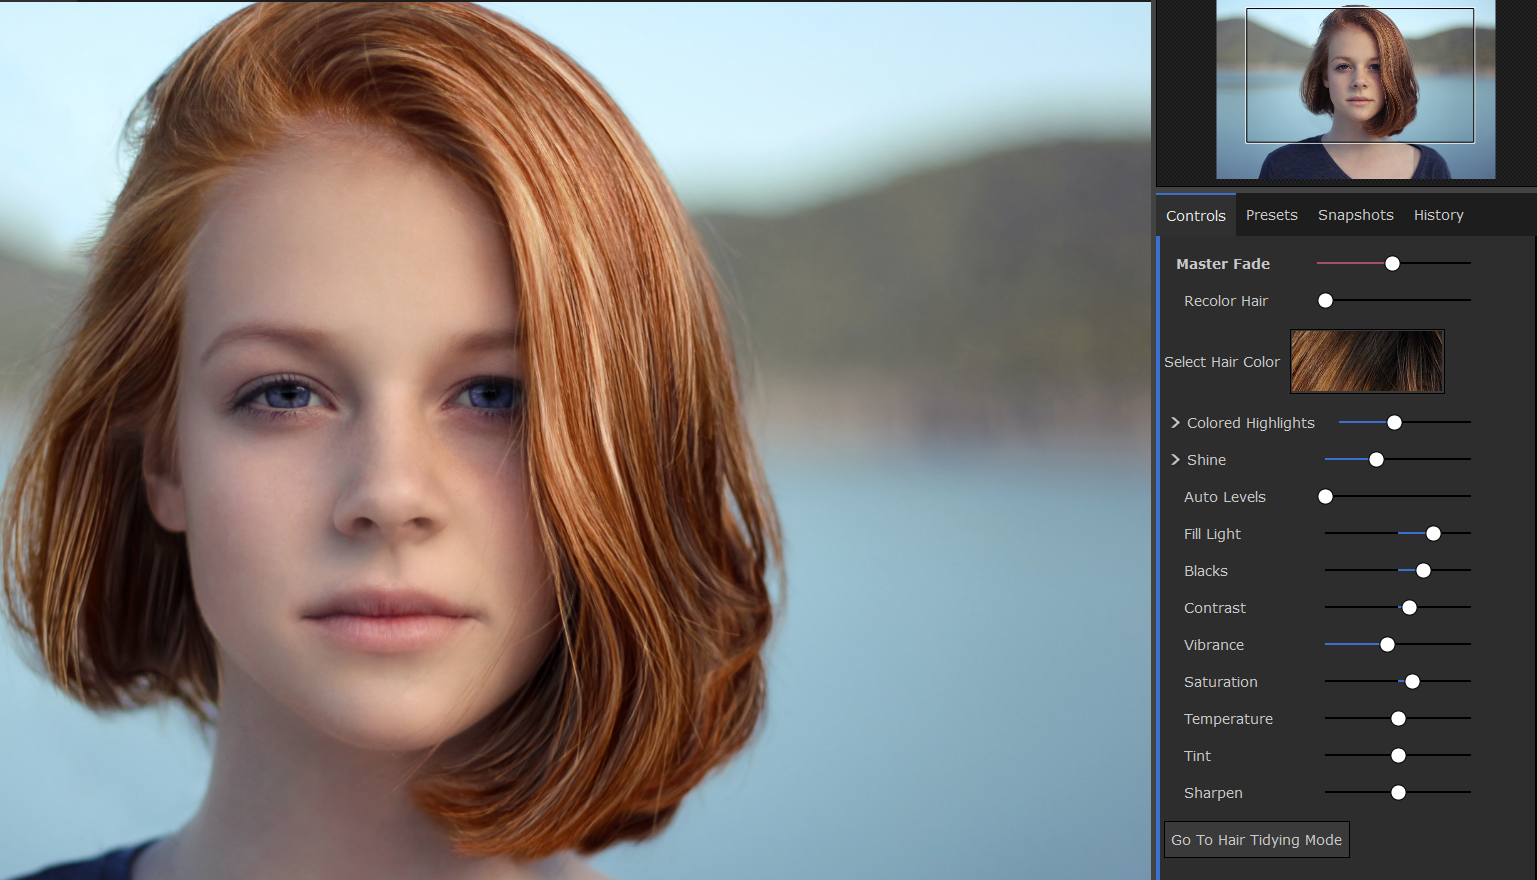
Go to the Hair tab and adjust to taste. We used Colored Highlights 42, Shine 35, Fill Light 49, Blacks 35, Contrast 16, Vibrance 43, Saturation 20.
-
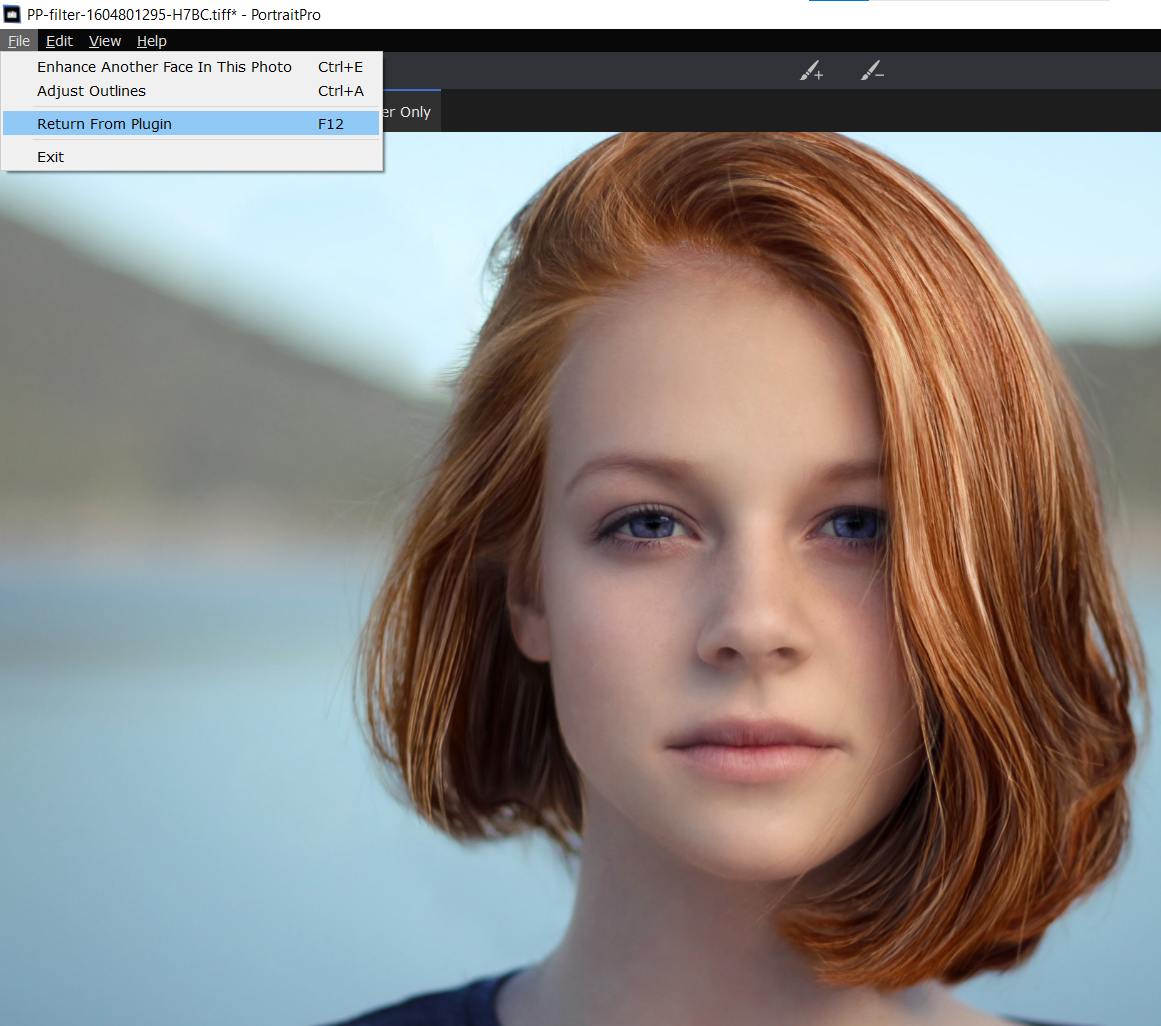
Go to File > Return From Plugin.
-
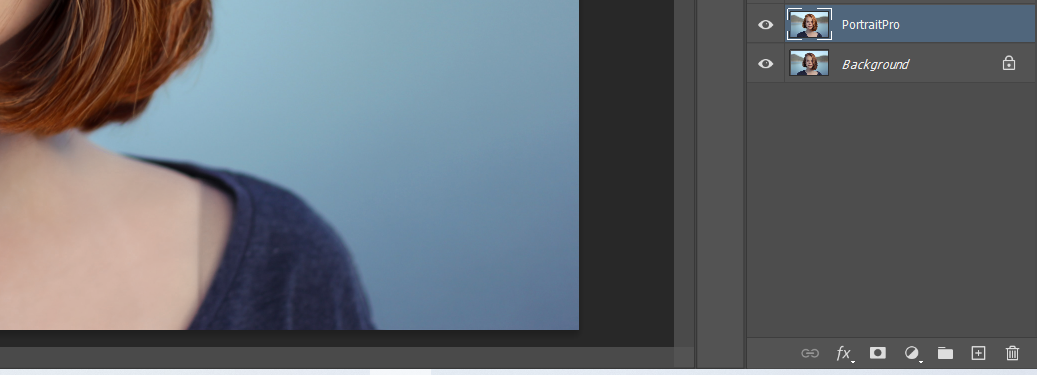
Rename the Background Copy layer to "PortraitPro" by double-clicking on the layer text.


You probably noticed that we ignored several options on the Controls tab. Also, there are many other presets to explore among other useful features in PortraitPro. We encourage you to experiment with all the sliders and options to get familiar with the software.
The purpose of this tutorial is to make the fewest, most-impactful edits as possible to demonstrate what AI can do without going over-the-top and changing the subject’s overall appearance too drastically.
Next, let’s jump back into Photoshop to see what other artistic changes we can make.
Editing With Photoshop
-
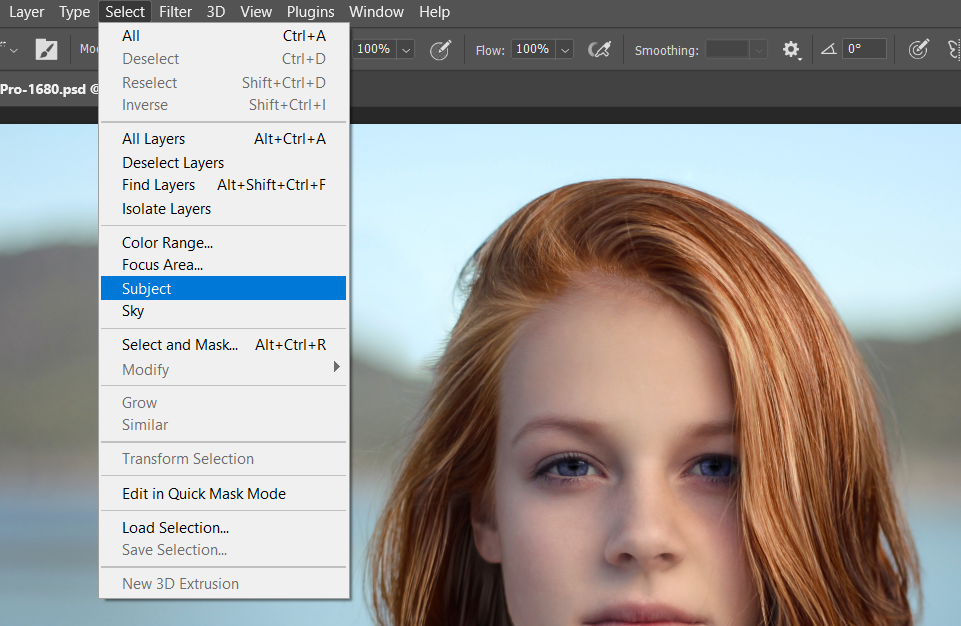
Go to Select > Subject. A selection will be made around the subject.
-
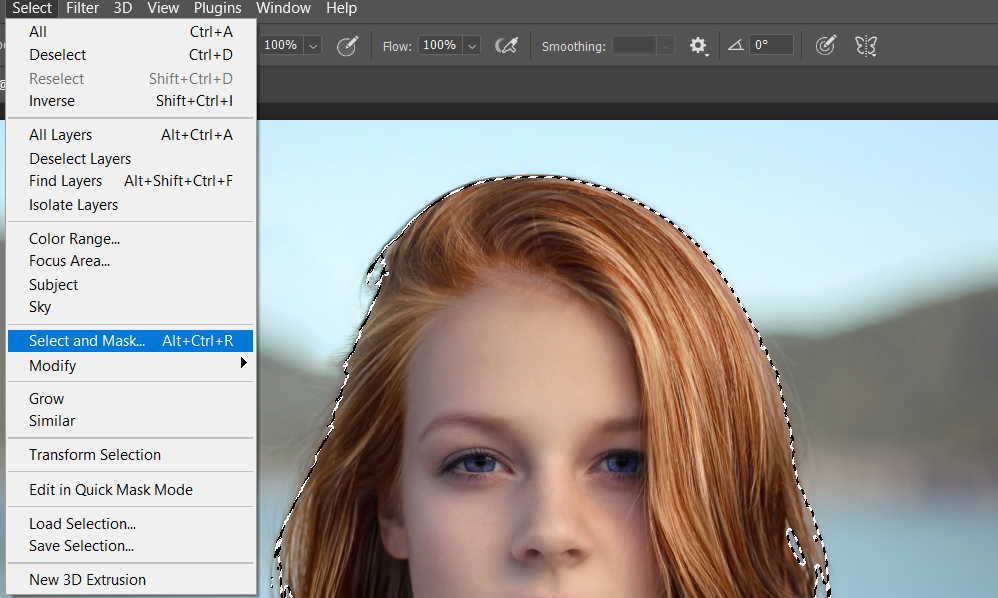
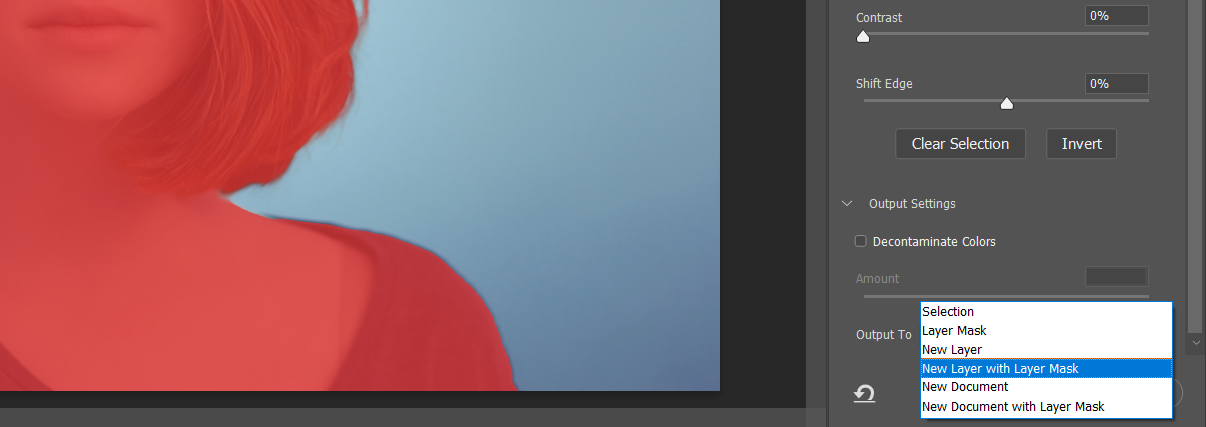
Go to Select > Select and Mask.
-
Under the Properties tab, change Output To to New Layer with Layer Mask then click OK.
- Deselect the Background layer by clicking the eye in the box.
- Select the PortraitPro Copy layer so that the layer is highlighted.
- Click B for the Brush tool. Choose a Soft Round brush in the brush dropdown menu.
- Click on the PortraitPro Copy layer mask.
- Toggle the X key to change the foreground color to white.
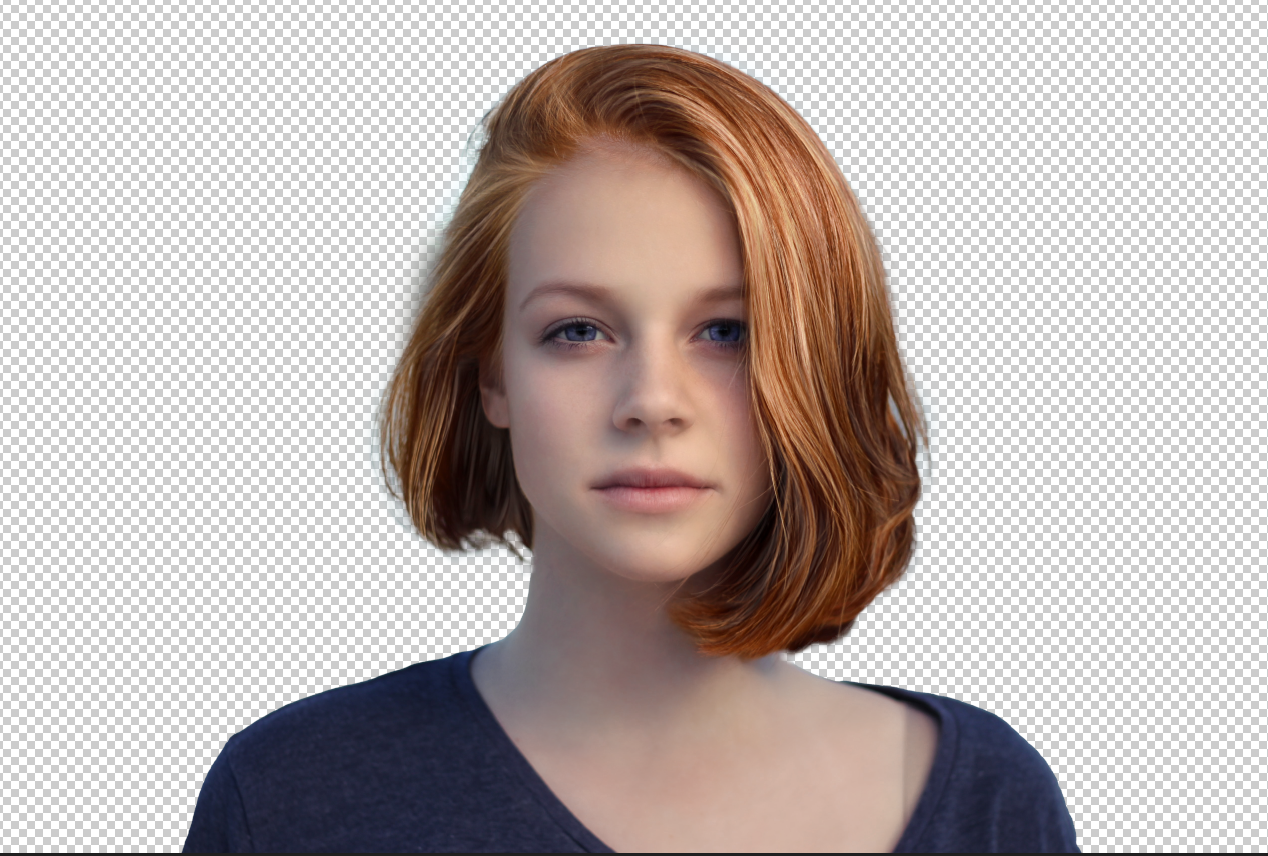
-
Paint around the subject’s hair to bring back lost pixels from the original selection.


At this point you can drop in backgrounds or textures of your own choosing. However, if you don’t have anything interesting or appropriate to add then you can always opt to transform the portrait into a beautiful black-and-white portrait.
Let’s try this now.
Black and White Conversion Edits in Photoshop
-
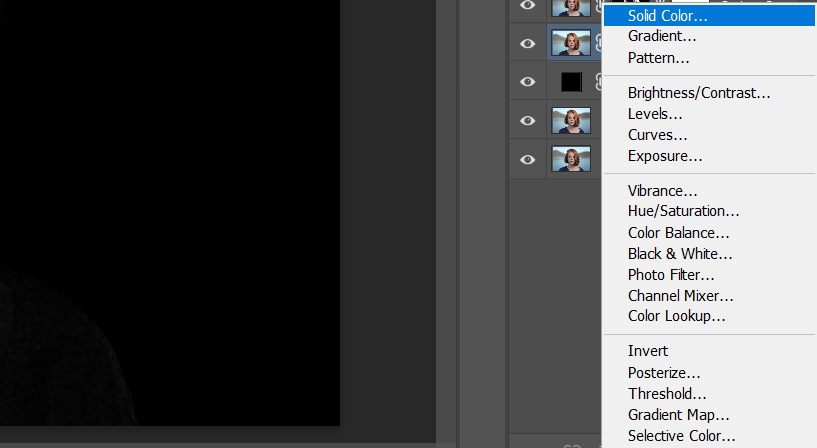
Create a Solid Color adjustment layer.
-
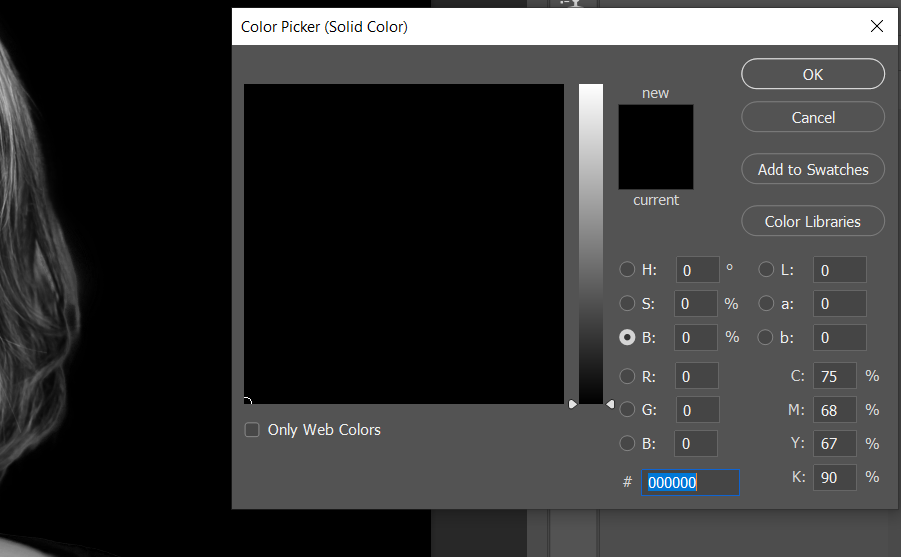
Change to pure black. Drag the circle in the box all the way down to the lower left corner. The first column of number values should all read as 0. Then click OK.
- Click and drag the Color Fill 1 layer down below the PortraitPro Copy layer.
- Click on the PortraitPro Copy layer to highlight it.
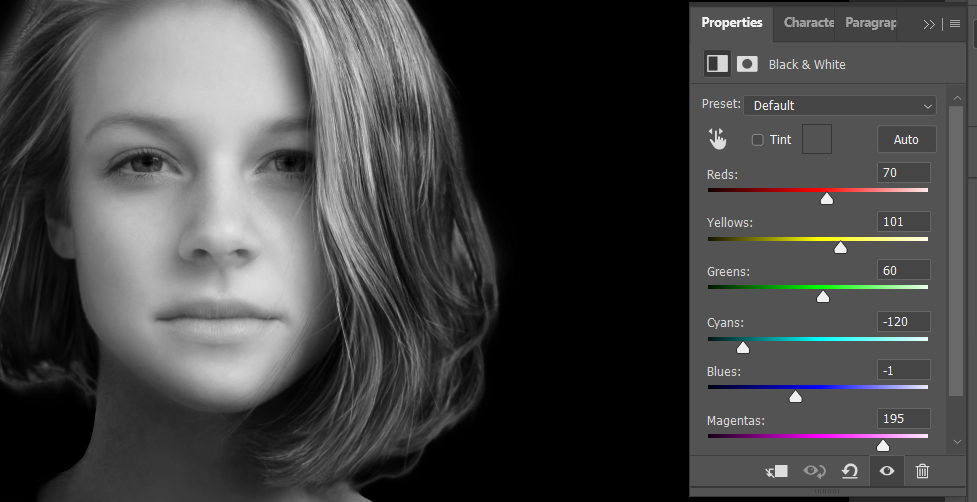
- Create a Black and White adjustment layer.
-
Adjust the colored sliders to enhance the black-and-white image to taste. We used Reds 70; Yellows 101; Greens 60; Cyans -120; Blues -1; Magentas 195.
-
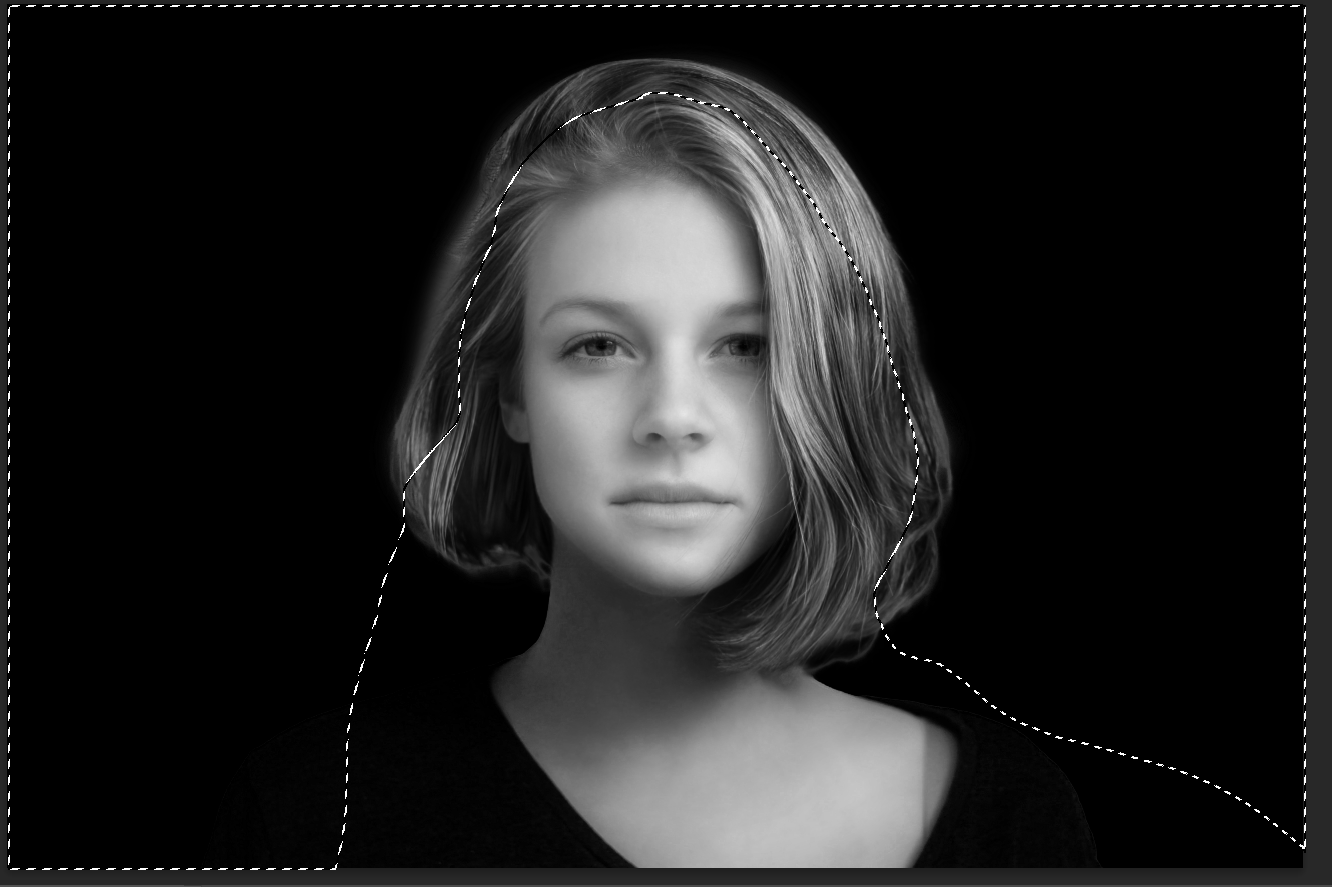
Select the Lasso tool and make a selection around the subject, including some of the hair.
-
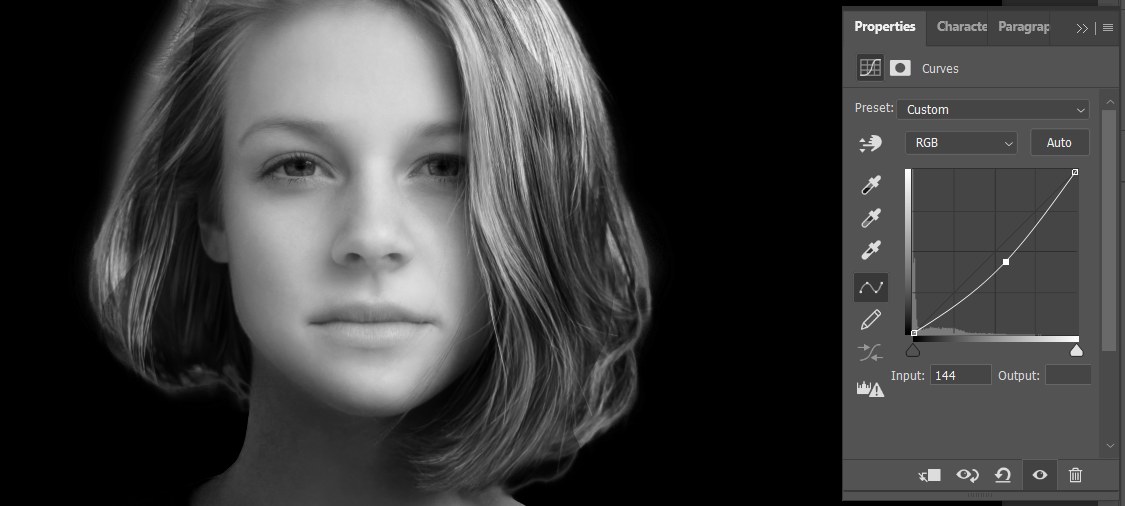
Create a Curves adjustment layer. In the RGB channel, click around the midpoint of the line and pull it down. Then select the left-most point and drag it slightly to the right as per below.
-
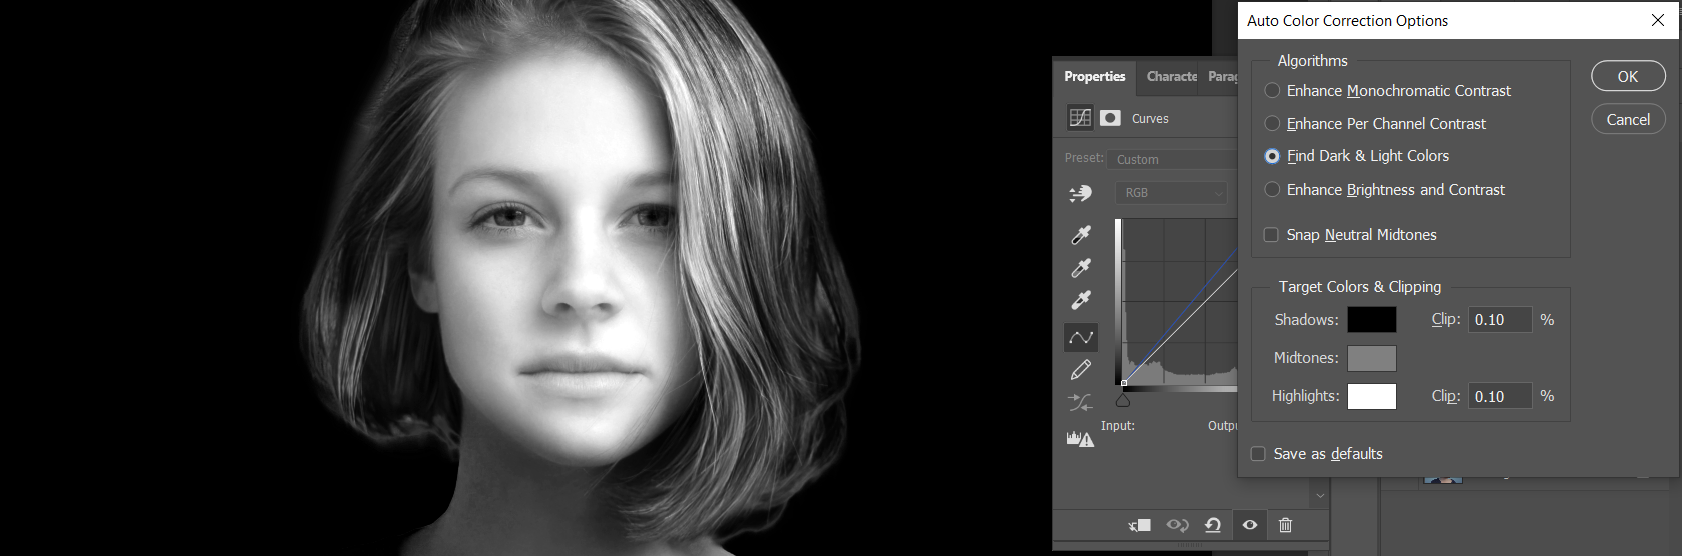
Create another Curves adjustment layer. Click the Alt key while left-clicking on Auto. Check the Find Dark & Light Colors option. Click OK.
-
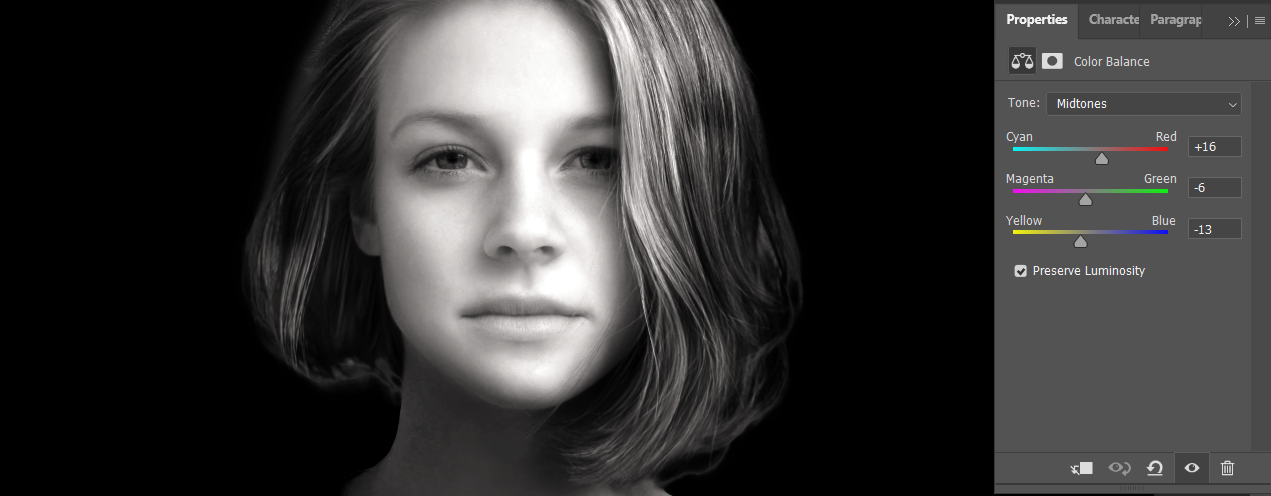
Create a Color Balance adjustment layer and adjust the Midtones, Highlights, and Shadows to taste. We used Midtones +16, -6, -13; Highlights +8, 0, -5; Shadows +5, 0, 0.


Adding the Finishing Touches
By using PortraitPro and Photoshop, we have transformed the image completely compared to its original version. There’s enough contrast and brightness to make it stand out on a desktop or via smartphone for regular viewing.

But for the Photoshop enthusiast, there are still things that could be done to make the image more artistic or to take it into a new direction entirely.
For example, you could continue to dodge and burn the subject’s hair to make it blend in more with the dark background. The eyes could be brightened or even subtly colored to make them pop from the photo in a pleasing way. Gradient Maps could be added, not to mention color lookup tables and photo filters, finished off by adding a background texture.
The way forward to realizing your vision is made easier by learning a few Photoshop basics. Then with the help of plugins like PortraitPro, a myriad of other options will become available to you through the powerful editing magic of AI.
Image Credit: Christopher Campbell/Unsplash.com