It goes without saying that you want the best internet connection at all times. Having your iPhone or iPad automatically prioritize and connect to the strongest Wi-Fi network around you is going to help out with that.
Whether you've got multiple access points in your home or a lot of saved networks in one area, setting network priority will get you the best connection at all times. If you're looking to set it up, here's what you need to do.
How to Set Network Priority on iPhone or iPad
There isn't actually a way to set Wi-Fi network priority on the iPhone or iPad. Rather, your device will do it automatically in the background.
Built into iOS is a set of criteria to judge and join Wi-Fi networks automatically. Following these criteria, your iPhone or iPad will usually connect to the best network available. iOS tries to connect to Wi-Fi networks considering the following criteria:
- Your "most-preferred" network
- The private network you most recently joined
- Private versus public networks
As you can see, iOS considers a number of different factors to help automatically prioritize the best network for you to use. When considering each of these factors, iOS actually assigns a hidden score to different Wi-Fi networks to prioritize them.
Your different actions when connecting to Wi-Fi change the score assigned to each Wi-Fi network. For example, if your iPhone connects you to one network, and you instantly connect to another instead, the first network's score decreases.
Unfortunately, Apple offers no more explanation on how the iPhone's Wi-Fi priority works, so there isn't any more information on the topic. But as long as it works, that's not too much of a problem.
How to Sync Network Priority From Mac to iPhone
You'll be glad to hear there's a sneaky way to get around the lack of a Wi-Fi priority setting in iOS. If you own a Mac, you can set network priorities there and then sync them with your iPhone or iPad.
You'll need to have signed in with the same Apple ID on both devices, and have iCloud Keychain turned on.
To check these settings, open System Preferences on your Mac, click on Apple ID, and make sure that the box for Keychain is ticked. On your iPhone, open Settings and tap your name at the top. Go to iCloud > Keychain and make sure it's toggled on.

As long as you've got both of those settings turned on, you're ready to sync your Mac's Wi-Fi priority settings to your iPhone.
On your Mac, click on the Wi-Fi icon in the top menu bar and then click Network Preferences. Next, you'll need to click on Advanced.
You'll see a list of all your saved Wi-Fi networks. The networks at the top of the list have a higher priority than those at the bottom, and you can drag networks into the order you want. Click OK and then Apply to save the changes.

Once you've done this, your preferences will save and should sync automatically with your iPhone. If you notice the settings haven't synced with your iPhone, try restarting both devices.
While this method isn't particularly difficult, you need to own a Mac and it's much less convenient than a feature built directly into iOS.
The Mac and iPhone work great together as part of Apple's ecosystem, but it's an unnecessary extra step to take. Hopefully, Apple adds a way to set Wi-Fi priority directly on the iPhone soon.
How to Manually Connect to a Network on iPhone or iPad
Just to clarify, you do always have the option of manually connecting to a Wi-Fi network on your iPhone or iPad, if Apple's automatic prioritization doesn't work. It's a bit more inconvenient than having a Wi-Fi priority setting built into iOS, but it's easier than plugging your device into a Mac.
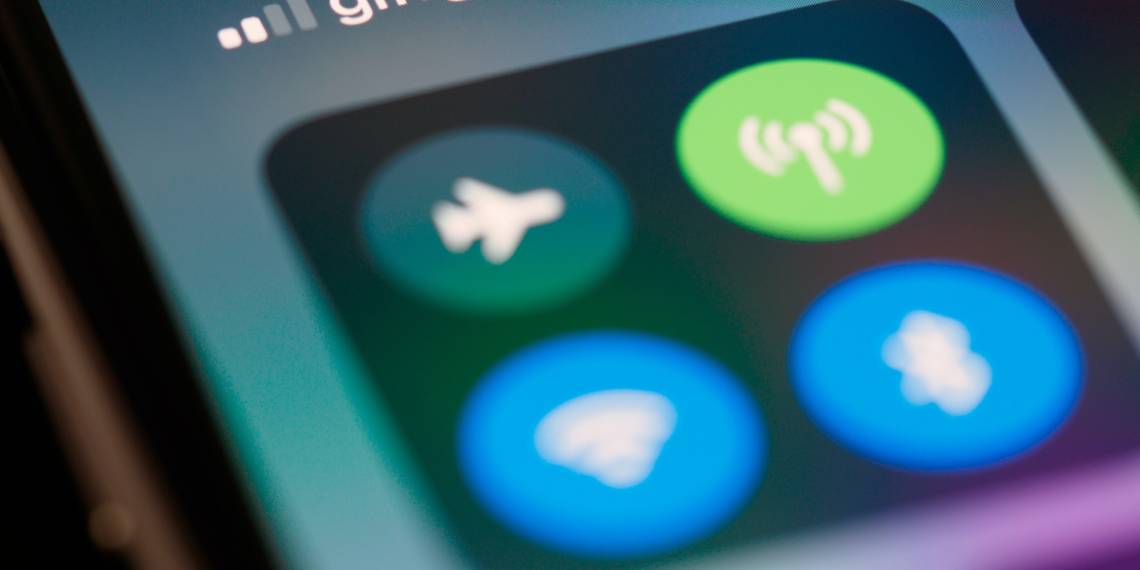
On your iPhone or iPad, you can manually switch Wi-Fi networks from either the Control Center or the Settings app.
From the Control Center, tap and hold on the Wi-Fi icon in the top-left section to bring up the larger panel, hold the icon again, and choose another network from the list.
From the Settings app, tap on Wi-Fi in the first section, and then choose a network from the list.


If you know that there's a better Wi-Fi network you can connect to, this method works very well. Unfortunately, you will need to keep an eye out for suitable other networks.
Prioritizing Your Networks Will Give You the Best Connection
Whether you rely on Apple's automatic prioritization, syncing your Mac settings, or manually switching networks, prioritizing better Wi-Fi networks will improve your connection speed or range.