
The best way to learn JavaScript is to build projects. If you want to become a good web developer, you need to start creating projects as soon as possible. You can start by building beginner-level projects like a simple calculator, digital clock, or stopwatch.
You can make a simple calculator using just core web technologies: HTML, CSS, and JavaScript. This calculator can perform basic mathematical operations like addition, subtraction, multiplication, and division.
Features of the Calculator
In this project, you are going to develop a calculator that will have the following features:
- It will perform basic arithmetic operations like addition, subtraction, division, and multiplication.
- It will perform decimal operations.
- The calculator will display Infinity if you try to divide any number by zero.
- It will not display any result in case of an invalid expression. For example, 5++9 will not display anything.
- Clear screen feature to clear the display screen anytime you want.
The code used in this project is available in a GitHub repository and is free for you to use under the MIT license. If you want to have a look at a live version of this project, you can check out this demo.
Components of the Calculator
The calculator consists of the following components:
- Mathematical operators: Addition (+), Subtraction (-), Multiplication (*), and Division (/).
- Digits and decimal button: 0, 1, 2, 3, 4, 5, 6, 7, 8, 9, .
- Display screen: Displays the mathematical expression and the result.
- Clear screen button: Clears all mathematical values.
- Calculate button (=): Evaluates the mathematical expression and returns the result.

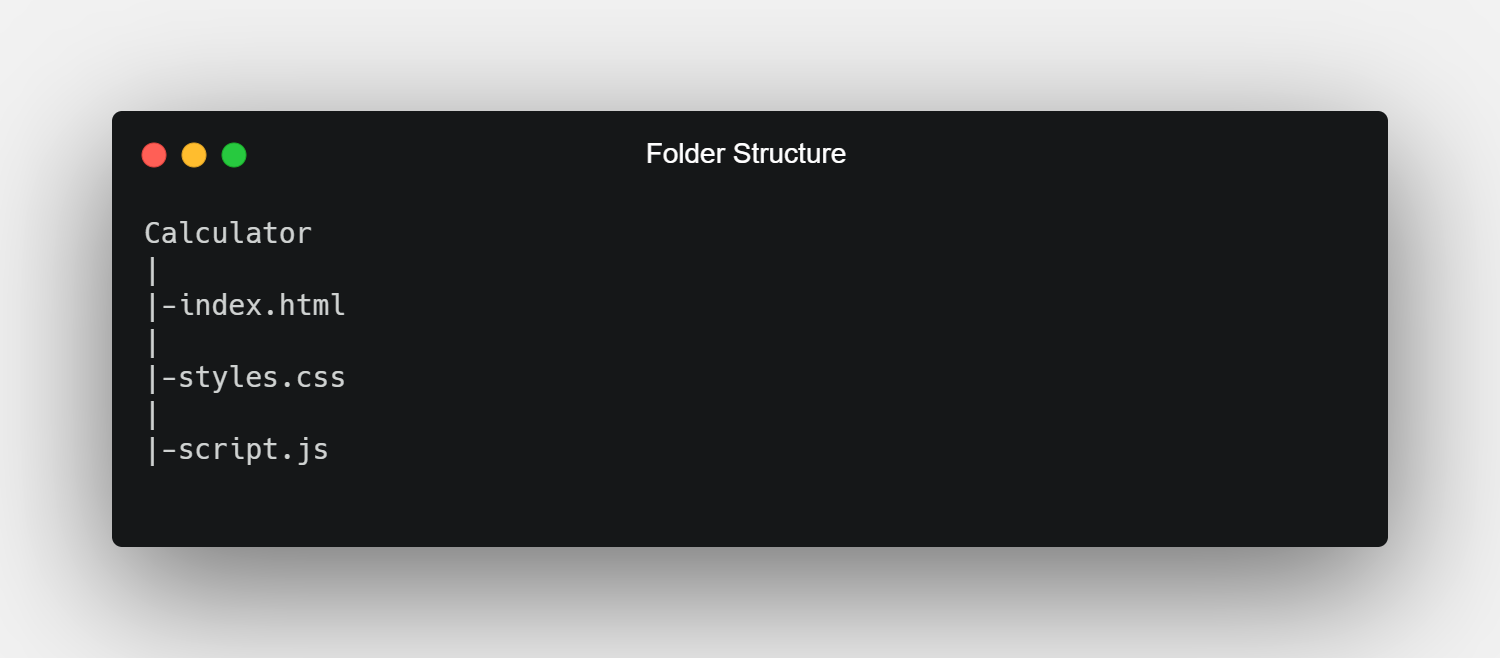
Folder Structure of the Calculator Project
Create a root folder that contains the HTML, CSS, and JavaScript files. You can name the files anything you want. Here, the name of the root folder is Calculator. According to the standard naming convention, the HTML, CSS, and JavaScript files are named index.html, styles.css, and script.js respectively. As a developer, it's a good practice to follow the JavaScript naming conventions and HTML/CSS naming conventions.
Adding Structure to the Calculator Using HTML
Open the index.html file and paste the following HTML code for the calculator:
        <!DOCTYPE html>
<html lang="en" dir="ltr">

<head>
  <meta charset="utf-8">
  <title>Simple Calculator using HTML, CSS and JavaScript</title>
  <link rel="stylesheet" href="styles.css">
</head>

<body>

<table class="calculator" >
  <tr>
    <td colspan="3"> <input class="display-box" type="text" id="result" disabled /> </td>

    <!-- clearScreen() function clears all the values -->
    <td> <input type="button" value="C" onclick="clearScreen()" id="btn" /> </td>
  </tr>
  <tr>
    <!-- display() function displays the value of clicked button -->
    <td> <input type="button" value="1" onclick="display('1')" /> </td>
    <td> <input type="button" value="2" onclick="display('2')" /> </td>
    <td> <input type="button" value="3" onclick="display('3')" /> </td>
    <td> <input type="button" value="/" onclick="display('/')" /> </td>
  </tr>
  <tr>
    <td> <input type="button" value="4" onclick="display('4')" /> </td>
    <td> <input type="button" value="5" onclick="display('5')" /> </td>
    <td> <input type="button" value="6" onclick="display('6')" /> </td>
    <td> <input type="button" value="-" onclick="display('-')" /> </td>
  </tr>
  <tr>
    <td> <input type="button" value="7" onclick="display('7')" /> </td>
    <td> <input type="button" value="8" onclick="display('8')" /> </td>
    <td> <input type="button" value="9" onclick="display('9')" /> </td>
    <td> <input type="button" value="+" onclick="display('+')" /> </td>
  </tr>
  <tr>
    <td> <input type="button" value="." onclick="display('.')" /> </td>
    <td> <input type="button" value="0" onclick="display('0')" /> </td>

    <!-- calculate() function evaluates the mathematical expression -->
    <td> <input type="button" value="=" onclick="calculate()" id="btn" /> </td>
    <td> <input type="button" value="*" onclick="display('*')" /> </td>
  </tr>
</table>

<script type="text/javascript" src="script.js"></script>

</body>

</html>
This project uses a <table> tag to create the overall structure of the calculator. The <table> tag contains five rows which represent five horizontal sections of the calculator. Each row has a corresponding <tr> tag. Each <tr> tag contains <td> tags that hold the display screen and buttons of the calculator.

Styling the Calculator Using CSS
Open the styles.css file and paste the following CSS code for the calculator:
        @import url('https://fonts.googleapis.com/css2?family=Orbitron&display=swap');

.calculator {
    padding: 10px;
    border-radius: 1em;
    height: 380px;
    width: 400px;
    margin: auto;
    background-color: #191b28;
    box-shadow: rgba(0, 0, 0, 0.19) 0px 10px 20px, rgba(0, 0, 0, 0.23) 0px 6px 6px;
}

.display-box {
    font-family: 'Orbitron', sans-serif;
    background-color: #dcdbe1;
    border: solid black 0.5px;
    color: black;
    border-radius: 5px;
    width: 100%;
    height: 65%;
}

#btn {
    background-color: #fb0066;
}

input[type=button] {
    font-family: 'Orbitron', sans-serif;
    background-color: #64278f;
    color: white;
    border: solid black 0.5px;
    width: 100%;
    border-radius: 5px;
    height: 70%;
    outline: none;
}

input:active[type=button] {
    background: #e5e5e5;
    -webkit-box-shadow: inset 0px 0px 5px #c1c1c1;
    -moz-box-shadow: inset 0px 0px 5px #c1c1c1;
    box-shadow: inset 0px 0px 5px #c1c1c1;
}
The above CSS styles the calculator. The .class selector in CSS targets elements with a specific class attribute. The .calculator and .display-box class selectors style the table structure and the display screen of the calculator respectively. @import imports the Orbitron font-family from Google fonts.
Adding Functionality to the Calculator Using JavaScript
Open the script.js file and add functionality to the simple calculator using the following JavaScript code:
        // This function clears all the values
function clearScreen() {
    document.getElementById("result").value = "";
}

// This function displays the values
function display(value) {
    document.getElementById("result").value += value;
}

// This function evaluates the expression and returns the result
function calculate() {
    var p = document.getElementById("result").value;
    var q = eval(p);
    document.getElementById("result").value = q;
}
Understanding the JavaScript Code
The clearScreen(), display(), and calculate() functions add functionality to the calculator.
Clearing Values
The clearScreen() function accesses the DOM using the ID of the result and clears its value by assigning it an empty string. You can use DOM selectors to target various components of a page.
        function clearScreen() {
    document.getElementById("result").value = "";
}
Displaying Values
The display() function accesses the DOM using the ID of the result and appends the value of the clicked button to the result.
        function display(value) {
    document.getElementById("result").value += value;
}
Evaluating Expression
The calculate() function accesses the DOM using the ID of the result and evaluates the expression using the eval() function. The evaluated value of the expression is again assigned to the result.
The JavaScript eval() function evaluates an expression that you pass to it and returns the result of that expression.
        function calculate() {
    var p = document.getElementById("result").value;
    var q = eval(p);
    document.getElementById("result").value = q;
}
Develop Cool Programming Projects
You can improve your coding skills by developing projects, whether you're a beginner or you're getting back into coding after some time off. Creating fully-working apps, even simple ones, can boost your confidence.
You can try out many simple projects from games (chess, tic-tac-toe, Rock Paper Scissors) to simple utilities (to-do list, weight conversion, countdown clock).
Get your hands dirty with these projects and become a better developer.